Prep time: 20 minutes
Cook time: 25 minutes
Total time: 45 minutes
Servings: 16 bars
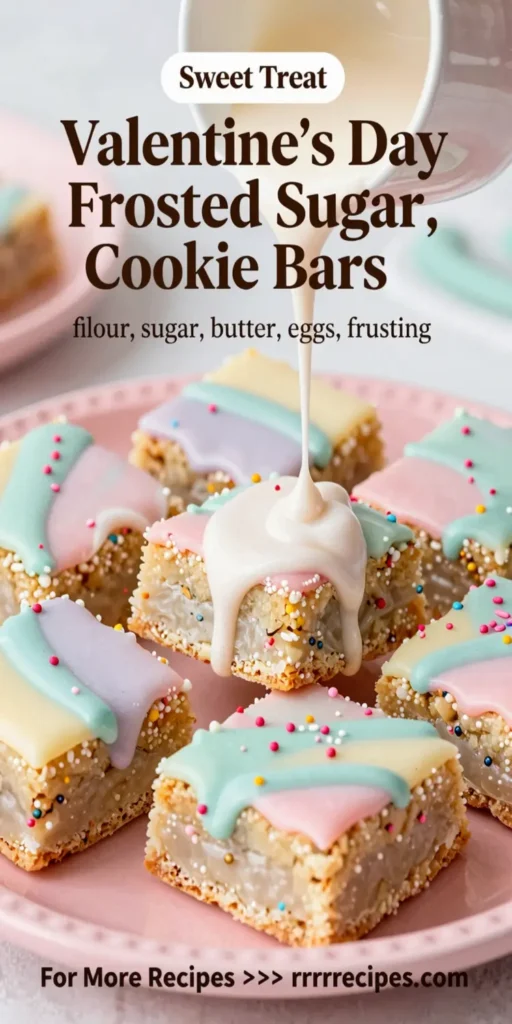
Valentine’s Day is a special occasion that calls for love, affection, and a little indulgence. This year, surprise your loved ones with homemade **Valentine’s Day Frosted Sugar Cookie Bars**. These dessert bars are not only delightful to the taste buds but also visually appealing, making any celebration extra special. They combine the soft, chewy texture of sugar cookies with a luscious frosting, perfect for sharing with friends, family, or even as a sweet treat for yourself.
What Is Valentine’s Day Frosted Sugar Cookie Bars?
Valentine’s Day Frosted Sugar Cookie Bars are a twist on traditional sugar cookies, baked in a single layer for easy cutting and serving. They feature a soft, buttery base that melts in your mouth, topped with a smooth and creamy frosting that can be customized with colors and sprinkles to suit the occasion. These cookie bars are perfect for any Valentine’s Day gathering, offering a comforting sweetness that everyone loves.
Why You’ll Love This
There are countless reasons to adore these cookie bars. First, they come together quickly, allowing you to whip them up even on a busy day. Second, the **frosting** can be personalized to match your desired aesthetic—think soft pinks or vibrant reds for Valentine’s Day. Next, the bars are easy to cut into perfect squares or hearts, *making them ideal for sharing*. Lastly, these bars offer a nostalgic taste of childhood cookies baked fresh in your kitchen, invoking happy memories with each bite.
Ingredients You’ll Need
To make these delicious bars, gather the following ingredients:
- 2 ½ cups all-purpose flour: This forms the base for your cookie bars, providing structure and softness.
- 1 teaspoon baking powder: This helps the bars rise slightly, giving them a light texture.
- ½ teaspoon baking soda: Works in conjunction with the baking powder for the right lift and texture.
- 1 teaspoon salt: Balances the sweetness and enhances the overall flavor profile.
- 1 cup unsalted butter, softened: Provides richness and moisture, making the bars tender.
- 1 cup granulated sugar: Sweetens the bars and contributes to their chewy texture.
- 1 cup brown sugar, packed: Adds moisture and a hint of caramel flavor.
- 2 large eggs: Bind the ingredients together and add richness.
- 2 tablespoons vanilla extract: Infuses the bars with warm, inviting flavor.
- 1 cup cream cheese, softened: This is for the frosting, giving it a rich and creamy texture.
- 4 cups powdered sugar: The main ingredient for the frosting, providing sweetness and the right consistency.
- 1-2 tablespoons milk: Helps achieve the desired frosting thickness.
- Food coloring: Optional for coloring the frosting, most commonly red or pink for Valentine’s Day.
- Sprinkles: Optional for decoration, adding a festive touch.
How to Make
Making these delightful Frosted Sugar Cookie Bars is a straightforward process, perfect for even the busiest of cooks.
- Preheat your oven: Start by preheating your oven to 350°F (175°C). This helps ensure that the cookie bars bake evenly.
- Prepare your baking dish: Grease a 9×13-inch baking dish or line it with parchment paper for easy removal. This step is crucial for preventing the bars from sticking.
- Mix dry ingredients: In a medium bowl, whisk together the all-purpose flour, baking powder, baking soda, and salt. This step ensures the leavening agents are evenly distributed throughout the flour.
- Beat butter and sugars: In a large bowl, use an electric mixer to beat the softened butter, granulated sugar, and brown sugar until fluffy. This should take about 2-3 minutes.
- Add eggs and vanilla: Beat in the eggs one at a time, followed by the vanilla extract, ensuring everything is well combined before moving on.
- Combine wet and dry ingredients: Gradually add the dry ingredients to the wet mixture, mixing just until combined. Be careful not to overmix; otherwise, the texture will become tough.
- Spread into the pan: Pour the batter into your prepared baking dish and spread it evenly using a spatula. Make sure the surface is smooth for uniform baking.
- Bake: Place in the oven and bake for 20-25 minutes, or until a toothpick inserted into the center comes out clean. Keep an eye on them to avoid overbaking.
- Cool: Let the bars cool completely in the pan on a wire rack before frosting. This is essential as adding frosting to warm bars can cause it to melt.
- Make the frosting: In a medium bowl, beat the softened cream cheese until smooth. Gradually add the powdered sugar, mixing on low speed until incorporated. Add milk as needed to achieve your desired consistency, and mix in food coloring if desired.
- Frost the bars: Once the cookie bars are completely cooled, spread the frosting over the top using an offset spatula, making the surface smooth and inviting.
- Add sprinkles: If you like, top the frosted bars with colorful sprinkles for that festive touch.
- Slice and serve: Using a sharp knife, slice the bars into squares or heart shapes for a delightful presentation. Enjoy your delicious treat!
Variations & Substitutions
There are many lovely variations you can explore to customize these cookie bars.
Different Frosting Flavors: Instead of the classic cream cheese frosting, try a white chocolate ganache or lemon-flavored frosting. You can melt white chocolate and mix it with heavy cream for a rich, glossy topping. For lemon frosting, incorporate lemon juice and zest into the cream cheese base for a refreshing twist.
Healthier Options: For a healthier take, consider using whole wheat flour instead of all-purpose flour. You can also substitute coconut oil for butter and use coconut sugar instead of granulated sugar for a less processed sweetener that offers a unique flavor.
Add-Ins: Feel free to sprinkle chocolate chips or nuts (like chopped pecans or walnuts) into the batter before baking. These additions will add a little surprise and texture to your bars.
Color Themes: Since this recipe is for Valentine’s Day, try using food coloring to create a rainbow of frosting. You can divide the frosting into multiple bowls, coloring each a different shade to create an ombre effect on top of the bars, making them not only delicious but eye-catching.
Common Mistakes to Avoid
When making these **Frosted Sugar Cookie Bars**, a few common pitfalls can affect the final outcome.
Overmixing the Batter: Mixing the batter too much can lead to dense bars instead of soft and chewy. Mix until just combined to ensure your bars maintain a light texture.
Not Cooling the Bars Completely: Frosting warm bars will cause the frosting to melt and run off. Always let them cool completely before frosting for the best presentation and flavor.
Using Cold Butter: Cold butter will not cream well with the sugars, leading to an uneven texture. Ensure that your butter is softened to room temperature for a smooth, creamy mixture.
Storage, Freezing & Reheating Tips
To ensure the best taste and texture, follow these storage guidelines.
**Storage:** Store the frosted cookie bars in an airtight container at room temperature for up to 3 days. If you want to keep them longer, consider refrigerating them, which can extend their freshness for up to a week.
**Freezing:** These bars freeze beautifully. To freeze, cut them into squares, and wrap each piece in plastic wrap, then place them in a freezer-safe bag. They can be frozen for up to 3 months. When you’re ready to enjoy, simply thaw them at room temperature.
**Reheating:** If you prefer your bars warm, pop them in a microwave for about 10-15 seconds. Be careful not to overheat them, as this can alter their texture and flavor.
Frequently Asked Questions
Can I make the batter ahead of time?
Absolutely! You can prepare the cookie batter a day in advance and store it, covered, in the refrigerator. When ready, simply spread the batter into the baking dish and bake it as usual. Allowing the batter to chill can even enhance the flavors.
Can I use margarine instead of butter?
Yes, you can substitute margarine for butter if you prefer. However, note that butter contributes to the flavor and texture, so the bars may differ in taste. Use unsalted margarine for the closest results.
Can I decorate these cookie bars?
Certainly! You can take your decorations further by layering the frosting with crushed cookies, sprinkles, or even edible glitter to match your desired theme. These custom touches will make your bars stand out.
What should I do if my frosting is too thick?
If your frosting turns out too thick, simply add a tablespoon of milk or cream at a time, mixing well after each addition until you reach your desired consistency. Be careful not to make it too runny.
How do I know when my bars are done baking?
The best way to check if your **Frosted Sugar Cookie Bars** are done is by inserting a toothpick into the center. If it comes out clean or with a few moist crumbs, they’re ready. Remember that they will continue cooking slightly as they cool in the pan.
Conclusion:
Creating these **Valentine’s Day Frosted Sugar Cookie Bars** is an enjoyable, straightforward process that yields delicious results and fond memories to share. Whether for a celebration or just to indulge yourself, these bars are a delightful way to showcase your culinary skills while bringing joy to those around you. Enjoy their delightful flavors and vibrant aesthetics, and don’t forget to experiment with different variations to suit your taste! Happy baking!


