Prep time: 15 minutes
Cook time: 25 minutes
Total time: 40 minutes
Servings: 12 bars
This Healthy Granola Bar Recipe Will Change Your Life!
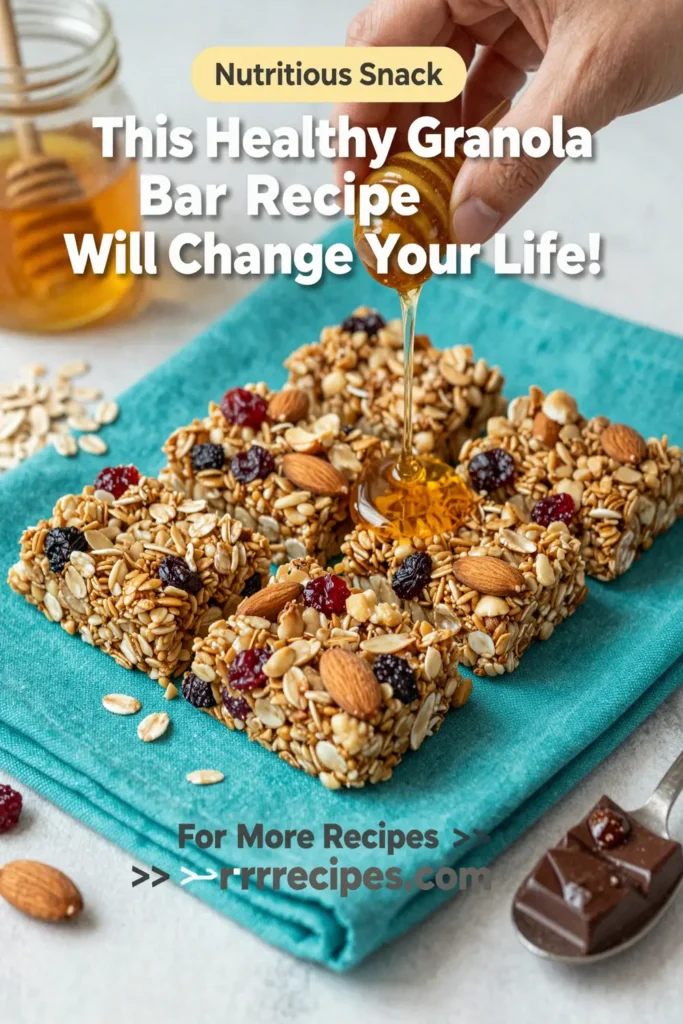
If you’ve been searching for a nutritious and delicious snack that packs a punch, look no further than this healthy granola bar recipe. Perfect for busy mornings, afternoon snacks, or a post-workout treat, these homemade granola bars combine wholesome ingredients to create a flavor-packed energy booster. Best of all, making them at home means you can control the ingredients, making them a guilt-free indulgence.
What Is This Healthy Granola Bar Recipe Will Change Your Life!?
This recipe is all about creating a satisfying blend of flavors and textures. Combining rolled oats, nuts, seeds, and a hint of sweetness from honey and dried fruit, these granola bars are not only easy to prepare but also customizable to fit your taste preferences. They can be chewy or crunchy, fruity or nutty. The versatility of this granola bar allows you to create exactly what you want while avoiding the processed sugars found in store-bought options.
Why You’ll Love This
– **Nutrition at its Best:** Packed with fiber, healthy fats, and protein, these bars fuel your day. You’ll love how they make you feel energized and satisfied.
– **Cost-Effective:** Making these bars at home saves you money compared to store-bought versions, which can be expensive and often lack quality ingredients.
– **Customizable:** Whether you’re a fan of chocolate, prefer dried fruits, or want to sneak in some superfoods, this recipe easily adapts to your cravings.
– **Saves Time:** Prep these granola bars in one batch to have ready-to-eat snacks for the week. A time-saver for busy schedules!
Ingredients You’ll Need
- 2 cups rolled oats: The base for your granola bars that provide essential fiber and a hearty texture.
- 1 cup mixed nuts (almonds, walnuts, or pecans): Nuts add healthy fats and protein, boosting nutritional value.
- 1/2 cup honey or maple syrup: Natural sweeteners that bind the ingredients together while providing a delicious flavor.
- 1/2 cup nut butter (almond or peanut): For added creaminess and richness; it also helps in binding the mixture.
- 1/2 cup dried fruits (raisins, cranberries, or apricots): These provide natural sweetness, vitamins, and chewy texture.
- 1/2 cup mini chocolate chips (optional): If you want to indulge a little, these add a delightful sweetness.
- 1/4 cup seeds (chia, flaxseed, or sunflower): Loaded with nutrients and fiber, seeds contribute to the bar’s crunchiness.
- 1 teaspoon vanilla extract: Enhances the overall flavor of your granola bars.
- 1/2 teaspoon salt: Balances the sweetness and enhances the flavors.
How to Make
- Preheat the Oven: Begin by preheating your oven to 350°F (175°C). This ensures that your bars will cook evenly and achieve a nice golden color.
- Prepare the Baking Dish: Line an 8×8 inch baking pan with parchment paper, allowing some overhang for easy removal of the bars once baked. Grease the parchment with a small amount of oil to prevent sticking.
- Mix the Dry Ingredients: In a large mixing bowl, combine the rolled oats, chopped nuts, seeds, and salt. This blending ensures that your dry ingredients are well distributed and flavors meld together.
- Combine Wet Ingredients: In a medium saucepan over low heat, mix the nut butter and honey (or maple syrup). Stir until smooth and well-combined. Remove from heat and add vanilla extract.
- Combine Mixtures: Pour the wet mixture over the dry ingredients. Mix thoroughly with a spatula, ensuring that all the oats and nuts are coated evenly. If desired, fold in the dried fruits and mini chocolate chips.
- Transfer to Baking Dish: Evenly spread the mixture into the prepared baking dish, then press down firmly to compact it. This step is crucial for ensuring your bars hold together after baking.
- Bake: Place the baking dish in the preheated oven and bake for 20-25 minutes. Look for a light golden color on the edges and center. Baking too long can lead to hard bars, so keep a close eye during the final minutes.
- Cool and Cut: Allow the granola bars to cool completely in the pan. Once cooled, use the overhanging parchment to lift them out. Cut them into bars of your desired size.
Variations & Substitutions
Dark Chocolate Delight: For chocolate lovers, substitute regular chocolate chips with dark chocolate. You can also add cacao nibs for a more intense flavor. Consider using dark cocoa powder for an extra rich chocolate taste. Dark chocolate not only satisfies cravings but also provides antioxidants too!
Nut-Free Alternative: To make this recipe nut-free, replace nuts with sunflower seeds or pumpkin seeds. Additionally, use sunflower butter instead of nut butter. This allows individuals with nut allergies to enjoy the same great taste without the worry.
Fruity Paradise: If you love fruit, consider adding a mix of dried fruits like dates, mango, or pineapple. These fruits infuse your bars with sweetness and tropical flavors that are perfect for summer snacking.
Protein Punch: Boost the protein content by incorporating protein powder or using a high-protein nut butter like a peanut or cashew butter. You can also add a scoop of peanut butter powder for an additional protein boost without too many added calories.
Common Mistakes to Avoid
Not Pressing Mixture Firmly: A common mistake is not pressing the granola mixture firmly into the baking dish. This can lead to crumbly bars that fall apart easily. Make sure to use a spatula or your hands to pack the mixture tightly.
Baking Too Long or Too Short: Overbaking can result in hard, dry bars, while underbaking can make them too soft. Keep an eye on the baking time, especially toward the end, to achieve that perfect golden color.
Skipping the Cooling Step: It might be tempting to cut the bars right after removing them from the oven. However, allowing them to cool completely helps them set properly. If cut too early, they may fall apart.
Storage, Freezing & Reheating Tips
Store your granola bars in an airtight container at room temperature for up to one week. For longer freshness, wrap individual bars in wax paper and store them in the freezer, where they can last for up to three months. When you’re ready to enjoy a bar, simply take it out and let it thaw at room temperature, or you can microwave it for a few seconds to warm it up. Keeping these storage strategies in mind will help maintain the texture and flavor of your granola bars.
Frequently Asked Questions
How long can I store homemade granola bars?
Homemade granola bars can be stored in an airtight container at room temperature for up to one week. If you want them to last longer, you can freeze them for up to three months. Just make sure to separate them with wax paper to prevent sticking.
Can I replace honey with another sweetener?
Yes, you can replace honey with maple syrup, agave nectar, or even brown rice syrup for a vegan option. Each of these sweeteners will bind the ingredients similarly while providing a unique flavor.
What type of oats should I use for granola bars?
Rolled oats are recommended as they provide the best texture for granola bars. Avoid instant oats, as they may become too mushy. Steel-cut oats aren’t a good substitute either, as they will not stick together well.
Can I customize the add-ins in the granola bars?
Absolutely! The beauty of homemade granola bars is in their versatility. You can mix in seeds, dried fruits, or even chocolate chips. Just be cautious of the total volume to maintain the correct consistency for the bars.
Are these granola bars suitable for kids?
Yes! These granola bars are a healthy snack option for kids. You can also customize them to include flavors and ingredients that your kids love, making it a fun treat that can be enjoyed at any time of the day.
Conclusion: These Healthy Granola Bars are a fantastic addition to any snack lineup. They are not only easy to make, but they can also be tailored to suit your taste. Say goodbye to store-bought snacks and enjoy the satisfaction of creating a wholesome treat right in your kitchen. With minimal prep and endless customization, this recipe truly can change your life!


