Prep time: 20 minutes
Cook time: 30 minutes
Total time: 50 minutes
Servings: 12
Red velvet cake has a timeless appeal, combining the charm of a classic dessert with its rich flavor and distinctive color. But have you ever thought about taking that love for red velvet to the next level with a delightful snack cake? This recipe for the **Best Red Velvet Snack Cake** will have you and your loved ones enjoying this delectable treat at any time of day, whether it’s as a quick breakfast, an afternoon pick-me-up, or a sweet end to your dinner.
What Is The Best Red Velvet Snack Cake?
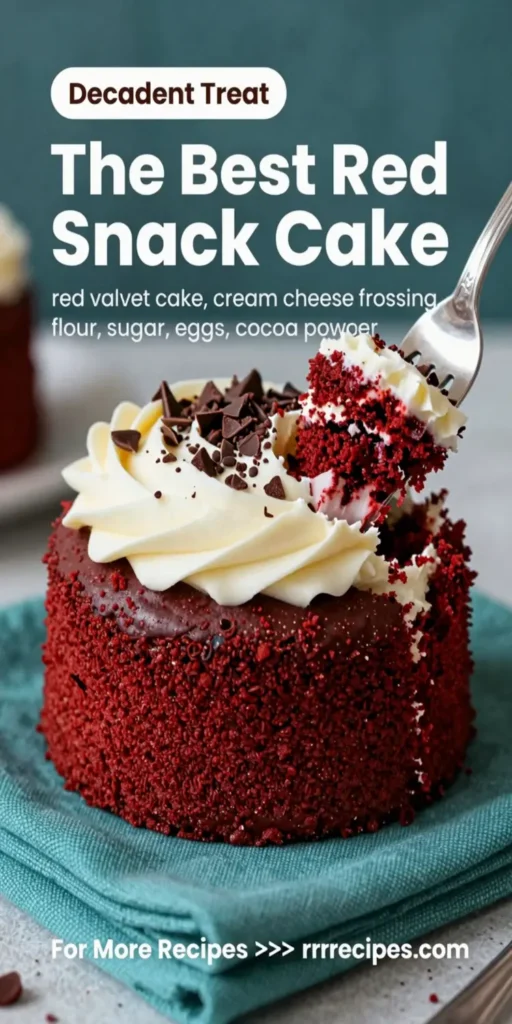
The **Best Red Velvet Snack Cake** is a rich, moist cake that embodies the essence of red velvet in a more casual form. Unlike traditional layered red velvet cakes that can be daunting to bake, this snack cake offers simplicity and comfort. The cake is evenly baked, making it perfect for slicing and sharing, and its vibrant red color, complemented by a luscious cream cheese frosting, makes it as pleasing to the eye as it is to the palate.
Why You’ll Love This
You will adore this recipe for several reasons:
- Simply Delicious: Its tender crumb and unique flavor make it a standout.
- Quick to Prepare: With just a few simple steps, you can whip this up in under an hour.
- Perfect for Any Occasion: Whether it’s a birthday, a potluck, or just a weekday snack, this cake fits right in.
- Flexible Serving Options: It can be served as is or dressed up for a more formal gathering.
Ingredients You’ll Need
Getting started on your red velvet journey is simple, especially with the right ingredients. Here’s what you’ll need:
- 2 cups all-purpose flour: This forms the base of your cake, giving it structure.
- 1 ½ cups granulated sugar: For sweetness and to help with the cake’s moistness.
- 1 teaspoon baking soda: This helps the cake rise and gives it a light texture.
- 1 teaspoon salt: To enhance the flavors.
- 1 cup vegetable oil: Adds moisture and contributes to the cake’s tender crumb.
- 1 cup buttermilk: Gives the cake richness and a slight tang.
- 2 large eggs: For binding and texture.
- 2 tablespoons red food coloring: The secret ingredient that gives it that signature hue.
- 1 teaspoon vanilla extract: For a hint of warmth in flavor.
- 1 teaspoon white vinegar: This reacts with the baking soda for a lift.
- 8 oz cream cheese: For your frosting, it brings a creamy, tangy flavor.
- 2 cups powdered sugar: To sweeten and thicken the frosting.
How to Make
Follow these steps closely, and you will have a beautiful red velvet snack cake.
- Preheat your oven to 350°F (175°C). Prepare a 9×13 inch cake pan by greasing and flouring it. This prevents the cake from sticking and makes for easy serving later.
- In a large bowl, sift together the all-purpose flour, baking soda, and salt. This step is crucial as it aerates the flour, ensuring a lighter texture for your cake.
- In another bowl, whisk together the vegetable oil and granulated sugar until well combined. The oil helps keep the cake moist, while the sugar gives it a great sweetness.
- Beat in the eggs one at a time, making sure each one is fully incorporated before adding the next. Follow this with the buttermilk, red food coloring, vanilla extract, and white vinegar, mixing well. This mixture should turn a beautiful red hue, rich in color.
- Gradually add the dry ingredient mixture to the wet mixture, stirring just until combined. Be careful not to overmix, as this can lead to a tough cake texture. The batter should be smooth and thick.
- Pour the batter into the prepared cake pan and spread it evenly. Bake for 25-30 minutes or until a toothpick inserted in the center comes out clean. The cake will rise beautifully and develop a slight dome.
- Allow the cake to cool in the pan for about 10 minutes before transferring it to a wire rack to cool completely. This prevents it from becoming soggy on the bottom.
- While the cake is cooling, prepare the cream cheese frosting. In a mixing bowl, beat the cream cheese until smooth, then gradually add in the powdered sugar until the desired sweetness is achieved. It should be creamy and spreadable.
- Once the cake has cooled completely, spread the cream cheese frosting evenly over the top of the cake. Cut into squares and serve!
Variations & Substitutions
Gluten-Free Option: To make this cake gluten-free, substitute the all-purpose flour with a 1:1 gluten-free baking blend. Make sure to check that all other ingredients (including the baking powder) are gluten-free.
Chocolate Red Velvet Cake: For those who love chocolate, add ½ cup of unsweetened cocoa powder to the dry ingredient mix. This brings a richer flavor and a chocolatey twist to your favorite cake.
Less Sweet Option: If you prefer less sweetness, reduce the granulated sugar to 1 cup. This will alter the texture slightly but will still yield a delicious cake.
Nutty Red Velvet Cake: Add 1 cup of chopped walnuts or pecans to the batter for an extra crunch and earthy flavor. They give the cake a delightful texture that complements the moistness.
Vegan Version: For a vegan alternative, replace the eggs with flax eggs (1 tablespoon of ground flaxseed mixed with 2.5 tablespoons of water per egg), use non-dairy milk instead of buttermilk, and ensure the frosting is made with vegan cream cheese.
Common Mistakes to Avoid
When making your **Best Red Velvet Snack Cake**, be cautious of these common pitfalls:
Overmixing the Batter: If you mix the batter too much, your cake will turn out dense and chewy. Mix just until combined to achieve that light, fluffy texture.
Incorrect Baking Time: Keep a close eye while baking. Every oven is different, and opening the oven door too often can cause fluctuations in temperature. Always check for doneness with a toothpick.
Using the Wrong Type of Food Coloring: Using gel food coloring will provide a more vibrant red color compared to liquid. The recipe works best with the right consistency for the desired hue.
Storage, Freezing & Reheating Tips
To ensure your **Best Red Velvet Snack Cake** stays delicious long after it’s made, follow these tips:
– Store the cake in an airtight container at room temperature for up to 3 days. If it’s warm or humid, refrigerating may be a better option to prevent spoilage.
– If you’d like to freeze the cake, wrap it tightly in plastic wrap and place it in a freezer-safe container. It can be frozen for up to 3 months.
– When you’re ready to enjoy it again, thaw your cake in the refrigerator overnight. For the freshest taste, frost it right before serving.
Frequently Asked Questions
Can I make this cake ahead of time?
Yes, you can bake the cake a day ahead. Just follow the cooling and storing instructions. You can frost it right before serving for the best flavor.
Can I substitute the cream cheese frosting?
Absolutely! If you’re not a fan of cream cheese frosting, you can try a classic buttercream, whipped cream, or even a chocolate ganache for a lovely twist.
What should I serve with this cake?
This cake pairs wonderfully with a cup of coffee or a scoop of vanilla ice cream. Fresh berries on the side add a burst of flavor and color.
How can I tell if my cake is done baking?
A toothpick inserted into the center of the cake should come out clean or with just a few moist crumbs attached. If the toothpick has batter on it, give it a few more minutes and check again.
Can I use a round pan instead of a rectangular one?
Yes, you can use two 9-inch round cake pans. Just adjust the baking time to ensure they bake evenly, typically around 25-30 minutes, depending on your oven.
Conclusion: The **Best Red Velvet Snack Cake** is not just a treat; it’s an experience that brings delightful flavors and textures to your kitchen. Simple to prepare and wonderfully aromatic, this cake makes for a fantastic addition to any meal or celebration. Enjoy your baking journey, and remember, great cooking is all about joy and passion!


