Prep time: 30 minutes
Cook time: 45 minutes
Total time: 1 hour 15 minutes
Servings: 8
Spring brings an abundance of fresh flavors and vibrant colors, perfect for creating delightful desserts that highlight seasonal ingredients. One such dish is the **Strawberry Honey Tart**, a simple, yet exquisite dessert that celebrates the sweet juiciness of strawberries combined with the natural sweetness of honey. This tart not only looks stunning but also requires just five easy steps to prepare, making it an ideal choice for both novice bakers and seasoned chefs looking to impress their guests. Get ready to delight your family and friends with this scrumptious spring dessert!
What Is Spring Desserts: Strawberry Honey Tart in 5 Steps?
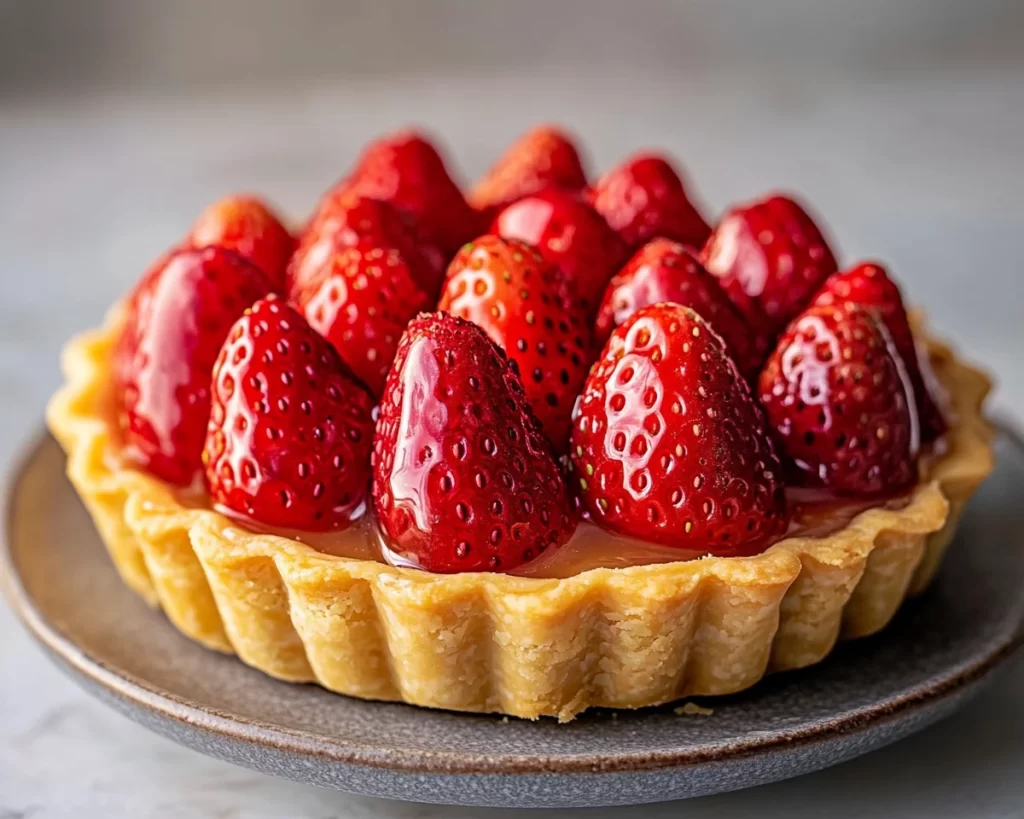
The **Strawberry Honey Tart** is a delightful pastry that features a buttery, flaky crust filled with a luscious honey-sweetened mixture and topped with fresh strawberries. The combination of textures—from the crunchy crust to the velvety filling and succulent berries—will leave your taste buds dancing in delight. With the essence of spring embodied in each bite, this dessert is perfect for picnics, parties, or a sophisticated ending to any meal.
Why You’ll Love This
You’ll adore the **Strawberry Honey Tart** for several reasons. First, it’s straightforward to prepare, allowing even the busiest of parents or inexperienced bakers to whip it up in no time. Second, the use of seasonal strawberries not only makes it fresh but also provides a burst of flavor that no frozen berry can replicate. Finally, the natural sweetness from honey gives it a unique twist, elevating the traditional fruit tart experience. Plus, it’s a showstopper! Serving this elegant dessert will surely impress your guests and spark pride in your culinary skills.
Ingredients You’ll Need
To create your **Strawberry Honey Tart**, gather the following ingredients:
- 1 ½ cups all-purpose flour: This is the base for your tart crust, providing structure and stability.
- ½ cup unsalted butter (cold, cubed): Adds richness and flavor to the crust, while cold butter helps achieve that flaky texture.
- 1/4 cup powdered sugar: Sweetens the crust without being overly aggressive, ensuring the tart’s filling shines.
- 1/4 teaspoon salt: Balances the sweetness in the crust and enhances overall flavor.
- 1 large egg yolk: Acts as a binding agent that helps the crust hold together without becoming tough.
- 1 cup honey: Provides natural sweetness to the filling and contributes to a glossy finish.
- 2 tablespoons cornstarch: Thickens the honey filling and keeps it stable when baked.
- 2 cups fresh strawberries (sliced): The star of the tart; they should be ripe and flavorful for the best results.
- Fresh mint leaves (for garnish): Adds a refreshing touch to the presentation and flavor.
How to Make
To prepare your **Strawberry Honey Tart**, follow these five simple steps:
- Prepare the tart crust: In a mixing bowl, combine the flour, powdered sugar, and salt. Add the cold, cubed butter and mix until the mixture resembles coarse crumbs. Next, add the egg yolk and mix until the dough comes together. Wrap the dough in plastic wrap and refrigerate for about 30 minutes to firm up.
- Blind bake the crust: Preheat your oven to 350°F (175°C). Roll out the chilled dough on a lightly floured surface to fit your tart pan. Gently place it into the pan, press down, and trim the edges. To blind-bake, place parchment paper over the crust and fill it with pie weights or dried beans. Bake for 15-20 minutes until slightly golden. Remove the weights and parchment, then bake for an additional 5 minutes until lightly browned.
- Prepare the filling: In a saucepan, combine honey and cornstarch over medium heat. Stir continuously until the mixture thickens and becomes glossy, about 5-7 minutes. Remove from the heat and let it cool slightly before pouring it into the prepared tart shell.
- Add strawberries: Once the honey filling has cooled, arrange the sliced strawberries on top. Ensure they are evenly distributed for beautiful presentation. The strawberries should be placed gently so as not to disrupt the honey filling.
- Chill and serve: Chill the tart in the refrigerator for at least 2 hours to set. Before serving, garnish with fresh mint leaves for an aromatic touch and additional color contrast. Slice and enjoy your tart chilled; it’s a refreshing dessert that’s perfect for springtime gatherings!
Variations & Substitutions
Chocolate Drizzle Variation: For a decadent twist, you can add a chocolate drizzle to your tart. Simply melt dark chocolate in a microwave or over a double boiler, then drizzle it over the strawberries just before serving. This creates a beautiful contrast with the sweetness of the honey and enhances the overall flavor profile.
Nut Crust Variation: If you’re looking for a gluten-free option, substitute the all-purpose flour with ground almonds or any nut meal of your choice. This nutty crust will add depth to the dish and pairs beautifully with the sweet strawberries.
Citrus Twist Variation: For a citrusy zing, add the zest of one lemon or orange to the honey filling before baking. This will brighten the flavors and enhance the freshness of the strawberries.
Honey Substitutions: While honey is a key ingredient in this recipe, you can substitute it with agave syrup or maple syrup if you’re looking for a different flavor. Each will lend a unique taste while still providing sweetness.
Berry Medley Variation: Instead of just strawberries, use a combination of berries such as blueberries, raspberries, and blackberries. This not only adds a variety of flavors but also makes the tart visually stunning with an array of colors.
Common Mistakes to Avoid
When making your **Strawberry Honey Tart**, it’s essential to pay attention to a few common mistakes:
Overworking the dough: Be careful not to overmix your tart crust. Doing so can lead to a tough texture instead of a flaky one. Mix just until combined and refrigerate to relax the gluten.
Using warm strawberries: Always use fresh, cold strawberries for your tart. If they are warm, they can release their juices and ruin the filling’s texture.
Skipping the chilling step: Chilling the tart is crucial for the filling to set properly. Don’t rush this step; it helps the flavors meld together beautifully.
Storage, Freezing & Reheating Tips
Store any leftover **Strawberry Honey Tart** in an airtight container in the refrigerator for up to 3 days. It’s best served fresh, but if you have leftovers, ensure you cover the tart well. If you need to freeze it, wrap it tightly in plastic wrap and then in aluminum foil. It can be frozen for up to a month. When ready to enjoy, thaw it in the refrigerator overnight; however, note that the texture of the strawberries may change after freezing.
Frequently Asked Questions
Can I use frozen strawberries instead of fresh? It’s always best to use fresh strawberries for the best flavor and texture. Frozen berries may release too much moisture during the baking process, which can affect the tart’s consistency.
Is this tart suitable for special diets? It can be adapted for gluten-free diets by using almond flour instead of all-purpose flour. Ensure any substitutions are suitable for your dietary needs.
How can I tell when the tart is properly baked? The tart crust should be golden brown, and the filling should look set. A slight jiggle in the center when moving the tart is normal; it will firm up as it cools.
Can I make this tart in advance? Yes, the tart can be made a day ahead of time. Just store it in the refrigerator and add any garnishes, like mint leaves, just before serving.
What’s the best way to slice the tart? Use a sharp, clean knife, and wipe it between cuts to achieve nice, clean slices. This will keep the filling intact and presentable.
Conclusion: The **Spring Desserts: Strawberry Honey Tart** is a simple yet elegant dessert that captures the essence of the season. With its fresh ingredients and a burst of flavors, it is sure to be a hit at any gathering. By following these clear steps and tips, you will be well on your way to creating a gorgeous tart that not only satisfies your sweet tooth but also impresses your guests. Enjoy this delightful dessert and the smiles it brings!