Prep time: 30 minutes
Cook time: 1 hour
Total time: 1 hour 30 minutes
Servings: 8
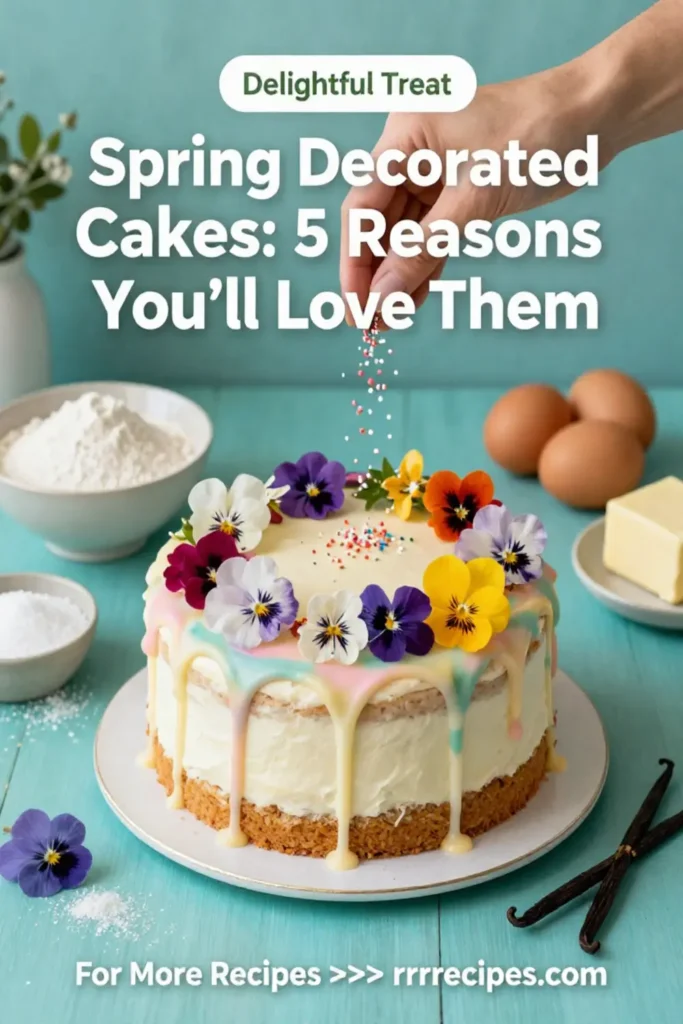
Spring is in the air, and what better way to celebrate than with delightful, vibrant Spring Decorated Cakes? These cakes not only look stunning but also capture the essence of the season with fresh flavors and colorful decorations. Whether you’re a busy parent looking to impress at a school bake sale, a kitchen beginner seeking to learn, or someone just wanting to indulge in a delicious treat, these Spring Decorated Cakes are perfect for you.
What Is Spring Decorated Cakes: 5 Reasons You’ll Love Them?
Spring Decorated Cakes are more than just desserts; they are a canvas for creativity and a celebration of the season. Whether topped with edible flowers, fresh fruits, or colorful frostings, these cakes can brighten any table. Here are five compelling reasons to love Spring Decorated Cakes:
1. **Versatility**: These cakes can be tailored to suit various occasions, from birthday parties to tea gatherings.
2. **Seasonal Ingredients**: Utilizing fresh, seasonal fruits and flavors makes the cakes not only delicious but also health-conscious.
3. **Creative Expression**: Decorating cakes allows you to express your creativity, be it through piping techniques or arranging edible flowers.
4. **Visual Appeal**: A well-decorated cake is a work of art that can impress guests and are perfect for photo opportunities.
5. **Memorable Moments**: Baking and decorating a cake can be a fun activity for families, creating lasting memories together.
Why You’ll Love This
You’ll appreciate how easy it is to create a stunning cake that captures the spirit of Spring. This recipe simplifies the process while ensuring you achieve professional-looking results. With clear instructions and an ingredient list that’s accessible, even novice bakers can enjoy making their own Spring Decorated Cakes. The satisfaction of presenting a beautiful cake will boost your confidence in the kitchen. Plus, utilizing seasonal ingredients means your cake will be fresh and flavorful, bringing joy to those who enjoy it.
Ingredients You’ll Need
- 2 cups all-purpose flour: This forms the base of your cake, providing structure. Opting for a higher quality flour can yield a better texture.
- 1 ½ cups granulated sugar: Sugar adds sweetness and moistness to the cake. Consider using less sugar if adding sweet toppings.
- ½ cup unsalted butter (softened): Butter lends richness and flavor. Ensure it’s at room temperature for easy creaming.
- 1 cup whole milk: This hydrates the dry ingredients and makes for a tender cake. You can substitute with plant-based milk.
- 3 large eggs: Eggs provide moisture and act as a binding agent. Room temperature eggs work best for mixing.
- 1 tablespoon baking powder: This helps the cake rise, making it fluffy. Ensure it’s fresh for the best results.
- 1 teaspoon vanilla extract: A key ingredient for flavor, enhancing the overall taste of the cake.
- Edible flowers or fresh fruit for decoration: Adds a beautiful and colorful finishing touch, customizing the appearance.
How to Make
- Preheat your oven to 350°F (175°C): Starting by preheating ensures that your cake will bake evenly. Use this time to prepare your baking pans by greasing them with butter or lining them with parchment paper.
- Mix dry ingredients: In a large bowl, sift together the flour, baking powder, and salt. This helps to aerate the flour and ensure even distribution of the baking powder. Set aside.
- Cream butter and sugar: In another bowl, beat the softened butter and granulated sugar together until light and fluffy. This process, which usually takes about 3-5 minutes, helps to incorporate air into the mix, leading to a light texture.
- Add eggs and vanilla: Incorporate the eggs one at a time, beating well after each addition. The mixture should be smooth and homogeneous. Add in the vanilla extract, mixing until combined.
- Combine wet and dry ingredients: Gradually add the dry ingredients to the wet mixture, alternating with the milk. Blend until just combined; over-mixing can lead to a dense cake. The batter should be thick and smooth.
- Pour into pans: Divide the batter evenly between the prepared baking pans. Use a spatula to smooth the tops. Baking in separate pans helps achieve an even rise and quicker cooking times.
- Bake: Place the pans in the preheated oven and bake for 25-30 minutes, or until a toothpick inserted in the center comes out clean. The cakes should be lightly golden brown on top.
- Cool: Remove the cakes from the oven and let them cool in the pans for about 10 minutes before transferring to wire racks to cool completely. This prevents them from becoming soggy.
- Decorate: Once cooled, frost with your favorite icing, and embellish with fresh fruits or edible flowers. Get creative and arrange them in patterns or clusters for visual impact.
Variations & Substitutions
Fruit-Infused Cake: For a refreshing twist, consider adding fruit puree directly into the batter. Ingredients such as strawberry or lemon can be added to enhance the spring flavors wonderfully. To do this, substitute half a cup of the milk with fruit puree. The process of baking will concentrate the flavors, making your cake even more delightful and perfect for a Spring celebration. Top with complementary fruits for garnish.
Gluten-Free Alternative: If you are catering to gluten-free guests, replace all-purpose flour with a gluten-free baking blend. Ensure the blend is designed for one-to-one substitution to maintain the proper texture. This adaptation doesn’t compromise the taste and allows everyone to enjoy delicious Spring Decorated Cakes.
Common Mistakes to Avoid
Using cold ingredients is a common issue when baking. Always use room temperature ingredients to achieve a better texture and flavor. Cold butter won’t cream properly, leading to a denser cake.
Another common pitfall is over-mixing the batter. Mix just until combined to keep the final product light and fluffy. Over-mixing develops gluten, resulting in a tougher cake.
Lastly, skipping the cooling step can ruin your decorations. Make sure to let the cakes cool completely before frosting. If applied too early, the icing can melt and slide off, diminishing the visual appeal.
Storage, Freezing & Reheating Tips
Storing your Spring Decorated Cakes properly is essential for maintaining their freshness. If you have leftover cake, store it in an airtight container at room temperature for up to three days. For longer storage, consider freezing the cake. Wrap it tightly in plastic wrap and then in aluminum foil. This will keep it fresh for about three months. When ready to enjoy, thaw the cake in the refrigerator overnight.
When it comes to reheating, if the cake is frosted, indulge your guests by warming individual slices in the microwave for about 15-20 seconds. This brings out the flavors, making each bite irresistible.
Frequently Asked Questions
Can I use a different frosting for my cake? Absolutely! Many frosting options work brilliantly with Spring Decorated Cakes. Options like cream cheese frosting, chocolate ganache, or even whipped cream can elevate the taste. Feel free to experiment with flavors that complement the fruits or flowers you use for decoration.
How can I make my cake more colorful? In addition to fresh fruits and edible flowers, you can add food coloring to your batter for a vibrant interior or mix in colorful sprinkles. Natural food colorings derived from purple sweet potatoes or beet powders can enhance the cake’s color while keeping it natural.
Is it possible to make this cake vegan? Yes! You can replace the eggs with flax seeds or chia seeds mixed with water. Use a plant-based milk alternative and substitute the butter with coconut oil or vegan butter. The results will still be delicious and cater to those avoiding animal products.
What’s the best way to remove the cake from the pan? To ensure a smooth removal, let the cake cool for about 10 minutes in the pan. Use a knife to gently loosen the edges before inverting it onto a wire rack. If you’ve used parchment paper, it will come out effortlessly without sticking.
How long can I store the decorated cake? If stored correctly, a decorated cake can last up to three days at room temperature or longer if refrigerated. Avoid direct sunlight and excessive heat to maintain its quality and freshness.
Conclusion: Spring Decorated Cakes are more than just a festive dessert; they represent creativity, celebration, and connection. By following this guide, you’ll not only create impressive cakes but also cherish the moments spent baking. Enjoy madly delicious flavors and bold decorations that will make your Spring gatherings unforgettable!


