Prep time: 20 minutes
Cook time: 25 minutes
Total time: 45 minutes
Servings: 12 cupcakes
Spring is a season filled with vibrant blooms and delightful flavors, making it the perfect time to indulge in sweet treats. One such treat is the irresistible *Cookies & Cream Cupcakes*. These cupcakes combine the rich taste of cookies with fluffy frosting, making them a favorite among both kids and adults. Not only are they delicious, but they are also simple to make, ensuring that you get a homemade dessert without too much effort—a perfect scenario for busy parents or kitchen beginners.
What Is Spring Cupcakes: Cookies & Cream Cupcakes in 7 Steps?
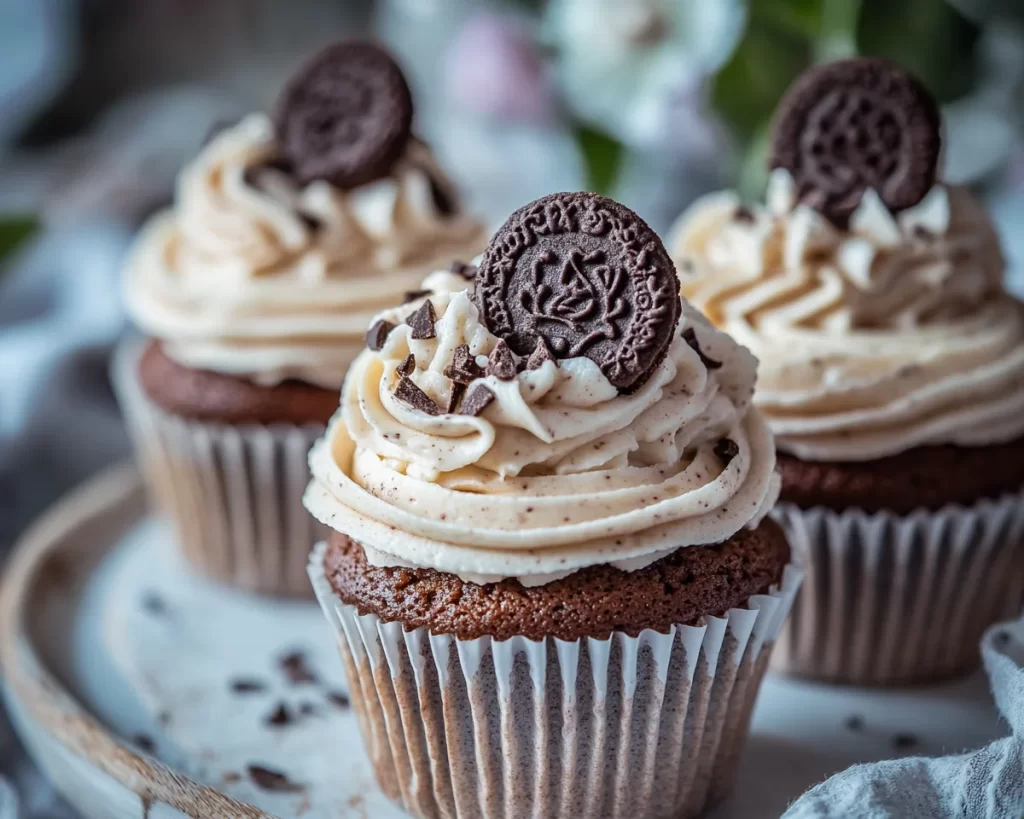
These delightful cupcakes are designed to invoke the essence of springtime while satisfying your sweet tooth. Each cupcake is filled with crushed cookies, providing a textured surprise in every bite. Topped with a smooth frosting that’s reminiscent of whipped cream, these cupcakes are a visual treat as well. The best part? They can be prepared in just seven easy steps, perfect for a quick baking session on a sunny afternoon.
Why You’ll Love This
There are countless reasons to love these spring cupcakes! Firstly, they are incredibly adaptable—feel free to swap out ingredients or make alterations to suit your tastes or dietary needs. Whether you prefer gluten-free flour or vegan alternatives, these cupcakes can accommodate various preferences. Secondly, they are perfect for any occasion, whether it’s a birthday party, an Easter gathering, or just a delightful snack for your family. Most importantly, they are a guaranteed crowd-pleaser, as they’ll have hungry friends and family coming back for more.
Ingredients You’ll Need
- 1 cup all-purpose flour: Provides the base for your cupcakes, giving them structure.
- 1 cup granulated sugar: Adds the necessary sweetness to balance flavors.
- 1/2 cup unsweetened cocoa powder: Infuses deep chocolate flavor.
- 1 teaspoon baking powder: Helps the cupcakes rise for a light and fluffy texture.
- 1/2 teaspoon baking soda: Reacts with the acids in the batter to create a light-bodied cupcake.
- 1/4 teaspoon salt: Balances sweetness and enhances overall flavor.
- 2 large eggs: Binding agents that add moisture.
- 1/2 cup vegetable oil: Keeps your cupcakes moist.
- 1 teaspoon vanilla extract: Adds aromatic flavor.
- 1 cup buttermilk: Contributes to the cupcakes’ tenderness.
- 1 cup crushed chocolate sandwich cookies: The “cookies” in cookies and cream for delightful bites.
- 1/2 cup butter, softened: For the frosting, gives a creamy texture.
- 3 cups powdered sugar: Sweetness and structure for frosting.
- 1 teaspoon vanilla extract: Flavoring for frosting.
- 3 tablespoons milk: Adjusts the consistency of the frosting.
How to Make
- Preheat your oven: Set the temperature to 350°F (175°C). This is crucial for even baking. While the oven heats, prepare your cupcake liners in a muffin pan. Using liners ensures easy removal and adds a delightful visual touch.
- Combine dry ingredients: In a large mixing bowl, sift together the flour, sugar, cocoa powder, baking powder, baking soda, and salt. Sifting helps to aerate the mixture, preventing any lumps and ensuring a smooth batter.
- Mix wet ingredients: In a separate bowl, whisk together the eggs, vegetable oil, vanilla extract, and buttermilk until well combined. The mixture should be smooth and slightly frothy, which will aid in the incorporation of air for a lighter cupcake.
- Combine wet and dry ingredients: Slowly pour the wet mixture into the bowl of dry ingredients. Gently fold together using a spatula until just combined. Avoid overmixing as it can lead to tough cupcakes. The batter should have a few lumps and be thick but pourable.
- Incorporate the cookies: Gently fold the crushed chocolate sandwich cookies into the batter, ensuring an even distribution without breaking apart the chunks too much. This step adds a delightful flavor and texture to your cupcakes.
- Fill cupcake liners: Carefully pour the batter into the prepped liners, filling each about two-thirds full. This will give them room to rise without spilling over during baking. Bake for about 20-25 minutes or until a toothpick inserted into the center comes out clean.
- Prepare the frosting: While the cupcakes cool, make the frosting. Beat the softened butter until creamy, then gradually add the powdered sugar. Pour in milk and vanilla extract while whisking until fluffy. Adjust the consistency with more milk as necessary to get the perfect spreadable icing.
Variations & Substitutions
Chocolate Chips Option: Want to up the chocolate flavor? Add a cup of chocolate chips to the batter before baking. This will add another layer of richness and keep your cupcakes even moister. The melted chips create a delightful, gooey center, making each bite extra special.
Gluten-Free Version: You can easily adapt this recipe to be gluten-free. Simply replace the all-purpose flour with a gluten-free blend. Make sure to use gluten-free cookies as well. This adaptation ensures that everyone can enjoy these lovely treats, regardless of dietary restrictions.
Mini Cupcakes: If you’re looking for a fun twist, consider making mini cupcakes! Simply reduce the baking time to about 12-15 minutes. Mini cupcakes are perfect for parties or gatherings where smaller desserts are appreciated, allowing everyone to try a variety of flavors without the commitment of a full-sized cupcake.
Vegan Cupcakes: To make this recipe vegan-friendly, substitute eggs with flax eggs (1 tablespoon of ground flaxseed mixed with 2.5 tablespoons of water per egg) and use plant-based butter and dairy-free milk. Make sure to select vegan-friendly cookies for the batter. These modifications will yield cupcakes that are just as tasty while adhering to vegan requirements.
Common Mistakes to Avoid
One common mistake is overmixing the batter. Overmixing leads to tough and dense cupcakes, robbing them of that light and fluffy texture we all love. Gently fold your ingredients together until just combined for the best results.
Another error is not properly measuring your ingredients. Improper measurement can drastically affect the outcome of your cupcakes. Always use dry measuring cups for flour and sugar and liquid measuring cups for milk and oil to ensure accuracy.
Lastly, be mindful of the cooling process.Removing cupcakes from the oven too soon can lead to collapse. Allow them to cool completely in the pan before transferring to a wire rack. This will ensure that they hold their shape and texture.
Storage, Freezing & Reheating Tips
For storing cupcakes, place them in an airtight container at room temperature if they will be consumed within a couple of days. For longer storage, refrigerate them for up to a week. If they are frosted, it’s ideal to place parchment paper between the layers to prevent sticking.
You can also freeze these cupcakes. Simply place them in an airtight container or wrap them tightly in plastic wrap. They can be frozen for up to three months. When ready to enjoy, allow them to thaw in the refrigerator overnight and then bring them to room temperature before serving.
When reheating, use the microwave in short intervals of about 10-15 seconds to avoid drying them out. Ensure they are covered to retain moisture. Freshly warmed cupcakes can enhance flavors and create an enticing aroma.
Frequently Asked Questions
Can I make these cupcakes ahead of time?
Absolutely! You can bake the cupcakes a day or two in advance. Just store them in an airtight container to maintain freshness. Frost them closer to the time you plan to serve; this ensures the frosting stays fluffy and visually appealing.
What should I do if my cupcakes are too dry?
If your cupcakes turn out dry, it might be due to overbaking, insufficient liquid, or not properly measuring flour. To remedy this, consider adding a syrup or glaze to hydrate the cupcakes. For next time, check for doneness a few minutes earlier than the recipe states.
Can I use different types of cookies for the filling?
Yes! While chocolate sandwich cookies are traditional, feel free to experiment with other cookies like Oreos, Nutter Butters, or even graham crackers. Each type of cookie will impart a unique flavor and character to your cupcakes.
Is it possible to make these cupcakes without eggs?
Certainly! Flax eggs or applesauce are great substitutes for eggs. For every egg, use 1 tablespoon of ground flaxseed mixed with 2.5 tablespoons of water, or replace each egg with 1/4 cup of unsweetened applesauce. These alternatives work well in retaining moisture and structure.
What can I top these cupcakes with besides frosting?
If you’re looking for a lighter topping, whipped cream is an excellent alternative. For an added crunch, consider topping with crushed cookies, chocolate drizzle, or even fresh berries to enhance the flavors while keeping it visually appealing.
Conclusion:
Creating simple yet delicious desserts can be incredibly satisfying—especially when they come together as easily as these *Cookies & Cream Cupcakes*. With their delightful texture and inviting flavors, they make a perfect addition to any spring gathering. Remember, the key to baking is not just following the recipe but also enjoying the process—so gather your ingredients and whip up these cupcakes for a treat that everyone will love!


