Prep time: 15 minutes
Cook time: 30 minutes
Total time: 45 minutes
Servings: 8 servings
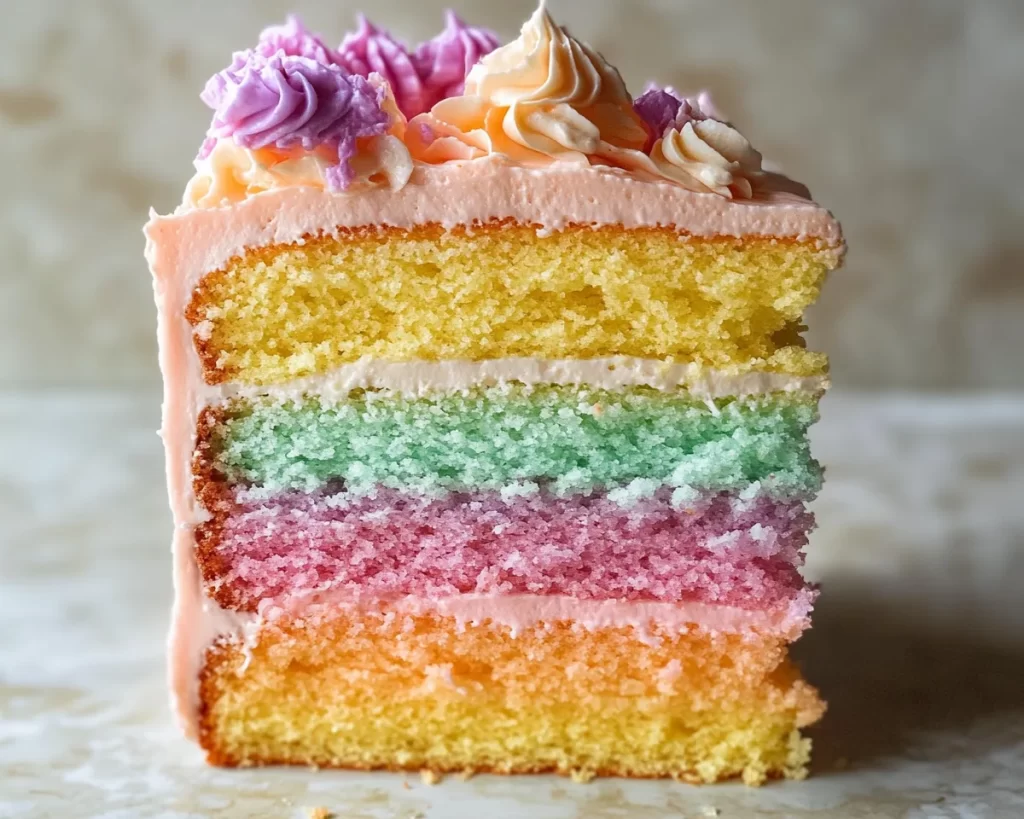
Spring Cakes: Pastel Ombre Layer Cake is the perfect dessert for any occasion, especially during the vibrant season when flowers bloom and colors come alive. This delightful cake not only pleases the eyes with its beautiful ombre effect but also tantalizes the taste buds with layers of fluffy cake and luscious frosting. In just 45 minutes, you can whip up this charming dessert that will leave your family and friends impressed, perfect for a birthday party or a spring gathering.
What Is Spring Cakes: Pastel Ombre Layer Cake in 45 Minutes?
This recipe combines three layers of soft, fluffy vanilla cake with a smooth buttercream frosting that has been beautifully tinted in pastel colors to create a stunning ombre effect. It’s an easy and quick cake that brings a touch of elegance to any table, yet it’s simple enough for amateur bakers to try, making it the ideal choice for busy parents or kitchen beginners looking to impress.
Why You’ll Love This
There are many reasons to love this Spring Cakes: Pastel Ombre Layer Cake. First, the striking visual appeal of the ombre layers makes it a showstopper at any event. Second, it is surprisingly easy to make, requiring only basic baking skills. Children and adults alike will enjoy the cheerful colors, and the vanilla flavor of the cake is sure to satisfy any sweet tooth. It is perfect not only for spring but for any festive occasion that calls for a stunning dessert.
Ingredients You’ll Need
To create your beautiful pastel ombre layer cake, you will need the following ingredients:
- 2 ½ cups all-purpose flour: This gives the cake structure and a lovely crumb.
- 2 ½ tsp baking powder: Helps the cake rise and become fluffy.
- ½ tsp salt: Enhances the flavor of the cake.
- 1 cup unsalted butter, softened: Provides richness and moisture.
- 1 ½ cups granulated sugar: Sweetens the cake while helping it to brown.
- 5 large eggs: Adds structure and richness.
- 1 tbsp vanilla extract: Adds depth of flavor.
- 1 cup milk: Keeps the cake moist and tender.
- Pastel food coloring: For creating the ombre effect in the frosting.
- 4 cups powdered sugar: For the buttercream frosting base.
- ½ cup heavy cream: Helps to achieve the right consistency for buttercream.

How to Make
Making the Spring Cakes is straightforward. Follow these simple steps:
- Preheat the oven: Begin by preheating your oven to 350°F (175°C). This ensures that your cakes bake evenly.
- Prepare the cake pans: Grease and flour three 8-inch round cake pans. This will help your cakes come out easily after baking.
- Mix dry ingredients: In a bowl, sift together the all-purpose flour, baking powder, and salt. This step aerates the flour, contributing to a fluffy cake texture.
- Cream butter and sugar: In a large mixing bowl, cream the softened butter and granulated sugar until light and fluffy. This should take about 4-5 minutes using a hand mixer.
- Add eggs and vanilla: Beat in the eggs one at a time, then add the vanilla extract, mixing until fully incorporated. The mixture should be smooth and creamy.
- Combine wet and dry ingredients: Gradually add the dry mixture to the butter mixture, alternating with the milk, mixing until just combined. Be careful not to overmix, as this can make the cake dense.
- Divide the batter: Split the batter equally into three bowls. Tint one bowl with a few drops of your choice of pastel food coloring, making it a light shade. Gradually add more food coloring to the second bowl until you achieve a medium shade, and leave the third bowl plain.
- Pour into pans: Pour the batters into the prepared cake pans – the lightest shade in the first pan, medium in the second, and the plain batter in the last.
- Bake: Place the pans in the preheated oven and bake for 25-30 minutes, or until a toothpick inserted in the center comes out clean. Allow the cakes to cool in the pans for about 10 minutes before transferring them to wire racks to cool completely.
- Prepare buttercream frosting: In a separate bowl, mix the softened butter until creamy. Gradually add the powdered sugar, followed by the heavy cream. Beat until the frosting is smooth and fluffy. If needed, add more sugar for thickness or milk for a softer consistency.
- Assemble the cake: Once the cakes are completely cool, place the darkest layer on a serving platter. Spread a layer of frosting on top, followed by the medium layer and repeat. Top with the lightest layer, and frost the top and sides of the cake, smoothing it out for a professional finish.
- Decorate: Get creative with your decorations! You can add sprinkles, edible flowers, or even fresh fruits to enhance the spring vibe. Chill for about 30 minutes before serving to allow the frosting to set up a bit.
Variations & Substitutions
Coconut Flavor: For a tropical twist, add coconut milk instead of regular milk and incorporate shredded coconut into the batter. Top with toasted coconut flakes for a delightful crunch.
Chocolate Ombre: If you prefer chocolate, substitute 1 cup of all-purpose flour with cocoa powder. This will yield a rich chocolate cake that pairs beautifully with vanilla or chocolate buttercream.
Gluten-Free Option: For a gluten-free version, you can use a gluten-free all-purpose flour blend instead of regular flour. Ensure that all other ingredients are gluten-free as well. The texture may slightly differ but will still be delicious.
Vegan Twist: You can make a vegan version using dairy-free butter, almond milk, and flax eggs or aquafaba to replace the eggs. Use a vegan chocolate or vanilla frosting to complete.
Common Mistakes to Avoid
It’s crucial to avoid overmixing the batter, as this can lead to a dense and chewy cake rather than a light and fluffy texture. Also, ensure that your oven is at the correct temperature; using an oven thermometer can help confirm this. Allow the cakes to cool completely before frosting, as frosting on warm cake can melt. Last but not least, be mindful of the food coloring; adding too much can affect the cake’s texture and moisture.
Storage, Freezing & Reheating Tips
To keep your Spring Cakes: Pastel Ombre Layer Cake fresh, store it in an airtight container at room temperature for up to 3 days. If you need longer storage, it can also be refrigerated. For best results, cover the cake tightly with plastic wrap to prevent it from drying out. You can freeze the individual layers for up to 3 months. To thaw, simply place in the refrigerator overnight before frosting.
Frequently Asked Questions
Can I make this cake ahead of time?
Absolutely! Spring Cakes can be made a day in advance. Simply bake the layers, allow them to cool completely, wrap them tightly in plastic wrap, and store them in the refrigerator. You can frost it on the day you plan to serve it.
Can I use other cake flavors?
Certainly! This cake is highly versatile. You can easily swap out the vanilla with lemon or almond extract for a delightful flavor variation. To create a fruity version, you may incorporate fresh fruit puree into the batter.
Why did my cake sink?
The common reasons for a sinking cake include overmixing the batter or opening the oven door too early, which can cause it to collapse. Ensure to mix just until ingredients are combined and avoid peeking until the minimum baking time is reached.
How do I achieve the perfect ombre effect?
To create the ombre effect, start with a light base layer and build up to darker shades, as illustrated in the steps above. Use a smooth motion when frosting each layer to achieve a seamless transition.
Can I decorate this cake in advance?
While you can do some of the decorating ahead of time, it’s best to apply any fresh ingredients, like fruits or flowers, closer to serving time to maintain freshness.
Conclusion:
Creating a Spring Cakes: Pastel Ombre Layer Cake in just 45 minutes may seem like a challenge, but with the steps outlined, it becomes an enjoyable process. The delightful combination of flavors and cheerful ombre appearance will surely make your cake the highlight of any spring event. Whether you’re an experienced baker or just starting in the kitchen, this recipe is sure to impress. Feel free to experiment with flavors and decor, making it uniquely yours. With a few simple ingredients and a dash of creativity, you’ll have a show-stopping dessert that everyone will love!


