Prep time: 20 minutes
Cook time: 30 minutes
Total time: 50 minutes
Servings: 2 loaves
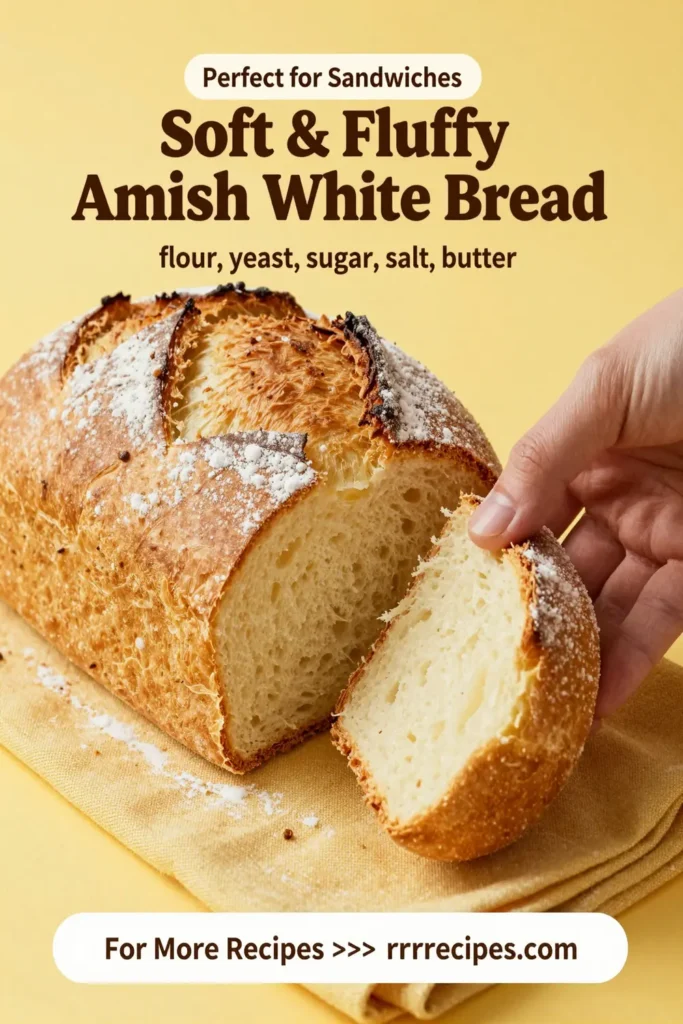
Soft and fluffy Amish white bread is a beloved recipe that brings warmth and the comforting aromas of homemade bread into your kitchen. Imagine the delight of pulling perfectly risen loaves from the oven, their golden crusts glistening and soft centers awaiting your discerning taste buds. This recipe not only yields two delicious loaves but also provides a wonderful opportunity to engage with your family in the process of making bread, a time-honored tradition that can easily become a cherished ritual in your home.
What Is Soft & Fluffy Amish White Bread?
Soft & fluffy Amish white bread is a staple in many homes due to its tender crumb and slight sweetness. Originating from the Amish community, this recipe has been lovingly passed down for generations. The unique texture comes from the careful balance of ingredients and the kneading technique used to incorporate air into the dough, producing a bread that feels like a cloud when you take that first bite.
Why You’ll Love This
There are several reasons to fall in love with this recipe. First, it is incredibly simple to follow, making it ideal for those who are just starting out in baking. Second, the flavor is unmatched; with its mild sweetness and buttery notes, it pairs perfectly with anything from a simple spread of butter to a gourmet sandwich filling. Third, it freezes beautifully, allowing you to make extra loaves to enjoy at your leisure. Finally, the smell of baking bread wafting through your home is enough to make anyone feel like they’ve stepped into a warm and inviting kitchen, setting the tone for family gatherings and friendly conversations.
Ingredients You’ll Need
- Warm water (2 ¼ cups or 110°F): The warmth is essential for activating the yeast and helping the dough rise.
- Granulated sugar (1/4 cup): This acts as food for the yeast and contributes sweetness.
- Active dry yeast (2 ¼ teaspoons): The key leavening agent that helps the bread rise.
- Salt (1 tablespoon): Enhances flavor and strengthens the gluten structure.
- Butter (1/4 cup, melted): Adds richness and flavor to the dough.
- All-purpose flour (5-6 cups): Creates the structure of the bread; the amount may vary based on humidity.

How to Make
- Activate the Yeast: In a large mixing bowl, combine the warm water and sugar. Sprinkle the yeast over the top and stir gently. Allow it to sit for about 5-10 minutes until it becomes frothy. This step ensures your yeast is alive and ready to help the bread rise.
- Mix the Ingredients: Once the yeast is activated, add the melted butter and salt to the mixture. Gradually add in 3 cups of flour, mixing with a wooden spoon until fully incorporated. You’ll want a smooth but slightly sticky dough at this stage.
- Knead the Dough: Transfer the dough onto a floured surface. Begin kneading, gradually incorporating more flour until the dough is smooth and elastic—this should take about 8-10 minutes. If the dough is too sticky, add flour in small increments, but be cautious not to overdo it, as you want to maintain that lovely fluffiness.
- First Rise: Place the kneaded dough into a greased bowl, cover it with a clean kitchen towel, and let it rise in a warm place for about 1 hour or until it doubles in size. This rise time is crucial for developing flavor and texture.
- Shape the Loaves: After the first rise, punch down the dough to release excess air. Divide the dough in half and shape each half into a loaf. You can achieve this by flattening the dough into a rectangle and rolling it tightly from one end to the other, sealing the seams well.
- Second Rise: Place each shaped loaf into greased 9×5-inch loaf pans. Cover them again with a towel and let them rise for another 30 minutes to 1 hour. They should puff up nicely, nearly reaching the tops of the pans.
- Bake: Preheat your oven to 350°F. Bake the loaves for about 30-35 minutes, or until they are golden brown and sound hollow when tapped on the bottoms. A thermometer inserted into the center should read 190°F for perfectly baked bread.
- Cool: Remove the bread from the pans and let them cool on a wire rack. This step prevents the bottoms from becoming soggy. Wait at least 30 minutes before slicing to maintain that soft texture.
Variations & Substitutions
Whole Wheat Version: If you prefer a healthier option, you can substitute half of the all-purpose flour with whole wheat flour. This not only enhances the nutritional profile but also adds a delightful nutty flavor. Keep in mind that whole wheat bread may require slightly more water.
Herbed Amish Bread: For a savory twist, incorporate dried herbs like rosemary or thyme into the dough. This adds an aromatic depth that goes wonderfully with soups and salads. Aim for about 1 tablespoon of dried herbs mixed with the flour.
Sweet Amish Bread: Tantalize your taste buds by mixing in 1/2 cup of raisins or 1/4 cup of honey. These natural sweeteners blend harmoniously with the bread, making it a perfect companion for breakfast or brunch.
Common Mistakes to Avoid
One frequent error is using water that is too hot or too cold. Using water above 130°F can kill the yeast, resulting in a dense loaf. Always ensure your water reaches around 110°F for optimal yeast activation.
Another mistake often made is not allowing enough time for the dough to rise. Rushing this process can lead to bread that is flat and lacks texture. It’s vital to be patient; the rising time develops the flavor and structure.
Finally, over-kneading can lead to tough bread. Keep an eye on the dough and stop as soon as it feels elastic and smooth. The right technique and timing can elevate your bread from good to great.
Storage, Freezing & Reheating Tips
To keep your Amish white bread fresh, store it in a bread box or a plastic bag at room temperature. It’s best consumed within a few days to enjoy its soft texture. For longer storage, wrap the bread tightly in plastic wrap and aluminum foil, then place it in a freezer bag. This way, it can last for up to three months in the freezer.
When you’re ready to enjoy the frozen bread, simply remove it from the freezer and allow it to thaw at room temperature for a few hours or overnight. If you prefer it warm, you can heat it in the oven at 350°F for about 10-15 minutes.
Frequently Asked Questions
Can I use instant yeast instead of active dry yeast?
Yes, you can use instant yeast. It does not require activation and can be mixed directly into the dry ingredients. Use the same quantity and follow the recipe as usual. The overall rise time might be slightly reduced.
What should I do if my dough doesn’t rise?
If your dough does not rise, check the temperature of the water used for activation. If it’s too cold or too hot, it can hinder yeast activity. A yeast that has expired may also cause failure. Always check the expiration date on your yeast package.
Can I add ingredients like seeds or nuts?
Absolutely! You can add seeds or nuts during the kneading process. Just make sure to chop them finely, and a good rule of thumb is to add no more than 1 cup of extras to avoid interference with the dough’s texture.
How can I tell if my bread is done baking?
The best way to determine if the bread is baked through is by tapping the bottom; it should sound hollow. Additionally, a digital instant-read thermometer can be inserted into the center, and it should read 190°F.
Can I make this bread without sugar?
While sugar helps activate the yeast, you can replace it with honey or omit it entirely. However, the bread will not have its characteristic sweetness, and you may need to add more yeast to compensate for the lack of sugar.
Conclusion:
Soft & fluffy Amish white bread is a delightful addition to any baking repertoire. As you master this homestyle recipe, you’ll uncover the joy of creating something truly special that your family and friends will enjoy. Whether it’s used for sandwiches or simply served with butter, each bite will remind you of the warmth and comfort of a loving kitchen. Happy baking!