Prep time: 15 minutes
Cook time: 30 minutes
Total time: 45 minutes
Servings: 12 slices
Making your own bread at home might seem intimidating, but with this **Simply Sandwich Bread** recipe, you’ll find that it’s not only easy but incredibly rewarding. Baking your own bread allows you to control ingredients, creates a delightful aroma in your kitchen, and results in a flavor that surpasses store-bought options. Imagine warm, fluffy bread straight from the oven, ready to be sliced for sandwiches or slathered with butter.
What Is Simply Sandwich Bread?
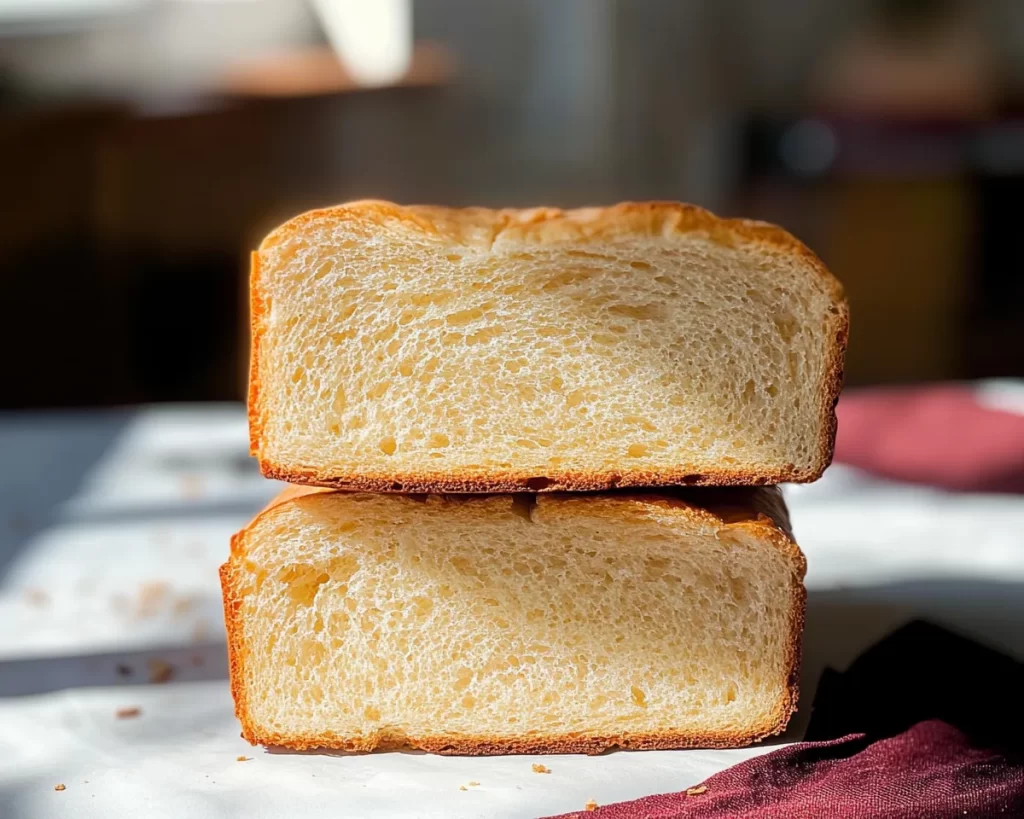
Simply Sandwich Bread is a classic loaf characterized by its soft texture and mild flavor. It’s versatile enough to complement any meal, from peanut butter sandwiches for the kids to elegant toast topped with avocado for breakfast. This bread utilizes basic ingredients such as flour, yeast, water, and salt, proving that simplicity can yield delightful results. The beautiful golden crust and the airy interior make it perfect for any occasion.
Why You’ll Love This
There are many reasons to love this recipe! Firstly, the ingredient list is minimal, making it budget-friendly. Not only is it easy to prepare, but you also get to enjoy the process of kneading the dough, which can be very satisfying. Moreover, this bread is customizable—you can add herbs, spices, or even seeds to make it your own. Additionally, the freshness of homemade bread is unmatched; you won’t be able to resist slicing into it as soon as it cools. Not to mention, it’s a fantastic way to spend quality time with your family, teaching your kids the joy of baking.
Ingredients You’ll Need
- 3 ½ cups of all-purpose flour: This is the base of your bread, providing structure and texture.
- 1 packet (2 ¼ teaspoons) of active dry yeast: A crucial ingredient for leavening; it makes your bread rise.
- 1 ½ teaspoons of salt: Enhances flavor and strengthens dough.
- 1 tablespoon of sugar: Feeds the yeast and adds a slight sweetness to the bread.
- 1 ¼ cups of warm water (about 110°F): Activated yeast needs warmth to work effectively.
- 2 tablespoons of unsalted butter, melted: Adds flavor and moisture to the bread.
How to Make
- In a large mixing bowl, combine 3 ½ cups of all-purpose flour, 1 packet of active dry yeast, 1 ½ teaspoons of salt, and 1 tablespoon of sugar. Mix them together until well blended. This combination sets the foundation for your bread.
- Add 1 ¼ cups of warm water to the dry ingredients. The water should feel comfortably warm—if it’s too hot, it can kill the yeast, and if it’s too cold, the yeast may not activate. Stir the mixture gently until you achieve a shaggy dough.
- Incorporate 2 tablespoons of melted unsalted butter into the mixture. Butter adds richness and flavor, giving your bread a delightful taste. Continue mixing until the dough begins to pull away from the sides of the bowl.
- Flour a clean surface and transfer the dough onto it. Knead the dough for about 8-10 minutes until it becomes smooth and elastic. Proper kneading is essential; it develops gluten, which holds the bread’s shape and gives it a chewy texture.
- Once kneaded, shape the dough into a ball and place it in a greased bowl. Cover it with a clean towel and let it rise in a warm place for about 1 hour, or until it has doubled in size. This process allows the yeast to work its magic, creating tiny air pockets.
- After the dough has risen, punch it down to release any air bubbles. Shape it into a loaf and place it in a greased 9×5-inch loaf pan. Cover again and let it rise for another 30 minutes.
- Preheat your oven to 350°F (175°C). Bake the loaf for 30 minutes or until the top is golden brown and sounds hollow when tapped. The lovely aroma will fill your kitchen, tempting everyone around.
- Allow the bread to cool for at least 10 minutes in the pan before transferring it to a wire rack to cool completely. This step helps maintain the bread’s moisture and prevents it from getting soggy.
Variations & Substitutions
Herb and Cheese Variation: Add 1 tablespoon of dried Italian herbs (like oregano and basil) and 1 cup of shredded cheese (like cheddar or mozzarella) during the mixing step. The addition of these ingredients elevates your bread, giving it a rich, savory flavor that complements sandwiches perfectly.
Sourdough Style: If you’re feeling adventurous, you can introduce some sourdough starter to the recipe. Replace half of the yeast and water with the same amount of sourdough starter and adjust the flour accordingly. This method will result in a tangy flavor and a denser texture, perfect for artisan sandwiches.
Whole Wheat Bread: For a healthier option, substitute half the all-purpose flour with whole wheat flour. Whole wheat provides more fiber and nutrients, making your sandwich bread more wholesome. However, remember that this can yield a denser loaf, so you might need to adjust the liquid amounts slightly.
Common Mistakes to Avoid
When making this bread, over-kneading can lead to a tough texture. If the dough feels too strong and doesn’t seem to rise well, you may have gone too far. Knead just until the dough becomes elastic and smooth.
Another common error is not properly measuring the flour. Too much flour can result in a heavy loaf. Always use the spoon and level method for accurate measurement, or invest in a kitchen scale for precise readings.
Also, ignoring the rising times can be detrimental. If you don’t allow the dough to rise until it has truly doubled in size, your bread may not achieve the desired fluffy texture. Patience is key here!
Storage, Freezing & Reheating Tips
For storage, keep your **Simply Sandwich Bread** in a cool, dry place in an airtight container or wrapped in plastic wrap. Proper storage can help maintain its freshness for up to 3 days. You can also wrap it in aluminum foil or freeze it for longer-lasting results. If freezing, slice the bread first, which allows you to take out individual slices as needed.
When reheating, preheat your oven to 350°F (175°C) and warm the slices for about 5-10 minutes for the best results. Alternatively, use a toaster to bring back that delightful warmth and crusty exterior.
Frequently Asked Questions
Can I use instant yeast instead of active dry yeast?
Absolutely! You can substitute instant yeast in a 1:1 ratio. The primary difference is that you can mix instant yeast directly with the dry ingredients and skip the proofing stage. This speeds up the process and works wonderfully for making cheese and herb variations.
How can I tell when my bread is fully baked?
The best indicators are a golden-brown crust and a hollow sound when tapped on the bottom. You can also use a thermometer to check the internal temperature, which should reach about 190°F (88°C) for fully cooked bread.
Can I make this bread without gluten?
Yes! For a gluten-free version, use a gluten-free flour blend designed for baking. You will need to add in xanthan gum to ensure the structure of the bread, as it replicates the elasticity found in gluten-containing flours.
Why is my bread too dense?
If your bread is dense, it’s likely due to insufficient kneading or not allowing enough rising time. Ensure you knead until smooth and elastic, and allow the dough ample time to double in size for a light, airy bread.
Can I add seeds or nuts to the bread?
Certainly! You can mix in ½ cup of your favorite seeds (like sunflower or flax seeds) or chopped nuts during the initial mixing stage. This can provide a delightful crunch and added nutrition to your homemade bread.
Conclusion: Making **Simply Sandwich Bread** is an excellent choice for both novice and experienced bakers. It’s easy, customizable, and results in a delicious product that can enhance your meals. With a little time and patience, you’ll have a loaf that’s not only a staple in your home but also a delight for your loved ones. Enjoy the process and the wonderful aroma that fills your kitchen!


