Prep time: 15 minutes
Cook time: 30 minutes
Total time: 45 minutes
Servings: 24 bars
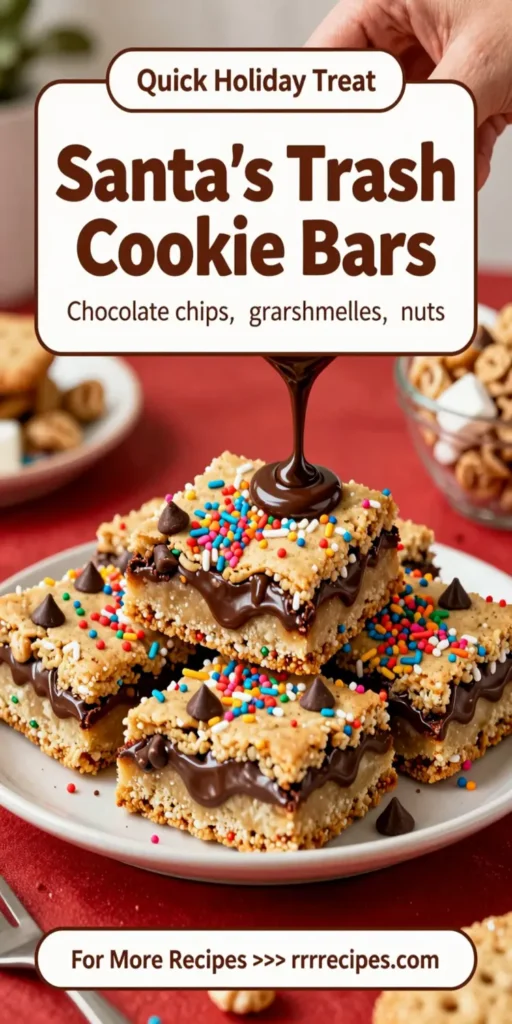
Santa’s Trash Cookie Bars are a delightful treat that combines various textures and flavors, appealing to both children and adults. They are the perfect way to repurpose leftover candies from holiday festivities or just to indulge in a sweet, crunchy dessert. The cheerful mix of chocolate, nuts, and a buttery cookie base makes these bars a hit at parties, potlucks, or simply as a sweet snack at home. Plus, they come together quickly, making them ideal for busy bakers or those just starting out in the kitchen.
What Is Santa’s Trash Cookie Bars?
Santa’s Trash Cookie Bars are a scrumptious dessert bar that combines a rich cookie base with an assortment of toppings. Often made with a blend of chocolate chips, nuts, and festive candies, this recipe is both versatile and forgiving. The bars are named for their seemingly random combination of ingredients, resembling a “trash” mix that carries delightful surprises in every bite. Each bite offers a delightful crunch with pockets of ooey-gooey chocolate, making them irresistibly delicious.
Why You’ll Love This
There are countless reasons to fall in love with Santa’s Trash Cookie Bars. Firstly, their versatility allows you to customize the ingredients based on your preferences or what you have on hand. Secondly, these bars are incredibly easy to prepare, requiring only simple steps that even kitchen beginners can master. Additionally, they’re a fantastic way to use up leftover candy, making them an eco-friendly choice during the holidays. Lastly, they provide a satisfying combination of flavors and textures that will delight your friends and family.
Ingredients You’ll Need
Here’s what you need to create these delicious cookie bars. Each ingredient plays a pivotal role in achieving a perfect balance of flavor and texture.
- 1 cup unsalted butter (melted): Provides a rich, buttery flavor and enhances the texture of the cookie base.
- 1 cup brown sugar: Adds moisture and a deeper sweetness to the bars.
- 1 cup granulated sugar: Sweetens the bars and helps create a nice crust.
- 2 large eggs: Binds the ingredients together, contributing to a fluffy texture.
- 2 teaspoons vanilla extract: Enhances the flavors of the other ingredients.
- 2 cups all-purpose flour: Forms the base of the cookie bars for structure.
- 1 teaspoon baking soda: Leavens the cookies to create a soft, chewy texture.
- 1/2 teaspoon salt: Balances the sweetness of the sugars.
- 1 cup chocolate chips: Adds richness and melty goodness into each bite.
- 1 cup chopped nuts (walnuts or pecans): Provides crunch and depth of flavor.
- 1 cup assorted candies (M&Ms, Reese’s Pieces, etc.): A fun mix that adds color and surprise to the bars.
How to Make
To prepare your Santa’s Trash Cookie Bars, follow these simple yet detailed steps:
- Preheat your oven to 350°F (175°C). Grease a 9×13 inch baking pan or line it with parchment paper for easy removal later. The right temperature is crucial for achieving that perfect golden-brown finish.
- In a large mixing bowl, combine the melted butter, brown sugar, and granulated sugar. Use a whisk to mix them until glossy and smooth. This process adds air, which is essential for fluffy bars.
- Add the eggs, one at a time, mixing well after each addition. Then incorporate the vanilla extract. This addition will give your cookie bars that delicious homemade aroma and flavor.
- In a separate bowl, whisk together the flour, baking soda, and salt. Gradually fold the dry ingredients into the wet mixture, being careful not to overmix. This is key to keeping your cookie texture tender and soft.
- Once combined, gently stir in your chocolate chips, chopped nuts, and assorted candies. The mixture should look vibrant and colorful with all the inclusions.
- Spread the batter evenly into the prepared baking pan. Use a spatula to smooth the top for even baking. Bake for 25-30 minutes, or until the top is set and lightly golden. Keep an eye on them to avoid over-baking!
- Remove from the oven and allow to cool in the pan for about 10 minutes. Then, transfer the bars to a wire rack to cool completely before slicing. This cooling time helps the bars firm up for nice, clean cuts.
Variations & Substitutions
Nut-Free Variation: For those with nut allergies, simply omit the nuts entirely or replace them with additional chocolate chips. This substitution keeps the bars luxurious without compromising safety.
Gluten-Free Option: Use a gluten-free flour blend instead of all-purpose flour. Ensure that all other ingredients are certified gluten-free. This small switch allows everyone to enjoy these treats without worry.
Healthier Version: Substitute half of the butter with applesauce to create a lower-fat option without sacrificing taste. You can also use dark chocolate chips for a richer flavor and less sugar.
Different Add-ins: Feel free to experiment with your favorite candies! Swap M&Ms for gummy bears or include dried fruits like cranberries or raisins for an unexpected twist. Get creative and have fun!
Common Mistakes to Avoid
One common mistake is overmixing the dough, which can lead to dense bars rather than a soft texture. Always mix just until combined. Another pitfall is baking for too long. Start checking the bars a few minutes before the recommended time; overbaking can dry them out. Furthermore, not allowing the bars to cool adequately before cutting can result in messy pieces. Always let them sit to firm up for a clean cut.
Storage, Freezing & Reheating Tips
Santa’s Trash Cookie Bars can be stored in an airtight container at room temperature for up to a week. For longer storage, wrap them tightly in plastic wrap and store in the freezer for up to three months. When you’re ready to enjoy them again, simply thaw in the refrigerator overnight or at room temperature for a few hours. If you want, you can reheat individual portions in the microwave for a few seconds to revive their gooey texture. Make sure to keep an eye on them to avoid overheating!
Frequently Asked Questions
Can I use different types of chocolate for the bars?
Absolutely! You can use milk chocolate, dark chocolate, or even white chocolate chips. Each type will lend a different flavor profile, so feel free to mix and match according to your preference.
How should I store leftover cookie bars?
Store any leftovers in an airtight container at room temperature for up to a week or freeze for long-term storage. Just ensure they are securely wrapped to maintain freshness.
What can I do with leftover bars that are slightly overbaked?
If your bars end up a little dry, consider serving them warm with a scoop of vanilla ice cream or drizzling with warm chocolate sauce for added moisture. This will also enhance the flavor.
Can I make these bars in advance for a party?
Definitely! These bars are perfect for making ahead of time. You can bake them a couple of days in advance, store them properly, and cut them right before your event. They last well and can often taste even better after a day.
How long do these cookie bars take to bake?
Typically, they take around 25 to 30 minutes at 350°F (175°C). However, keep an eye on them and check for doneness a few minutes prior to the time indicated in the recipe. They should be lightly golden and firm to the touch.
Conclusion:
Santa’s Trash Cookie Bars are an ideal blend of sweet and savory, perfect for any occasion. Their ease of preparation, customizing options, and mouthwatering taste make them a favorite not just during the holiday season, but year-round. With the right balance of ingredients and a bit of creativity, these bars can satisfy your cravings while using what you have on hand. Give them a try; your friends and family are sure to love them!


