Prep time: 20 minutes
Cook time: 25 minutes
Total time: 45 minutes
Servings: 12 bars
Indulging in the warm embrace of freshly baked Red Velvet Cookie Bars is a delightful experience that no one can resist. These vibrant, rich bars bring the classic flavor of red velvet cake into a simple, shareable treat, perfect for parties, family gatherings, or just a cozy evening at home. You’ll love how easy they are to make and how quickly they disappear!
What Is Red Velvet Cookie Bars?
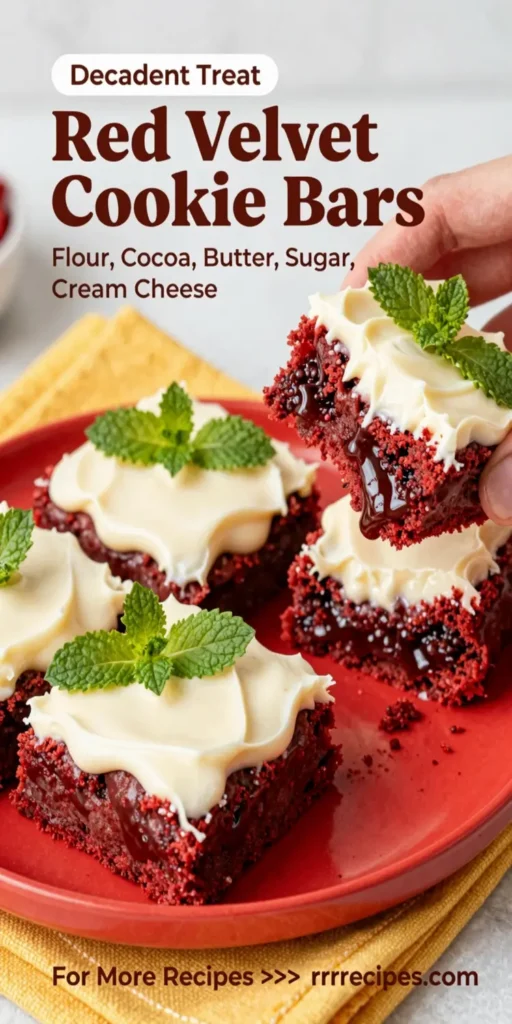
Red Velvet Cookie Bars are essentially a cross between a cake and a cookie, characterized by their striking red color and soft, chewy texture. Traditionally made with cocoa powder and buttermilk, these bars celebrate the beloved red velvet cake but simplify the process without sacrificing taste or presentation. Each bite is a perfect blend of sweetness, buttery goodness, and just a hint of cocoa, making them an irresistible treat for any occasion.
Why You’ll Love This
You’ll love these Red Velvet Cookie Bars for several reasons. First, they’re incredibly simple to make; no complex baking steps here! Whether you’re a seasoned baker or a kitchen beginner, this recipe guides you through each stage, ensuring a delicious outcome. They also present beautifully—they’re perfect for impressing guests or indulging in a sweet treat with family. Plus, the vibrant red hue can liven up any dessert table, especially around holidays like Valentine’s Day or a special birthday celebration.
Ingredients You’ll Need
To create these delightful Red Velvet Cookie Bars, gather the following ingredients:
- 2 cups all-purpose flour: This forms the base of your cookie bars, providing structure and a soft texture.
- 1 cup granulated sugar: Adds sweetness and helps create that perfect chewy consistency.
- 1 teaspoon baking soda: Essential for leavening, giving your bars a nice lift.
- 1/4 teaspoon salt: Enhances the flavor of your cookie bars and balances the sweetness.
- 1 tablespoon cocoa powder: Gives a slight chocolate undertone characteristic of red velvet.
- 1 cup unsalted butter, softened: Provides moisture and a rich buttery flavor.
- 1 large egg: Binds the ingredients together for a cohesive bar.
- 1 tablespoon red food coloring: For that distinctive and eye-catching red velvet hue.
- 1 teaspoon vanilla extract: Adds depth and flavor to the cookie bars.
- 1 cup white chocolate chips or cream cheese frosting (optional): For added sweetness and decorative flair, you can either mix in white chocolate chips or top the bars with cream cheese frosting after baking.

How to Make
Making Red Velvet Cookie Bars is a straightforward process that yields scrumptious results. Follow these steps for a delicious treat:
- Preheat your oven: Start by preheating your oven to 350°F (175°C). Line a 9×13-inch baking pan with parchment paper, allowing some overhang for easy removal later. This ensures your bars don’t stick and makes cleanup a breeze.
- Mix the dry ingredients: In a large bowl, whisk together the all-purpose flour, baking soda, cocoa powder, and salt. This step integrates the dry components evenly, which helps to achieve a uniform texture in your bars.
- Cream the butter and sugar: In a separate mixing bowl, beat the softened unsalted butter and granulated sugar together until light and fluffy. This process usually takes about 3-5 minutes. The lightness of this mixture is crucial as it will affect the texture of your bars.
- Add the egg and coloring: Incorporate the egg, red food coloring, and vanilla extract into the butter and sugar mixture, mixing until well combined. Scrape the sides of the bowl to ensure an even mix. The vibrant red color should become prominent here, making the batter look visually stunning.
- Combine the mixtures: Gradually add the dry ingredients to the wet ingredients, mixing slowly to combine. Be careful not to overmix as this can lead to tough cookie bars. Just mix until you no longer see streaks of flour.
- Fold in chocolate chips (optional): If you’re using white chocolate chips, gently fold them into the batter at this stage to add a touch of sweetness and chocolatey goodness in every bite.
- Spread and bake: Pour the batter into the prepared pan, spreading it evenly into the corners. Bake in your preheated oven for about 25 minutes, or until a toothpick inserted in the center comes out clean. Your kitchen will fill with a heavenly aroma while they bake!
- Cool and frost: Once baked, remove the pan from the oven and allow the bars to cool in the pan for about 10 minutes before transferring them to a wire rack to cool completely. If desired, top the cooled bars with cream cheese frosting to elevate their flavor.
Variations & Substitutions
Nutty Red Velvet Cookie Bars: For a delightful crunch, consider adding chopped nuts like walnuts or pecans into the batter. This contrast in texture pairs beautifully with the soft, chewy bars and boosts the flavor complexity.
Gluten-Free Version: If you’re following a gluten-free diet, substitute the all-purpose flour with a gluten-free baking blend. Keep in mind the measurements may slightly vary depending on the flour used, so follow the guidelines on the packaging for optimal results.
Red Velvet with Cream Cheese Swirls: For a decadent twist, you can create a cheesecake swirl by mixing softened cream cheese with a bit of sugar and vanilla. Drop spoonfuls of the mixture into the cookie batter and swirl it lightly with a knife before baking. This adds a creaminess that complements the red velvet flavor impeccably.
Chocolate Frosted Bars: If you’re a chocolate lover, instead of cream cheese frosting, frost your cookie bars with a rich chocolate ganache. Melt chocolate with cream and pour it over the cooled bars for an indulgent treat.
Common Mistakes to Avoid
One major mistake is overbaking. Since the bars continue to firm up as they cool, it’s best to take them out when they’re slightly underbaked. Ensure you check for doneness a minute or two before the indicated time.
Another mistake is not using room temperature ingredients. Cold butter or eggs can lead to improperly mixed batter. Allowing these ingredients to come to room temp will promote even mixing and a better texture.
Lastly, skipping the parchment paper can lead to a sticky disaster. Always line your pan for easy removal and clean-up. It’s a small step that saves you from potentially ruining your delicious creations.
Storage, Freezing & Reheating Tips
To ensure the optimal freshness of your Red Velvet Cookie Bars, store them in an airtight container at room temperature for up to five days. Keep them away from sunlight and heat to maintain their texture and taste.
If you’re looking to extend their shelf life, freezing is an excellent option. Cut the bars into squares, wrap each tightly in plastic wrap, and then place them in a freezer-safe bag. They can last up to three months in the freezer. When you’re ready to enjoy them, simply thaw in the refrigerator or at room temperature.
For reheating, gently microwave the bars for 10-15 seconds for a warm, gooey treat reminiscent of fresh out of the oven.
Frequently Asked Questions
Can I make these bars ahead of time?
Absolutely! These Red Velvet Cookie Bars are perfect for making ahead. Baked bars can be stored in an airtight container as mentioned above for up to five days. Moreover, they’ll taste amazing even a few days after baking!
Can I use other types of food coloring?
Yes, you can utilize various food colorings to achieve different hues for the batter. Natural food dyes are available if you prefer a healthier alternative, but be cautious as the result might differ slightly in color and intensity.
What’s the best way to cut these cookie bars for serving?
To achieve clean edges when cutting, ensure the bars are completely cooled before slicing. Using a sharp knife dipped in hot water can also help create smoother cuts without tearing the soft texture of the bars.
Can I replace butter with oil?
While using oil can work in a pinch, be aware that it alters the texture slightly. Butter not only adds flavor but provides a richer crumb and a unique chewiness. If you must use oil, opt for a mild one like canola or vegetable oil.
What do I serve them with?
These delightful cookie bars can be enjoyed on their own or paired with a scoop of ice cream, coffee, or a glass of milk. For a festive touch, consider serving them with a dollop of whipped cream or alongside berries for added freshness.
Conclusion:
Red Velvet Cookie Bars are sure to become a favorite in your household. These delightful treats blend rich flavor with a simple baking process, making them accessible and enjoyable for all skill levels in the kitchen. Plus, with multiple variations and the option for stunning presentations, they are perfect for any occasion. Gather your ingredients and treat yourself and your loved ones to this deliciously sweet creation!


