Prep time: 30 minutes
Cook time: 20 minutes
Total time: 50 minutes
Servings: 12 rolls
There’s something inherently comforting about the smell of freshly baked bread wafting through your home. How often do you crave a warm, fluffy roll to accompany your dinner? These Quick & Easy Jumbo Dinner Rolls are not just a side dish; they are an experience, bringing warmth, texture, and an incredibly satisfying bite to your table. Perfect for busy weeknights or special occasions, these rolls are straightforward to make, requiring minimal effort and time yet delivering on taste and satisfaction.
As we delve into the world of these delightful rolls, you’ll discover how to recreate a classic feature of family dinners, holiday feasts, and potlucks. Along with the recipe, I’ll share tips for achieving perfectly fluffy rolls, variations to cater to dietary needs, and answers to common questions you might have along the way. There’s so much to explore, and I assure you, by the end of this article, you’ll feel empowered to whip up a batch of these delicious rolls with confidence.
What Is Quick & Easy Jumbo Dinner Rolls?
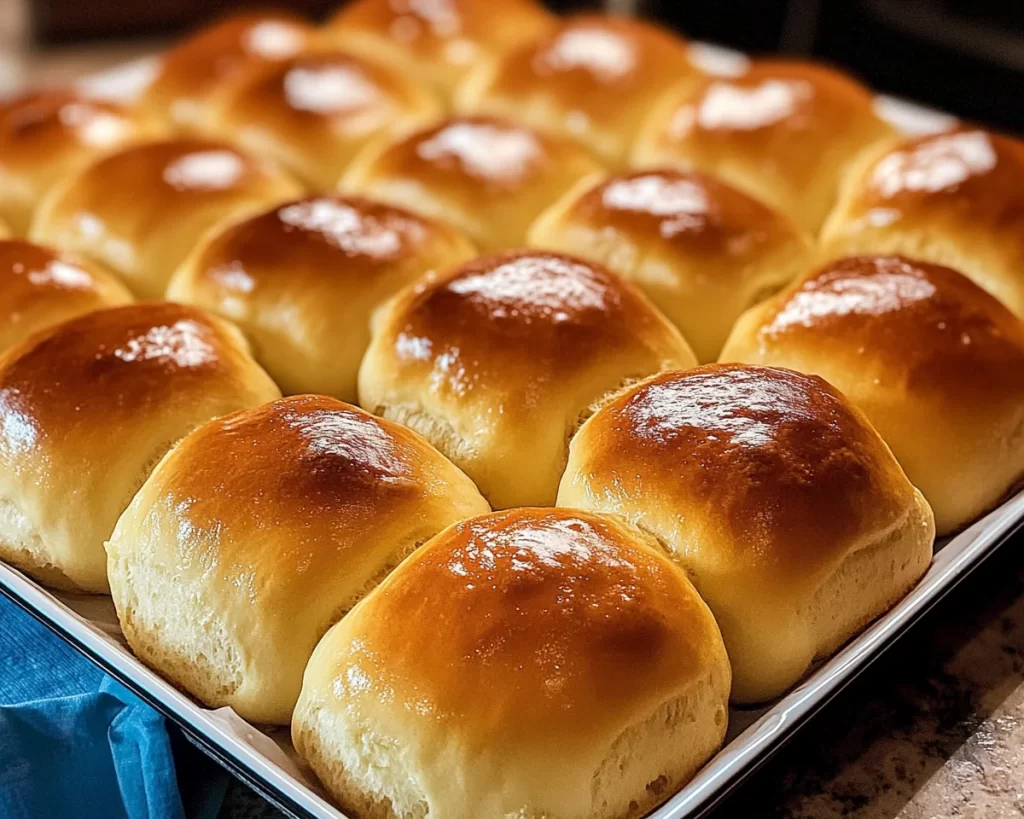
Quick & Easy Jumbo Dinner Rolls are a type of yeast bread that’s known for their light, airy texture and a slightly crispy exterior. Originating from traditional bread-making practices, these rolls are designed to rise beautifully and melt in your mouth with each bite. They are typically served warm and are perfect for slathering with butter or even using as a base for sandwiches.
What sets these rolls apart from others is the balance of simplicity and flavor. You won’t need a long list of ingredients, and the preparation involves only a few straightforward steps. The light caramelization of the outer shell adds a slight crunch, which contrasts beautifully with the pillowy softness of the interior. These rolls are versatile enough to accompany any meal; whether it’s a cozy family dinner or a festive holiday gathering, they are sure to impress.
Moreover, the beauty of these jumbo rolls lies in their potential for customization. Add herbs for a savory twist or sprinkle some cheese on top for a deliciously cheesy version. The options are endless, making them a staple in my kitchen and a recipe I turn to again and again.
Why You’ll Love This
There are numerous reasons why these Quick & Easy Jumbo Dinner Rolls will become a beloved recipe in your collection. Firstly, the taste is downright irresistible. Soft, warm, and slightly sweet, they pair wonderfully with anything from a hearty stew to a lighter salad. There’s also the wonderful aroma that fills your kitchen as they bake — an enchanting experience that enhances your dining atmosphere.
The ease of this recipe cannot be overstated. You don’t need to be a professional baker to succeed; even those who are just starting in the kitchen will find this recipe accessible and rewarding. You can enjoy warm rolls without spending hours in the kitchen or needing special equipment. Additionally, the affordability of the ingredients means you can whip up a batch without breaking the bank.
Furthermore, these rolls can be adapted to fit different dietary preferences. For example, by using whole wheat flour, you can create a healthier option without sacrificing taste. Most importantly, they freeze well, allowing you to enjoy freshly baked rolls even on your busiest days. Just pop them in the oven for a quick reheat, and you’re ready to go!
Ingredients You’ll Need
- All-purpose flour: This will be the base of your rolls, giving them structure. You can substitute with whole wheat flour for a healthier option, but the texture may change slightly.
- Yeast: Active dry yeast is essential for the rolls to rise. Make sure it’s fresh for the best results.
- Warm water: This helps to activate the yeast. Too hot can kill the yeast, and too cold won’t activate it. Aim for about 110°F.
- Sugar: This not only adds sweetness but also feeds the yeast, aiding in the rising process.
- Salt: Essential for flavor, it also helps control yeast activity and strengthens the dough.
- Egg: Used for richness and adds a nice color to the rolls as they bake.
- Butter: Adds flavor and moisture to the rolls. You can substitute with olive oil for a dairy-free version.
Understanding each ingredient’s role encourages you to experiment with your variations while maintaining the integrity of the recipe.
How to Make
- Prepare the yeast mixture: In a large bowl, combine warm water (about 110°F) and sugar. Stir in the yeast and let it sit for about 5-10 minutes until it becomes frothy. This indicates that the yeast is active and ready to use. If it does not froth, it may be a sign that the yeast is expired, and you should start anew.
- Mix the dry ingredients: In another bowl, whisk together the flour and salt. Mixing these dry ingredients helps distribute the salt evenly, which is crucial for flavor and dough structure.
- Combine wet and dry ingredients: Once the yeast mixture is frothy, add your egg and melted butter to the bowl. Slowly incorporate the dry ingredients, stirring with a wooden spoon until a shaggy dough forms. This step may be a bit messy, but don’t worry! It’s all part of the process.
- Knead the dough: Transfer the dough onto a lightly floured surface. Knead the dough for about 5-8 minutes until it becomes smooth and elastic. If it’s too sticky, sprinkle a little more flour as needed. The dough should spring back when poked, indicating it has been sufficiently kneaded.
- First rise: Lightly oil a large bowl and place the dough inside, turning it to coat in oil. Cover the bowl with a clean kitchen towel or plastic wrap. Let it rise in a warm place for about 1 hour or until it doubles in size. This is when the magic happens, and you’ll watch your dough grow!
- Shape the rolls: Once the dough has risen, punch it down gently to release air bubbles. Divide the dough into 12 equal pieces. Roll each piece into a ball and place them on a greased baking sheet, leaving some space in between each roll.
- Second rise: Cover the baking sheet with a towel and allow the rolls to rise again for about 30 minutes. This second rise helps them get that incredible fluffy texture.
- Bake: Preheat your oven to 375°F (190°C). Once preheated, bake the rolls for about 15-20 minutes or until they are golden brown. Keep an eye on them; ovens can vary. You can check if they are done by tapping the bottom of a roll; it should sound hollow if it’s baked through.
- Cool & serve: Once baked, let the rolls cool for a few minutes before serving. Brush the tops with a little melted butter for a glossy finish and added flavor. Serve warm, and enjoy!
These step-by-step instructions ensure that even novice bakers can achieve wonderful results. Remember, every kitchen is unique, and slight variations in temperature and humidity may affect your bread, so be adaptable!
Variations & Substitutions
Garlic Herb Rolls: For an aromatic twist, add minced garlic and chopped fresh herbs like rosemary or thyme to your dough. This variation not only enhances flavor but also makes your kitchen smell divine. Perfect for accompanying dishes like pasta or roasted meats, they will bring your meal to another level.
Cinnamon Sugar Rolls: If you’re in the mood for something sweeter, try rolling the dough out and sprinkling it with cinnamon sugar before forming your rolls. These are perfect for brunch or even dessert! Bake them until golden and serve with a drizzle of icing for an added touch of sweetness that everyone will adore.
Cheesy Rolls: Incorporate shredded cheese like cheddar or parmesan directly into the dough for a cheesy twist. On top of it, sprinkle some extra cheese before baking to create a delightful crust. These rolls are perfect to serve alongside soups or salads and will vanish from the serving platter quickly!
Whole Wheat Rolls: You can replace half or all of the all-purpose flour with whole wheat flour. This variation is a healthier choice, giving clients a boost of fiber. The texture will differ slightly but often results in rolls that are a little denser yet still deliciously satisfying.
Dairy-Free Rolls: Substitute butter with coconut oil or a plant-based margarine and use almond or oat milk in the dough. The flavor will be slightly different, but they’ll still be buttery and satisfying. This version allows those with lactose intolerance to partake in the deliciousness of freshly baked rolls!
Each variation not only transforms the flavor and texture but opens up a world of creativity in your kitchen. Feel free to mix and match these ideas based on your cravings or dietary preferences!
Common Mistakes to Avoid
While making Quick & Easy Jumbo Dinner Rolls is straightforward, there are a few common pitfalls that bakers, especially beginners, might encounter. One typical mistake is not allowing the dough to rise adequately during the first or second rise. This can lead to dense rolls that don’t have that lovely, airy texture. Always ensure your kitchen is warm when letting the dough rise; if it’s too cold, the yeast may not activate effectively.
Another common issue is using expired yeast. Always check the expiration date and activate it properly to ensure it bubbles up before adding it to the dough. If your rolls don’t rise well and turn out flat, this may be the culprit.
Lastly, avoid overbaking. Every oven is different, and overbaking not only makes the rolls dry but can also ruin the soft, fluffy interior. If you’re unsure about doneness, err on the side of underbaking slightly; the rolls will continue to cook a bit after you remove them from the oven.
Storage, Freezing & Reheating Tips
To keep your Quick & Easy Jumbo Dinner Rolls fresh, store them in an airtight container at room temperature for up to 3 days. If they begin to harden, you can refresh them by wrapping them in a damp paper towel and microwaving them for about 10-15 seconds.
For longer storage, these rolls freeze beautifully. Allow them to cool completely after baking, then pack them into a freezer-safe bag or container, separating layers with parchment paper to avoid sticking. They can last up to 3 months in the freezer. To reheat, preheat your oven to 350°F (175°C) and bake them for about 10-15 minutes until warm. Alternatively, you can thaw them overnight in the refrigerator and warm them in the oven the next day for that fresh-baked experience.
When reheating, consider brushing them with a bit of melted butter for added flavor and moisture to help revive their soft texture.
Frequently Asked Questions
Can I use a bread machine for this recipe?
Absolutely! If you have a bread machine, you can incorporate these steps easily. Just add the ingredients in the order suggested by your machine’s manual, select the dough cycle, and follow the manufacturer’s instructions. Once the cycle is complete, shape the rolls and allow them to rise and bake as directed.
What should I do if my dough doesn’t rise?
If your dough fails to rise, it could be due to inactive yeast or a cold environment. Make sure your yeast is fresh and try placing your bowl in a warm spot, like a turned-off oven with the light on. If time permits, you can also use an alternative rising method, such as warm water baths, to provide the necessary warmth for yeast activation.
Is it possible to halve the recipe?
Yes, you can easily halve the ingredients if you want a smaller batch. Just be sure to adjust the baking time slightly, as smaller rolls may cook faster. This is a great option if you’re trying them out for the first time!
Can I add different fillings to these rolls?
Definitely! Feel free to experiment with fillings like cooked ham, cheese, or herbal spreads before shaping your rolls. These will add an exciting twist and make for a delightful surprise every time someone takes a bite.
What is the best way to serve these rolls?
These Jumbo Dinner Rolls are incredibly versatile and can be served with almost any dish. Pair them with soups and stews, use them for sliders, or just enjoy them fresh out of the oven with a pat of butter. They also make an excellent addition to holiday meals, steak dinners, or brunch gatherings.
Conclusion:
In conclusion, making Quick & Easy Jumbo Dinner Rolls is not only a rewarding experience but also a way to enhance any meal with comfort and warmth. With easy-to-follow steps and a range of variations available, you can customize these rolls to suit any occasion or dietary requirement. Don’t hesitate to dive into this recipe, and remember that each batch brings you one step closer to perfecting your bread-baking skills. Share these rolls with your family and friends, and enjoy the delightful experience they bring to your table. Happy baking!


