# Pavlova Dessert: A Light and Airy Dessert for Every Occasion
You know that feeling when you’re in the mood for something light yet indulgent? Perhaps a sweet treat that feels effortless yet impressive? That’s when I turn to Pavlova, a dessert that’s as delightful to eat as it is to behold. With its crisp outer shell and soft, marshmallow-like interior, topped with luscious cream and vibrant fruits, Pavlova is the epitome of a celebratory dessert that brings people together. Today, I’m excited to share everything you need to know about this iconic dessert, whether you’re preparing for a special occasion, a family dinner, or a simple treat for yourself.
## What is Pavlova?
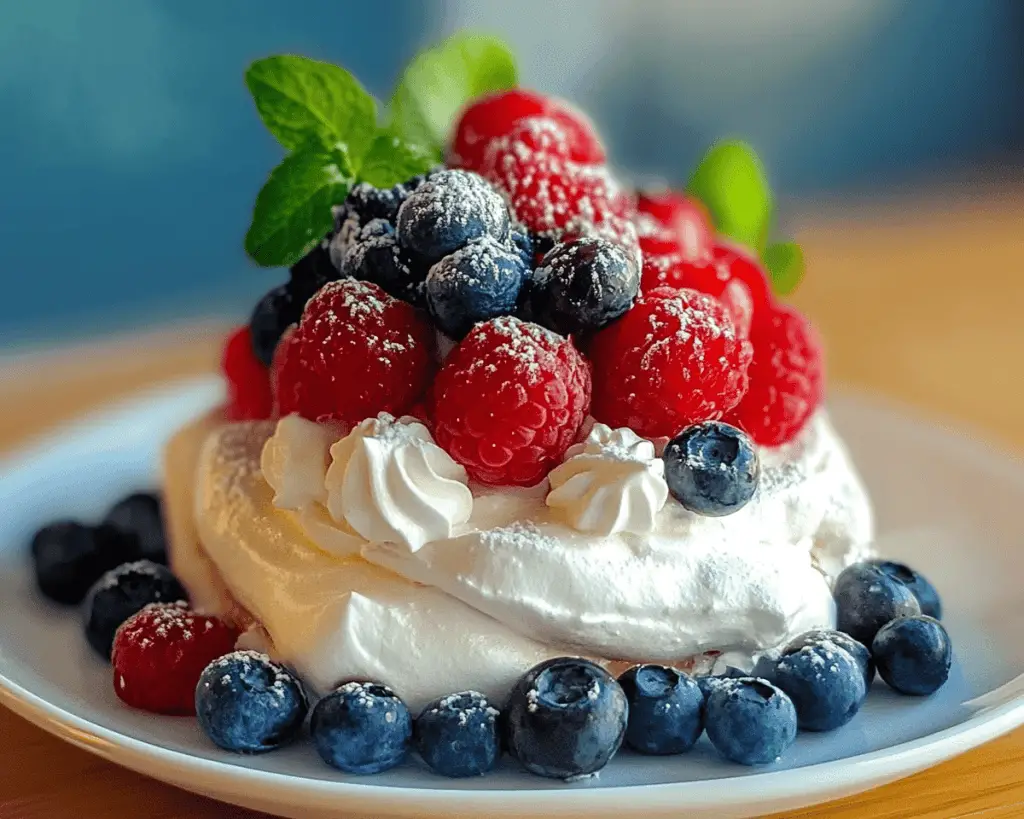
Pavlova is a meringue-based dessert named after the famous Russian ballet dancer Anna Pavlova. The dessert is said to have been created in her honor during a visit to Australia or New Zealand in the 1920s, with each country claiming its invention. It shines with a golden-brown crust that offers a delightful crunch, contrasting beautifully with the creamy, soft center that melts in your mouth. The flavor is light and sweet, often enhanced by a hint of vanilla, while the toppings traditionally include whipped cream and fresh seasonal fruits like strawberries, kiwis, and passionfruit. The combination of bright colors and textures makes Pavlova not only a treat for your taste buds but also a feast for your eyes.
## Why You’ll Love This Pavlova Dessert
There’s something undeniably magical about Pavlova that makes it a standout choice for any occasion. First off, this recipe is remarkably simple, making it perfect for both baking novices and seasoned chefs. The delicate nature of the meringue might seem intimidating at first, but with a few tips and some patience, you’ll have a stunning dessert ready to impress your guests.
Pavlova is also naturally gluten-free, appealing to many dietary preferences without compromising on flavor or texture. And let’s not overlook the fact that it’s incredibly versatile! You can swap in your favorite fruits or toppings to create a flavor profile that complements any meal or theme. Whether you’re serving it at a summer barbecue or a winter holiday gathering, this dessert adapts seamlessly to the occasion.
Moreover, Pavlova embodies a sort of free-spirited charm; it’s about embracing imperfection. Each dessert will have its unique quirks — be it a little crack here or a slightly uneven edge there — and that’s what makes it so heartwarming. Fresh, light, and slightly nostalgic, it beckons you to return for more.
## Ingredients You’ll Need
Here’s what you’ll need for your perfect Pavlova:
### For the Meringue:
– **4 large egg whites**: Make sure they’re at room temperature for better volume. Fresh eggs will yield the best results.
– **1 cup granulated sugar**: This adds sweetness and helps create that beautiful crisp texture; for a bit of a twist, consider using superfine sugar.
– **1 tablespoon cornstarch**: This ensures a marshmallow-like interior.
– **1 teaspoon white vinegar or lemon juice**: Both act as stabilizers, enhancing the structure of your meringue.
– **1 teaspoon vanilla extract**: This adds a warmth and depth of flavor to the dessert.
### For the Toppings:
– **1 cup heavy whipping cream**: The star of the show! Use cold cream for maximum fluffiness when whipped.
– **Fresh fruits**: Think strawberries, kiwis, passionfruit, blueberries, or any seasonal fruits you love. Go for vibrant colors to really make your Pavlova pop!
– **Mint leaves (optional)**: For garnish and to add a fresh touch.
## How to Make Pavlova Dessert
Creating a Pavlova is a rewarding experience that fills your kitchen with aromas of sugar and vanilla. Follow these steps to bring this stunning dessert to life:
### Step 1: Prepare Your Baking Sheet
Begin by preheating your oven to 250°F (120°C). Line a baking sheet with parchment paper, and using a pencil, draw a large circle (about 8 inches in diameter) on the parchment. Flip it over so the ink is on the bottom – this will help guide your meringue shape while keeping the markings hidden.
### Step 2: Beat the Egg Whites
In a large mixing bowl, add your egg whites and begin beating them on medium speed using a hand or stand mixer. You want to whip them until soft peaks form, which typically takes about 3-5 minutes. This means that when you lift the beaters, the egg whites will hold their shape but still droop slightly at the peaks.
### Step 3: Add Sugar Gradually
Once you reach soft peaks, increase the mixer speed to high and start to add your sugar gradually, about a tablespoon at a time. Continue to beat until you achieve stiff peaks – this can take up to 10 minutes. You should be able to hold the bowl upside down without the meringue budging an inch!
### Step 4: Incorporate Cornstarch, Vinegar, and Vanilla
With your sugar fully incorporated and the mixture glossy and thick, gently sift in the cornstarch and continue to beat for another minute. Then, add the vinegar and vanilla, folding them in carefully with a spatula for even distribution.
### Step 5: Shape the Meringue
Spoon the meringue onto the prepared parchment paper, using the circle you drew as a guide. Smooth the top and create a slight indentation in the center to hold the toppings later. It should look as if a soft fluffy cloud has landed on your baking sheet!
### Step 6: Bake
Place the baking sheet in the oven and bake for approximately 1 hour and 15 minutes. You want the meringue to dry out and take on a light golden color. Avoid opening the oven during baking, as the sudden change in temperature can crack your Pavlova. Once it’s ready, turn off the oven, crack the door slightly, and let it cool completely inside – this helps prevent cracking from the sudden change in temperature.
### Step 7: Whip the Cream
Once your Pavlova has cooled, it’s time to prepare the topping. In a mixing bowl, beat your cold heavy whipping cream until soft peaks form. You can add a tablespoon of powdered sugar if you want a touch of sweetness or even a splash of vanilla for an extra flavor boost.
### Step 8: Assemble
Gently peel the cooled Pavlova off the parchment paper and place it on a serving platter. Spoon the whipped cream onto the center, creating a lovely mound, and adorn it with your chosen assortment of fresh fruits. Don’t be shy—layer them on generously!
### Step 9: Serve
Serve immediately for that perfect combination of crisp and creamy, or refrigerate for a short time if you need to prepare it ahead of time. Just remember that the meringue will begin to soften if left with the cream for too long.
## Tips, Tricks & Variations
– **Storage**: If you have leftover Pavlova, store it uncovered at room temperature to maintain its crisp outer layer. The cream should be refrigerated in a separate container.
– **Make-ahead**: You can make the meringue a few days in advance and store it in an airtight container. Just add the toppings right before serving to avoid sogginess.
– **Flavor variations**: Get creative! Consider adding a hint of cocoa powder for a chocolate meringue, or swirl in your favorite fruit puree before baking for extra flavor.
– **Garnishing**: Drizzle some passionfruit purée or a chocolate sauce over the top for an indulgent touch.
– **Vegan version**: Use aquafaba (the liquid from canned chickpeas) instead of egg whites to make a delightful vegan Pavlova. The process remains largely the same.
## What to Serve With Pavlova Dessert
Pavlova is a wonderful standalone dessert, but pairing it with the right drinks and sides can elevate the experience. Consider serving it alongside:
– **Refreshing Beverages**: A chilled glass of sweet white wine or sparkling rosé complements the sweetness of the Pavlova beautifully. If you prefer a non-alcoholic option, try iced herbal tea or sparkling water with lemon.
– **Chocolate Sauce or Fruit Coulis**: A drizzle of chocolate sauce can add a luxurious note, while a vibrant fruit coulis (made by blending fresh fruits with a bit of sugar) can enhance the fruity topping.
– **Cheese platter**: A light cheese platter with soft cheeses, honey, and nuts can create a picturesque dessert table.
## Nutrition & Health Benefits
While Pavlova is undeniably delicious, it’s essential to keep in mind the nutritional aspects. The egg whites provide protein and the cream adds a dose of calcium. However, each serving can also be high in sugar and fat from the whipping cream, so moderation is key.
An average slice of Pavlova has around 250-350 calories, depending on the toppings and amounts used. For more detailed nutritional information, consider checking resources like [Healthline](https://www.healthline.com) or [USDA’s FoodData Central](https://fdc.nal.usda.gov).
## Frequently Asked Questions
### How long does pavlova last?
Pavlova is best enjoyed on the same day it’s made. However, unused meringue (un-topped) can last up to 2 days at room temperature in an airtight container. Once topped, it’s advisable to serve within a few hours to prevent the meringue from becoming soggy.
### Can I use other types of fruit on my Pavlova?
Absolutely! Feel free to get creative with your toppings. Think berries, peaches, or tropical fruits like mango and pineapple. The sweetness and acidity of different fruits will contrast beautifully with the cream and meringue.
### What can I substitute for heavy cream in the topping?
If you’re looking for a lighter option, you can use whipped coconut cream or a store-bought whipped topping. Just be aware that the flavor will differ slightly.
### How do I know when my meringue is fully baked?
Your meringue should be dry to the touch and easily lift off the parchment paper without any sticking. A gentle tap should yield a hollow sound, indicating it’s cooked through.
### Can I freeze Pavlova?
While freezing meringue is technically possible, it is not recommended as it compromises the texture. If you do freeze it, make sure to wrap it tightly in plastic wrap and place it in an airtight container, though note that thawed meringue may lose its crunch.
##
Pavlova is a delightful dessert that brings lightness and joy to any meal, effortlessly capturing hearts with its airy texture and fresh flavors. Now that you have the recipe and tips in your back pocket, I encourage you to make it for your next gathering or just for yourself. You’ll be amazed at how something so beautiful can be so simple to make!
I’d love to see how your Pavlova turns out! If you loved this recipe, leave a comment or tag me on Instagram; let’s share the joy of baking together. Happy cooking!


