Prep time: 20 minutes
Cook time: 0 minutes
Total time: 20 minutes
Servings: 12 cups
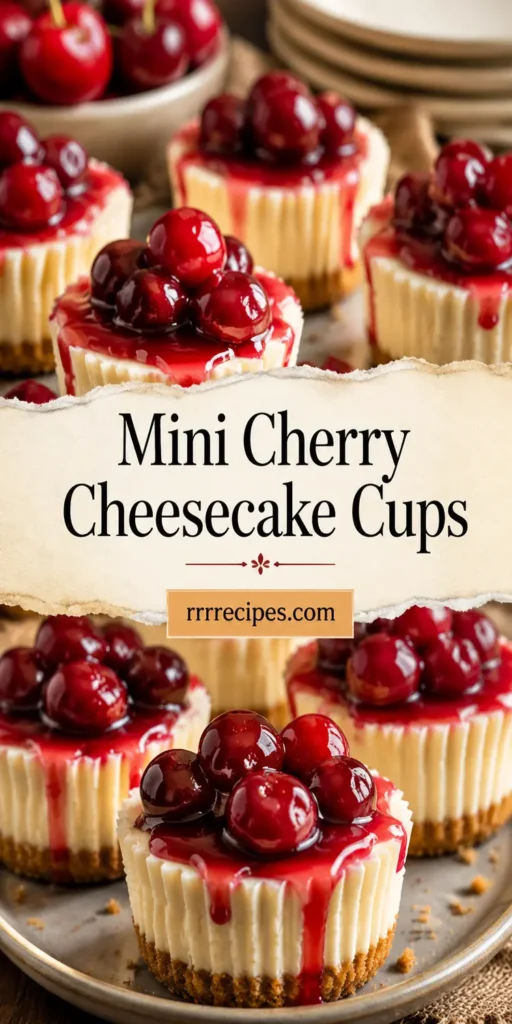
Mini Cherry Cheesecake Cups for Party Trays are the perfect blend of creamy, sweet, and tart flavors, designed to impress your guests without requiring hours in the kitchen. These delightful little desserts not only look stunning but are also incredibly easy to make. Perfect for gatherings or casual get-togethers, they deliver a burst of happiness in every bite. Imagine treating your friends and family to these amazing mini delights while you take the stress out of dessert preparation. A generous spoonful of creamy cheesecake filling topped with a luscious cherry topping, all tucked into a crispy, buttery crust, will surely make your gathering memorable.
What Is Mini Cherry Cheesecake Cups for Party Trays?
Mini Cherry Cheesecake Cups are individual servings of cheesecake, layered in small cups for easy serving. This variation takes the classic cheesecake and transforms it into a portable, bite-sized treat. Perfect for parties or special occasions, they evoke the classic flavors of cherry cheesecake in a condensed form, making them an appealing option for guests of all ages. With a buttery graham cracker crust, a rich and smooth filling, and a bright cherry topping, these mini cups encapsulate the best qualities of a traditional cheesecake in a fun and convenient format.
Why You’ll Love This
One of the main reasons you’ll love Mini Cherry Cheesecake Cups is their **simplicity**. They require minimal ingredients and no baking, which frees you from spending all day in the kitchen. Plus, their **presentation** is unbeatable; the vibrant cherry topping against the creamy filling creates a visual spectacle on your party trays. They are also endlessly **versatile**, meaning you can modify the toppings or fillings according to your preferences or dietary needs, making them suitable for almost anyone. Pair them with a cup of coffee or tea, or serve them as a stand-alone dessert, and you’ll quickly see why they’re a hit.
Ingredients You’ll Need
- Graham cracker crumbs: 1 ½ cups – These provide the crunchy crust that balances the creaminess of the cheesecake filling. They should be finely crushed to hold together well when mixed with butter.
- Granulated sugar: ¼ cup – This sweetens the crust and the filling, enhancing the overall flavor of the cheesecake.
- Unsalted butter: ½ cup (melted) – The melted butter binds the graham cracker crumbs together, forming a cohesive base for the cups.
- Cream cheese: 16 ounces (softened) – The star ingredient, cream cheese gives the cheesecake its rich and creamy texture. Ensure it’s at room temperature for easy mixing.
- Powdered sugar: ½ cup – This is used in the filling to sweeten without the graininess of granulated sugar.
- Vanilla extract: 1 teaspoon – Adds depth to the cheesecake filling with a beautiful aromatic flavor.
- Sour cream: ½ cup – Sour cream adds tanginess to the filling, balancing the sweetness with a delightful creaminess.
- Canned cherry pie filling: 1 can (about 21 ounces) – This makes the topping easy and quick while providing a burst of fruity flavor to finish off the cups.
How to Make
- Start by preparing the **crust**. In a medium bowl, combine graham cracker crumbs, granulated sugar, and melted butter. Mix it until the crumbs are evenly coated with butter and the mixture resembles wet sand. Press approximately 1 tablespoon of the mixture firmly into the bottom of each cup, ensuring an even layer.
- Next, make the **filling**. In a large mixing bowl, beat together the softened cream cheese and powdered sugar until smooth and creamy, without any lumps. Add in the vanilla extract and sour cream, stirring just until combined. Make sure to scrape down the sides of the bowl to incorporate all ingredients properly.
- Evenly distribute the cheesecake filling over each crust. Use a spoon or a piping bag for precision, filling nearly to the top of each cup. Smooth the top with a spatula to give it a polished look.
- Chill the cups in the refrigerator for at least 1 hour, or until set. This helps the filling firm up slightly, making them easier to serve.
- Before serving, top each cheesecake cup with a generous dollop of cherry pie filling. Add a few cherries to each cup for extra flair as you prepare to wow your guests.
- Finally, serve these delightful Mini Cherry Cheesecake Cups chilled and enjoy the compliments as your guests savor each bite!
Variations & Substitutions
Chocolate Cherry Swirl: For a more decadent version, swirl in some melted chocolate into the cheesecake filling before chilling. This adds an indulgent flavor and a marbled appearance. Just melt some semi-sweet or dark chocolate and fold it gently into the cream cheese mixture, being careful not to over-mix. The richer chocolate flavor pairs beautifully with the tart cherry topping.
Fruit Variations: Instead of cherry pie filling, use other fruits such as raspberry, blueberry, or even a mix of tropical fruits like mango and pineapple. Adjust the sweetness in the filling according to the tartness of the fruit you choose. Fresh fruits can also be used, just make sure they are chopped finely and arranged creatively on top for an appealing look.
Low-Fat Option: If you want a lighter version, substitute full-fat cream cheese with a low-fat counterpart and use reduced-fat sour cream. Additionally, adjust the sugar to your taste using a sweetener of your choice. The flavor and texture may be slightly different, but they will still be delightful with a fraction of the calories!
Gluten-Free Version: For those avoiding gluten, simply replace regular graham crackers with gluten-free graham crackers or crushed nuts, like almond flour or ground pecans. The texture will offer a different crunch, but it will still complement the creamy filling nicely.
Common Mistakes to Avoid
One common mistake is overmixing the filling. This can lead to a **grainy texture** instead of the smooth, creamy consistency you desire. To avoid this, mix until just combined and ensure your cream cheese is well softened before starting.
Another pitfall is **not allowing your cups to chill** long enough. The chilling process is crucial for helping the mixture set properly, so make sure to allow at least 1 hour in the refrigerator before serving. Otherwise, the filling may spill out when you attempt to eat them.
Lastly, be mindful of **overfilling** the cups. Leave a little space at the top for the cherry topping; too much filling can lead to a messy presentation. Proper layering will not only help with the aesthetic but also ensure a good flavor balance with every bite.
Storage, Freezing & Reheating Tips
To properly **store** your Mini Cherry Cheesecake Cups, keep them in an airtight container in the refrigerator. They can typically last for up to 5 days. If you notice the topping becoming soggy, it’s best to add the cherry filling just before serving, rather than mixing it in during storage.
If you need to **freeze** them, consider freezing the filling and crust separately to maintain freshness. Assemble and add the topping after thawing if you’re preparing these in advance. Once frozen, they should be consumed within a month for the best quality.
When you want to **reheat** your cheesecake cups, let them thaw in the refrigerator overnight, and avoid using a microwave, as this can change the texture of the filling. Instead, enjoy them chilled or at room temperature for the best flavor and texture.
Frequently Asked Questions
Can I use fresh cherries instead of canned filling?
Yes, you can absolutely use fresh cherries! Just make sure to pit and chop them into small pieces. Toss the chopped cherries in a bit of sugar to enhance their flavor, and let them sit to release some juice. You need to serve them right before eating, as they can release liquid over time, making your cheesecake cups a bit messy if left for long periods.
How can I make these without cream cheese?
If you’re looking for a cream cheese alternative, consider using a combination of Greek yogurt and ricotta cheese. This can offer a similar creamy texture but with a lower fat content. Blend them together until smooth, adding powdered sugar and vanilla extract to sweeten and flavor to mimic the traditional cheesecake taste. You may need to experiment a little to get the flavor just right.
Can these cheesecakes be made in advance?
Absolutely! In fact, they taste even better after a night in the refrigerator as the flavors meld together. You can make them a day or two ahead of your event, just make sure to keep the cherry topping separate until you’re ready to serve. This keeps the crust crunchy and avoids soggy treats!
What if I can’t find graham crackers?
If graham crackers are unavailable, alternatives like digestive biscuits or cookies (such as Oreos) can be used for the crust. Just crush them finely and adjust the amount of butter accordingly, based on how moist the cookies are. Each will lend a unique flavor to your cheesecake cups!
How do I ensure my cheesecakes don’t crack?
Cracking usually occurs from rapid temperature changes. To prevent this, allow the filling to mix at room temperature and chill gradually. When removing from the refrigerator, serve directly for a smoother texture. Always ensure your mixing bowl and other ingredients are at room temperature for a consistent and smooth mixture.
Conclusion:
Mini Cherry Cheesecake Cups for Party Trays are not just delicious; they also offer a fantastic way to satisfy sweet cravings with minimal effort. These charming little desserts, loaded with flavor and visual appeal, are perfect for any gathering or occasion. Make sure to enjoy the process of creating them and share your own personal twist, making every bite even more memorable. With a bit of creativity, these cheesecake cups can be a staple in your dessert repertoire, loved by all who get a taste.


