Prep time: 15 minutes
Cook time: 10 minutes
Total time: 25 minutes
Servings: 24 cookies
The smell of freshly baked cookies wafting through your home can ignite memories and cravings, often reminding us of warm embraces and cozy kitchens during childhood. These Milk Cookies are not just any cookies; they are a delightful treat designed to melt in your mouth. Soft in texture and rich in flavor, they are an easy recipe to whip up, making them a fantastic addition to your baking repertoire.
What sets this cookie apart from others is its primary ingredient: milk. The generous addition of milk provides a unique moisture and tenderness that elevates the standard cookie experience. In this article, you will learn just how simple it is to create these soft Milk Cookies from scratch, along with some helpful tips, variations, and answers to common questions you might have while making them.
What Is Milk Cookies: Classic Milk Cookies (Soft)?
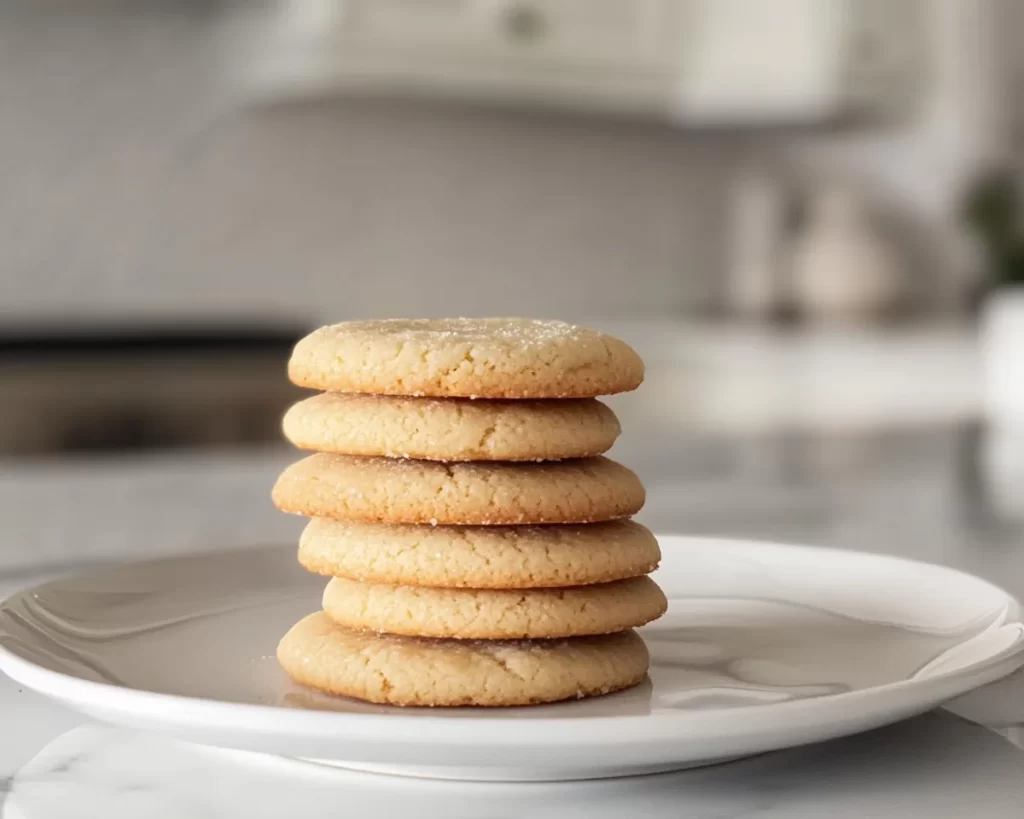
Milk Cookies are a nostalgic treat that has captivated home bakers with their moist and tender texture. Originally inspired by traditional family recipes, these cookies have stood the test of time due to their delightful flavor profile. They provide a perfect balance of sweetness and a hint of creaminess from the inclusion of milk, making each bite melt-in-your-mouth delicious.
The secret behind the soft texture lies in the combination of ingredients that come together when baked. The fat in the butter and the moisture from the milk ensure that these cookies don’t dry out, creating a pillowy finish that is hard to resist. When they come out of the oven, the cookies have a slightly golden hue, a soft interior, and a subtle vanilla aroma that invites you to take just one more bite.
Milk Cookies can be enjoyed on their own or even paired with a glass of cold milk or a cup of coffee, making them versatile for any occasion. Whether you want to indulge yourself or share them with friends, they provide a comforting experience that celebrates simple, home-cooked love.
Why You’ll Love This
There are countless reasons to adore Milk Cookies, starting with their incredible taste. With a sweet yet mild flavor, they are perfect for busy families or those who simply crave something soft and comforting. Additionally, the recipe is uncomplicated and quick, allowing even novice bakers to succeed. Who doesn’t love a recipe that is easy to follow and delivers delicious results?
Another perk of Milk Cookies is their cost-effectiveness. Using basic pantry staples, these cookies offer a delicious treat without breaking the bank. They are perfect for budget-conscious cooks who still want to delight their families or guests with homemade goodies.
You may also be interested to know that these cookies can be versatile. They can be customized in numerous ways, such as by adding chocolate chips, nuts, or even dried fruit. While some cookies can end up hard and crunchy, Milk Cookies remain delightfully soft, which is a huge selling point for anyone who prefers a tender treat. Lastly, there’s a common misconception that homemade cookies are time-consuming; this recipe will prove just how wrong that notion can be!
Ingredients You’ll Need
- 2 ½ cups all-purpose flour – This forms the structure of the cookies. You can substitute gluten-free flour if necessary.
- 1 cup unsalted butter, softened – This is crucial for creating that rich flavor and soft texture.
- 1 cup granulated sugar – For sweetness, you can reduce this or substitute with coconut sugar for a healthier option.
- ½ cup brown sugar – This adds depth of flavor and moisture. Dark brown sugar can also be used for a more robust taste.
- 1 large egg – The egg binds the ingredients together. For a vegan alternative, use flaxseed meal mixed with water.
- ½ cup milk – This is essential for achieving the soft, moist texture unique to this recipe.
- 1 teaspoon vanilla extract – Enhances the flavor of the cookies. Vanilla bean paste can be a wonderful substitute.
- 1 teaspoon baking powder – This leavening agent helps the cookies rise and gives them a fluffy interior.
- ½ teaspoon salt – Balances the sweetness and enhances overall flavor.
How to Make
- Preheat your oven. Begin by preheating your oven to 350°F (180°C). This ensures the cookies bake evenly from the moment you place them inside.
- Prepare your baking sheets. Line two baking sheets with parchment paper. This prevents the cookies from sticking and makes cleanup easier.
- Cream the butter and sugars. In a large mixing bowl, cream together the softened butter, granulated sugar, and brown sugar until the mixture is light and fluffy. This can take about 3-5 minutes using an electric mixer. The fluffiness helps to incorporate air, which contributes to the cookie’s texture.
- Add the egg, milk, and vanilla. Beat in the egg, making sure to mix well. Then add the milk and vanilla extract, ensuring everything is combined until smooth. The addition of milk gives the cookie dough a beautiful creamy texture.
- Incorporate dry ingredients. In a separate bowl, whisk together the flour, baking powder, and salt. Gradually add the dry mixture to the wet ingredients, stirring until just combined. Be careful not to overmix; you want a soft dough that is slightly sticky but not overly wet.
- Scoop the dough. Using a cookie scoop or a tablespoon, drop rounded balls of dough onto the prepared baking sheets, spacing them about 2 inches apart. Remember that the cookies will spread while baking.
- Bake. Place the sheets in the preheated oven and bake for about 10-12 minutes, or until the edges are lightly golden and the centers appear set. It’s advisable to remove them from the oven when they’re still soft; they will continue cooking on the baking sheet.
- Cool them down. Let the cookies cool on the baking sheets for about 5 minutes before transferring them to a wire rack to cool completely. This allows them to firm up slightly while maintaining their soft interior.
- Enjoy! Once the cookies have cooled, serve them with a glass of cold milk, coffee, or simply enjoy them on their own. You can store any leftovers in an airtight container
Variations & Substitutions
Chocolate Chip Variation: For those who can’t resist a classic, adding chocolate chips to the dough is a fantastic option. Simply fold in 1 to 1 ½ cups of semi-sweet or dark chocolate chips after combining the dry and wet ingredients. The chocolate will melt slightly during baking, resulting in gooey pockets of chocolate throughout the cookies.
Nutty Variation: If you prefer a crunch, consider incorporating nuts into your Milk Cookies. Chopped walnuts or pecans can provide a delightful contrast to the softness of the cookie. Add about 1 cup of nuts to the dough before baking for added flavor and texture.
Oatmeal Milk Cookies: For a chewier texture, consider replacing 1 cup of flour with rolled oats. This variation not only adds chewiness but also a layer of heartiness that is perfect for breakfast cookies. The oats will absorb some moisture, so keep an eye on the baking time; you may need to add an additional minute or two.
Spiced Milk Cookies: For a twist, add spices like cinnamon or nutmeg to the mix to give the cookies a warm, aromatic flavor. About 1 teaspoon of cinnamon can make a delightful addition. This is an excellent modification for those who enjoy spiced treats, especially during the colder months.
Vegan Variation: To make these Milk Cookies vegan-friendly, swap the butter for coconut oil or a vegan butter substitute and utilize a flax egg in place of the chicken egg. Combine 1 tablespoon of flaxseed meal with 2.5 tablespoons of water to replace the egg. Adjust the baking time slightly and enjoy your delicious, dairy-free treat.
Common Mistakes to Avoid
One of the biggest pitfalls when making cookies is overmixing the dough. Overmixing can lead to tough cookies instead of the desired soft texture. It is crucial to mix just until combined, allowing the ingredients to come together without working the dough too hard.
Another mistake is using cold butter. Using room temperature butter ensures that the sugar can properly cream with it, trapping air bubbles and achieving that fluffy texture. If you’re in a hurry, softening the butter in the microwave can cause it to melt partially, affecting the final product. Therefore, let it sit at room temperature for at least 30 minutes before starting.
Also, not measuring the flour correctly can lead to disastrous results. Spoon and level the flour rather than scooping it directly from the bag. Scooping can pack down the flour, leading to too much being added to the mix, resulting in dry cookies.
Lastly, make sure to monitor the baking time closely. Cookies can go from perfect to overbaked in a matter of minutes, so set a timer and keep an eye on your treats as they bake!
Storage, Freezing & Reheating Tips
To store your Milk Cookies, let them cool completely, then place them in an airtight container at room temperature. They will stay fresh for about 5-7 days. If you want to keep them for longer, you can freeze them. Place the cooled cookies in a single layer in a freezer-safe bag, removing as much air as possible. These cookies can be stored in the freezer for up to 3 months.
When you are ready to enjoy them again, you can thaw them at room temperature for about an hour. If you prefer them warm, you can pop them in the microwave for about 10-15 seconds or reheat them in an oven preheated to 350°F (180°C) for a few minutes.
Always remember to practice good food safety. If you ever notice any signs of spoilage, such as an off-smell or appearance, do not hesitate to discard the cookies to avoid any health risks.
Frequently Asked Questions
Can I use a different type of milk? Absolutely! You can use any type of milk you prefer, whether it’s almond, soy, oat, or even coconut milk. Just be aware that the texture and taste may vary slightly depending on the milk you choose.
Can I double the recipe? Yes, this recipe doubles easily! Just be sure to adjust the baking sheets accordingly, and keep an eye on the baking time, as it may differ slightly.
How do I know when the cookies are done? The cookies should be just set around the edges and look slightly underbaked in the center. They will continue to firm up as they cool, so it’s better to err on the side of underbaking.
What is the best way to pack these for gifts? If you’re planning on sharing your Milk Cookies as gifts, consider stacking them neatly in a decorative tin lined with parchment paper. You can also wrap individual cookies in cellophane bags tied with ribbons for a beautiful and thoughtful presentation.
Can I leave out the egg? Leaving out the egg will alter the texture of the cookies. However, you can substitute the egg with a flax egg or applesauce for a similar binding effect. Just keep in mind that your cookies may turn out slightly denser than those made with an egg.
Conclusion:
These Milk Cookies are not just a treat; they are an experience that brings comfort and joy to anyone lucky enough to have a taste. Their soft texture, delightful flavor, and ease of preparation make them a must-try for both novice bakers and seasoned pros alike. Feel free to customize the recipe to suit your tastes and share the love with family and friends. You won’t want to miss out on this warm, cozy baking adventure. Go ahead, roll up your sleeves, and indulge in making these scrumptious Milk Cookies today!


