Let’s Get Real
Alright, fam, grab your favorite apron and maybe a little extra patience today because I’m about to change your dessert game forever. It’s staying hot outside, the humidity is clinging to my skin like a clingy ex, and the thought of turning on my oven makes me want to faint. Who needs the extra heat, am I right? So, what’s a person craving something sweet to do in this infernal weather? If your answer involves anything even remotely gym-related, I’m judging you silently, but also let’s chat about *No Bake Caramel Crunch Butterfinger Truffles*! Yes, you heard me. No oven required. Hooray!
I’m totally serious when I say that I’ve made these little bites of heaven way too many times this summer. Like, my kitchen has officially become the headquarters for all things chocolate and caramel, and I’m not even a tiny bit sorry about it. These truffles are the epitome of ‘why bother with a fork when I can just shove these in my mouth?’ Honestly, do we really need plates for something this delicious? I think not.
Now, full disclosure: I wasn’t always a fan of Butterfingers. As a kid, I was more into gumdrops and gummy bears. The crunchy, peanut butter flavor of Butterfingers just didn’t do it for me. But then, adulthood happened, and suddenly those little snack-sized bars started calling my name from the candy aisle. One day I bit into one while trying to be “healthy” or whatever, and I haven’t looked back. So here we are. Truffles. Butterfinger-filled truffles, to be specific. You’re welcome.
Ingredients, Unfiltered
What’s Really in No Bake Caramel Crunch Butterfinger Truffles
Let’s break this down, folks. You’ve got some serious treats coming your way, and I want you to know exactly what you’re working with:
Butterfinger Bars: Obviously! This is the star of the show. I’m all about the full-size bars here. They’re crunchy, they’re peanut buttery, and they’re begging to be transformed into truffles. Also, if you find any tiny hands in the house, hide these bars until you’re ready to use them because they’ll happily ‘disappear’ before they even get to your truffles!
Sweetened Condensed Milk: This stuff is basically the glue that holds our dreams together. It’s rich, sweet, and adds a hint of creaminess to our truffles. I mean, if they aren’t sticky and sweet, are they even truffles? Just go with the regular stuff; you don’t need any substitutes here.
Butter: Because live, laugh, love butter. In my opinion, it’s an essential part of life. Don’t skimp here, folks. You want the good stuff (real butter, please) because you’re going to be rolling these into balls of pure delight.
Crushed Graham Crackers: We all know I have a love-hate relationship with these crumbly wonders. Sometimes they’re glorious, other times they end up all over my kitchen. But in this case, they add that perfect texture and make the truffles just a smidge less rich. Kind of like saying “no” to that last slice of cake… tempting, but sometimes necessary.
Coconut Flakes: Speaking of texture – here’s where I get a little bit sassy. Unsweetened flakes are where it’s at if you want a fun chew without overwhelming sweetness. But if you’re feeling extra, dive into the sweetened stuff. Life is short; go nuts!
Chocolate Chips: More chocolate, please! You’ll need these for dipping your truffles, and trust me, the semi-sweet variety is the way to go. They’re perfectly melty, and if you feel extra fancy, you could sprinkle a little sea salt over them once they’re dipped for that sweet-salty combo that will have everyone asking for more.
Let’s Talk Health (or Not)
Is This Even Healthy? Let’s Discuss
And now we hit that awkward part of every food blog— the health discussion. Spoiler alert: these truffles are not winning any awards for healthiness! Between the butter, sweetened condensed milk, and, well… the Butterfingers, calling these “health food” would be a colossal overstatement. But hey, who said we need to eat healthy all the time? Not me! Sometimes we need a decadent dessert to just enjoy.
Let’s be honest: the ingredients speak for themselves. Sure, there’s sugar, and yes, I sleep just fine at night with visions of these truffles dancing in my head. I can assure you, the combination of crunchy, gooey, and sweet is worth a few extra calories on your conscience. If you’re doing the bizarre “killjoy” diet, just take a small bite—it’ll satisfy the craving and you won’t feel the need to roll your eyes at life anymore. But seriously, let’s not kid ourselves; these truffles are meant for celebrating life, not counting calories. And if anyone dares to suggest portion control, well, they probably haven’t tried a truffle yet.
Your Grocery List
Here’s What You’ll Need
Alright, let’s get down to business, shall we? If you’re ready to create this culinary masterpiece, here’s everything you need for about 22-24 truffles (just enough to share with friends, or, you know, not).
– 4 Butterfinger bars, crushed
– 1 cup sweetened condensed milk
– 1/4 cup unsalted butter, melted
– 1 cup crushed graham crackers
– 1/2 cup unsweetened coconut flakes (or sweetened, if you’re feeling wild)
– 1 cup semi-sweet chocolate chips
Trust me; this will yield a delightful treat that you’ll be proud to flaunt (or hoard) in your fridge.
The Actual Cooking Part
Okay, Let’s Make This
Now let’s get rolling, guys and gals! This is where the magic happens, so don’t panic if this looks messy — it’s supposed to! Messy is just another word for delicious!
1. First, grab a bowl and mix those crushed Butterfinger bars with the sweetened condensed milk and melted butter. You’d think this would be simple, but always double-check for any sneaky uncrushed Butterfinger nuggets hanging out. If you find them, crush them with reckless abandon! Look, we’re not here to play nice; we want all that Butterfinger flavor in every bite.
2. Next, toss in the crushed graham crackers and coconut flakes. Take a moment to embrace the glorious mixture. It should start looking like a sticky, glorious mess. If you’re not getting a little on your hands, you’re doing it wrong.
3. Once combined, pop the mixture into the fridge for at least an hour. I mean, you could skip this step and just dive in, but trust me—letting it cool is where the texture magic happens.
4. After an hour of anticipation (perfect time for a mini dance party), roll the cooled mixture into small balls. Think the size of a golf ball, or the size of your ego after a successful day of baking. Place them on a parchment-lined baking sheet. Try to get them all uniform; it makes for a prettier presentation later, but I won’t judge you if you make a truffle that looks like a lumpy potato. We’re all friends here.
5. Now for the best part: melting the semi-sweet chocolate chips. Pop them in a microwave-safe bowl and nuke them in 30-second intervals, stirring in between until it’s all smooth and dreamy. Pro tip: don’t walk away and forget them; chocolate has a way of burning faster than you can snap your fingers.
6. Dip each truffle in the melted chocolate and roll it around until it’s beautifully coated. I like to use a fork for this part, because who wants an entire knuckle of chocolate, am I right? Place them back on the parchment paper to set.
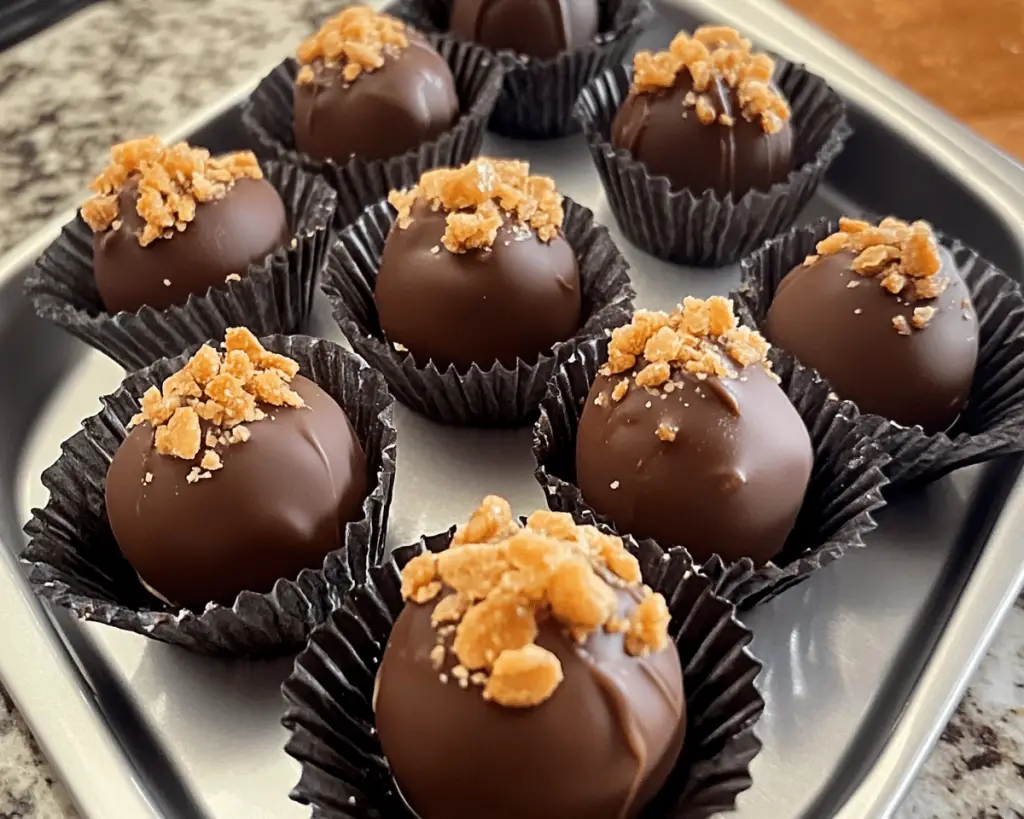
7. If you want to feel super fancy and like a skilled chocolatier, sprinkle a little crushed Butterfinger on top while the chocolate is still warm. BOOM — gloriously impressive truffles that are just crying out to be devoured!
8. Let them set completely, which should be about 30 minutes (long enough for you to contemplate life choices or scour social media while resisting the urge to snag a few before the chocolate gets hard).
Side Notes & Sassy Hacks
Bonus Tips You Didn’t Ask For
Oh, you wanted more hacks? You came to the right place! Here’s a few extra things I can’t help but throw out there because you know I can’t stick to just the recipe.
– No Butterfingers? No problem! Get creative. You could totally whip these up with Snickers, Reese’s, or any of your favorite candy bars. The world (a.k.a. your kitchen) is your oyster.
– If you’re looking to lower the sugar content a bit, mix in some unsweetened cocoa powder instead of some graham crackers, but let’s be honest; where’s the fun in that?
– Feel free to roll them in crushed nuts instead of coconut if you want to take a walk on the wild side. Almonds or pecans work freeeeaky well.
– If you want to make these ahead of time, you can freeze them once they’re fully set. Just allow them to come back to room temperature before serving. Trust me; they taste just as good (if not better) frozen!
Final Words of (Culinary) Wisdom
So there you have it, folks! I hope you’re as excited as I am about these No Bake Caramel Crunch Butterfinger Truffles. If you try them, tag me. Or just send me a mental high-five because heyy, we’re connecting through food, and there’s magic in that! Whether you’re whipping these up for a potluck or just indulging yourself after a long day (no judgment here), you can’t go wrong with rich chocolate and the crunch of Butterfinger goodness. So roll up your sleeves, get your hands sticky, and let’s make some sweet memories together—no heat required. Now, let’s dive in!


