Prep time: 15 minutes
Cook time: 30 minutes
Total time: 45 minutes
Servings: 4
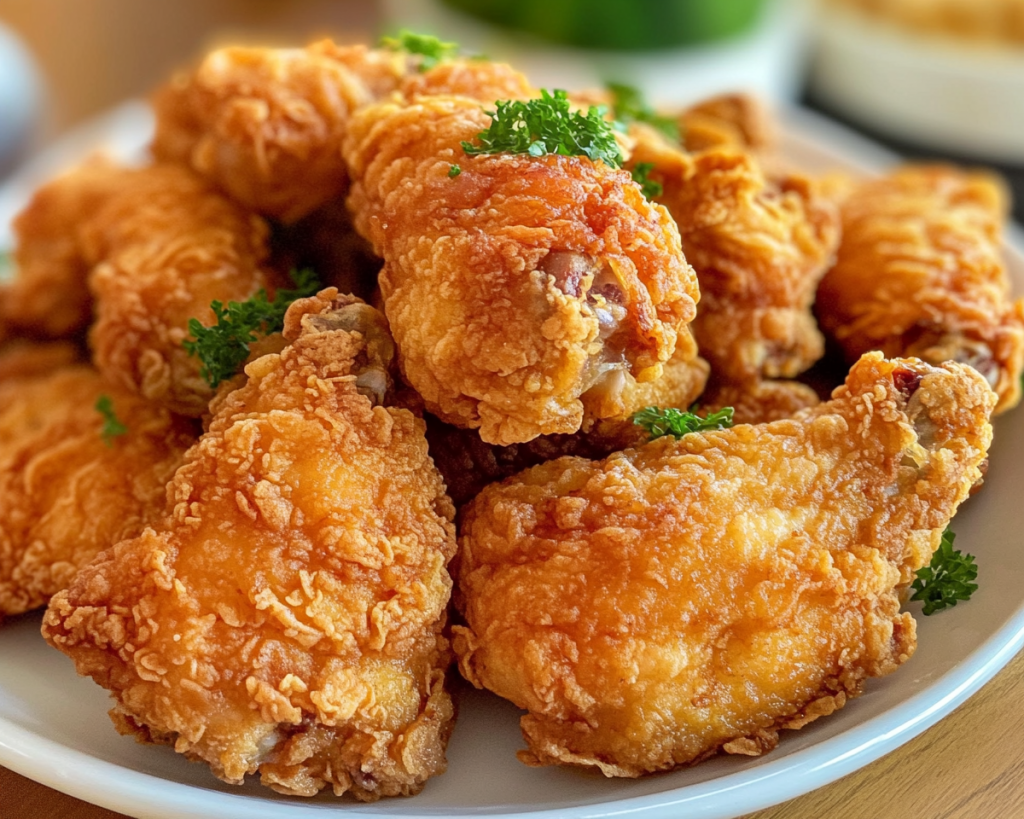
If you’ve ever craved that *perfectly crispy chicken* without the guilt of frying, you’re in the right place. Imagine biting into a juicy, flavorful piece of chicken with that satisfying crunch, all crafted from the comfort of your own kitchen. This recipe for **How Can You Make Chicken That Crispy Without Frying It** is not only incredibly delicious but also straightforward, making it perfect for busy parents, beginners, or anyone looking to whip up a quick, healthy meal. You’ll learn the secrets to achieving that immaculate texture and flavor without drowning your chicken in oil.
This recipe is special because it combines the techniques of roasting and baking to ensure your chicken remains moist while achieving incredible crispiness. Utilizing tools like spices, a hot oven, and proper techniques transforms simple chicken into a culinary delight. Moreover, we’ll explore various tips, flavor profiles, and even variations to suit your dietary preferences. So, get ready to dive into the world of crispy chicken where health meets flavor!
What Is How Can You Make Chicken That Crispy Without Frying It?
The dish “How Can You Make Chicken That Crispy Without Frying It” refers to a cooking method designed to replicate the taste and texture of fried chicken but without submerging it in oil. Traditionally, crispy chicken is achieved through frying, which can often lead to excess calories and unhealthy fats. In this recipe, we’ll focus on using **oven baking** techniques, which allow the chicken to develop a crunchy exterior while remaining juicy on the inside.
The secret lies in the **bread coating** and the cooking method. When you season the chicken properly and use a high-quality breading that can crisp up in the oven, you achieve that luscious, crispy outer layer. By utilizing a preheated oven and a few simple ingredients, you can enjoy chicken that rivals your favorite fried versions, all while maintaining a balance of health and taste that’s hard to beat.
Why You’ll Love This
There are numerous reasons to fall in love with this oven-baked chicken! First and foremost, the **taste** is remarkable; achieving the combination of crunch and succulence is a culinary triumph. You not only get the joy of indulging in a meal but also the satisfaction of knowing it’s healthier than the fried alternatives. This recipe is suitable for all, making it an ideal **weeknight dinner** for families, meal prep for the busy individual, or even a special gathering with friends.
Another benefit is the **ease of preparation**. With minimal effort, you can prepare this dish quickly. Simply coat the chicken, place it in the oven, and you can focus on other chores, or even relax while your dinner cooks. Furthermore, it’s cost-effective. Buying chicken in bulk and creating a meal that suits various dietary restrictions can save you money while keeping you and your family happy.
Don’t forget the versatility you will experience! You can easily swap out spices, meats, or breading to accommodate your preferences. Some may find frying intimidating, and this recipe alleviates that apprehension by providing a simple solution that anyone can excel at.
Ingredients You’ll Need
- Chicken thighs or breasts: Chicken thighs offer more flavor and remain juicy, while breasts are leaner. Your choice affects both taste and texture.
- All-purpose flour or gluten-free flour: This forms the base of your crispy coating. If you prefer gluten-free, various **gluten-free alternatives** work efficiently.
- Eggs: Used as a binder for the coating; ensuring the flour and breadcrumbs stick appropriately.
- Breadcrumbs (preferably panko): Panko breadcrumbs add an extra crunch; traditional breadcrumbs also work, but texture will vary.
- Spices (e.g., paprika, garlic powder, salt, and pepper): Choose your favorite spices to enhance flavor. Feel free to customize according to your palate.
- Cooking spray or olive oil: A light spray ensures the chicken crisps up nicely without the need for frying.
Choosing the ingredients wisely impacts not only the flavor but also the health profile of your dish. Whole grain breading can be used for added fiber, while organic chicken can enhance flavor and reduce antibiotic exposure. The option for gluten-free flour and breadcrumbs ensures you cater to various dietary needs, keeping this recipe adaptable for everyone.
How to Make
- Preheat your oven to 425°F (220°C). This high temperature is crucial for achieving that desired crispiness. Allow your oven to preheat, ensuring an even cooking environment for your chicken.
- Prepare the chicken by rinsing it under cold water and patting it dry with a paper towel. This step is essential for removing excess moisture, which can impede crisping. If using chicken breasts, consider cutting them into smaller pieces for quicker cooking and better coating coverage.
- In a large mixing bowl, combine the all-purpose flour, paprika, garlic powder, salt, and pepper. This mixture will serve as your seasoned dredge, elevating the flavor profile while providing a robust base for the breading. You might adjust the spices according to your preferences for a customized flavor.
- In another bowl, beat the eggs thoroughly until they are well combined. The egg wash is vital for helping the breadcrumbs adhere to the chicken. If you prefer an egg-free option, you can use a mixture of **flaxseed meal** and water as a substitute.
- In a third bowl, pour the panko breadcrumbs mixed with a pinch of salt and other spices if desired. This layer adds the essential crunch to your chicken. Ensure the breadcrumbs are evenly sprinkled for consistent texture across your chicken pieces.
- Now, it’s time to coat your chicken. Start by taking a piece of chicken and dipping it into the flour mixture, allowing excess to fall off. Next, dip it into the egg wash, ensuring it’s covered well, and then finally, coat it with the breadcrumb mixture. Repeat this for all pieces of chicken.
- Prepare your baking sheet by lining it with parchment paper or a silicone mat. Arrange the coated chicken pieces in a single layer, making sure they don’t touch. This spacing allows the hot air to circulate, ensuring even crisping.
- Lightly spray the tops of the chicken with cooking spray or drizzle with a touch of olive oil. This step helps in getting that golden-brown finish, enhancing the overall flavor and crunch.
- Bake the chicken in your preheated oven for 25-30 minutes. Around the halfway point, consider flipping the chicken to ensure both sides are evenly browned. You’ll know it’s done when the chicken reaches an internal temperature of 165°F (75°C) and the external layer is crispy and golden.
- Once cooked, remove the chicken from the oven and allow it to rest for five minutes before serving. Resting helps the meat retain its juices, guaranteeing a moist bite. Pair it with your favorite dip or side for a satisfyingly delicious meal!
Variations & Substitutions
Spicy Crispy Chicken: To give your chicken a fiery kick, consider adding extra **cayenne pepper** or **hot sauce** to your egg wash or breadcrumb mixture. This variation is perfect for those who enjoy a robust hit of flavor. Just remember to balance spiciness with a cooling side like a yogurt dip!
Herb-Crusted Chicken: For a refreshing twist, mix in dried herbs such as **oregano, thyme**, or **rosemary** into your breadcrumb coating. This herbaceous profile pairs beautifully with a simple lemon wedge, enhancing the flavor experience. Recommended for herb lovers or when wanting a more fragrant dish.
Parmesan Chicken Bites: Grate some **Parmesan cheese** and add it to your breadcrumb coating for an unctuous flavor boost. Not only does it elevate the taste, but it also adds a touch of richness. It’s ideal for those who love Italian flavors or as a starter for family gatherings.
Barbecue Chicken: Add your preferred **barbecue seasoning** or sauce to the flour mixture for a sweet and tangy profile. This variation is splendid for summer barbecues or when you’re longing for that smoky flavor. Pair it with coleslaw for a tailored meal that sings summer vibes.
Vegan Crispy Cauliflower: If you’re looking to cater to a plant-based crowd, swap the chicken for cauliflower florets. Utilize the same dredging method with **plant-based egg alternatives** and enjoy crispy cauliflower bites that pack flavor while remaining vegan-friendly. Ideal for gatherings to accommodate various preferences.
Common Mistakes to Avoid
When attempting this recipe, several pitfalls can derail your crispy chicken aspirations. One common mistake is overcrowding the baking sheet. When too many pieces are crammed together, they steam rather than roast, preventing any chance of that desired crunch. Ensure there is **ample space** between each piece to allow air to circulate.
Another error lies in not preheating the oven sufficiently. A properly preheated oven develops that initial sear on the outer layer, leading to crispiness. Thus, never skip this important step! An additional warning pertains to the cooking time. Chicken pieces can vary in size, so always check internal temperature rather than relying solely on baking time; this ensures both safety and optimal texture.
Don’t forget the seasoning! Rushing past the coating stage, especially the flour, can lead to bland chicken. Make sure your flavors are well-distributed to avoid any **boring bites**. Remember to season each layer, and always taste-test your coatings for the best results.
Storage, Freezing & Reheating Tips
To store leftover crispy chicken, allow it to cool completely before transferring to an airtight container. This will maintain the chicken’s moisture and keep it fresh. The ideal storage duration in the fridge is **3-4 days**, ensuring optimal flavor and safety. If you find yourself wanting to save it for longer, consider freezing.
To freeze, wrap each piece of cooled chicken individually in plastic wrap before placing them in a freezer bag. This ensures they won’t stick together, allowing for easier reheating in the future. You can freeze the chicken for up to three months, ensuring minimal waste and future meal prep convenience.
When it’s time to reheat, opt for an oven rather than a microwave to retain the crispiness. Preheat the oven to 375°F (190°C) and place the chicken on a baking sheet, covering it lightly with foil for even heating while avoiding burnt tips. Heat for around 15-20 minutes or until warmed throughout, reaching an internal temperature of 165°F (75°C).
Frequently Asked Questions
Can I use skinless chicken for this recipe? Yes, you can definitely use skinless chicken, though it may be less juicy compared to skin-on cuts. Just make sure to adjust the cooking time as skinless pieces may cook faster. The breading will still give you that wonderful crispy exterior!
Do I have to marinate the chicken? While marinating isn’t mandatory, it can enhance the flavor significantly. A marinade adds depth to the chicken’s taste and can help tenderize the meat. If time permits, consider a quick 30-minute soak in your favorite seasoning blend for more flavor.
Can I make this dish gluten-free? Absolutely! Simply substitute the all-purpose flour and breadcrumbs with **gluten-free alternatives**. Many brands offer both gluten-free flour and panko-style breadcrumbs, allowing you to enjoy this recipe without any gluten concerns.
How can I adjust cooking time for different chicken cuts? Different cuts can vary in cooking time; chicken thighs may take longer than breasts. Chicken pieces smaller than typical cuts, like tenders or wings, will cook faster. Always use a meat thermometer to check for doneness at an internal temperature of 165°F (75°C) regardless of size.
What sides pair best with crispy chicken? Several sides complement crispy chicken beautifully! Consider serving it with **mashed potatoes**, a fresh *garden salad*, rice pilaf, or even roasted vegetables. These options balance the dish’s richness while contributing to a well-rounded meal.
Conclusion:
In conclusion, the recipe for **How Can You Make Chicken That Crispy Without Frying It** combines health and flavor seamlessly, offering a delightful alternative to traditional frying methods. You’ve learned valuable techniques, multiple variations, and common pitfalls to ensure success. I encourage you to try this recipe, customizing it to your taste, and share it with friends and family. Your next dinner could be just a crispy chicken away, and who knows? It might just become a staple in your cooking repertoire!


