Prep time: 30 minutes
Cook time: 1 hour
Total time: 1 hour 30 minutes
Servings: 24 servings
Homemade Valentine treats everyone loves are a delightful way to express your affection without breaking the bank. With thoughtful preparation, you can create delightful and **personalized** treats that are sure to impress your loved ones. Whether you’re a busy parent or just looking to make something special for your friends, these treats are engaging, easy to make, and sure to bring smiles all around.
What Is Homemade Valentine Treats Everyone Loves?
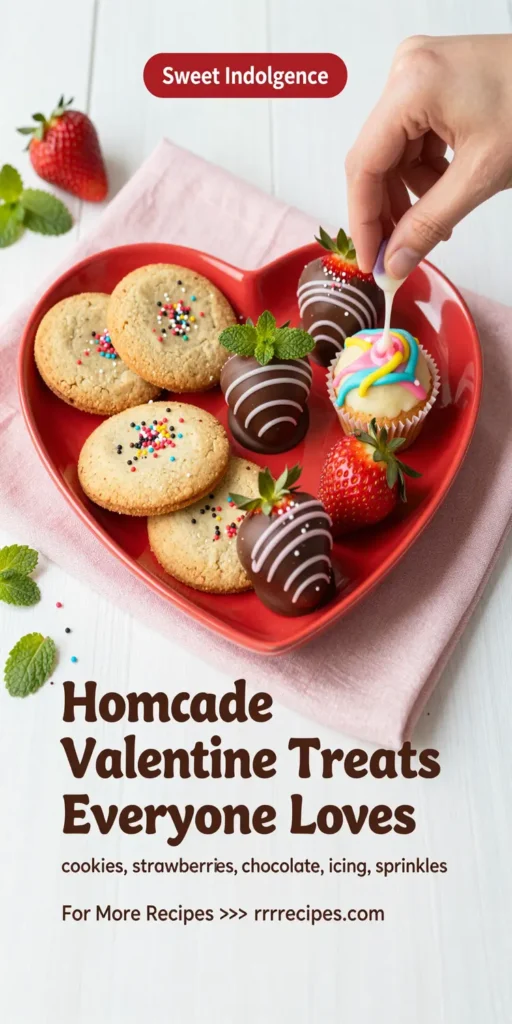
Homemade Valentine treats everyone loves typically encompass a variety of desserts, candies, and baked goods crafted from the heart. Think of cookies shaped like hearts, chocolate-covered strawberries, and rich fudge that can be beautifully packaged or presented. The charm of making these treats from scratch lies in the **emotion** and **care** infused into every bite. These treats often serve as a token of affection and can be adapted to meet various tastes and dietary needs, allowing you to surprise your loved ones with **delicious** and unique creations.
Why You’ll Love This
There are several reasons to adore making homemade Valentine treats. First and foremost, they offer a personal touch that store-bought items simply can’t match. Crafting these goodies allows you to express creativity and personalize recipes. Additionally, these treats can fit any budget, making them accessible for all. Plus, many recipes are straightforward enough for **kitchen beginners**, ensuring that everyone can join in on the fun.
The sensational aroma filling your kitchen as you bake or prepare candy is an added bonus, making this a truly enjoyable experience. You can tailor the flavors to meet your loved ones’ preferences, ensuring that every bite resonates with their taste. Not to mention, the joy of sharing your homemade treats with family and friends fosters a sense of **community** and **connection**.
Ingredients You’ll Need
- 2 cups all-purpose flour: This forms the base of your baked goods, giving structure and texture.
- 1 cup unsweetened cocoa powder: Adds rich chocolate flavor and a deep color to brownies or cookies.
- 1 cup granulated sugar: Sweetens your treats; feel free to adjust based on preference.
- ½ cup unsalted butter: Brings richness and moisture; can be substituted with margarine or coconut oil for a dairy-free option.
- 2 large eggs: Essential for binding your ingredients together.
- 1 teaspoon vanilla extract: Enhances the flavors and adds warmth.
- 1 cup chocolate chips or sprinkles: Great for adding a pop of color and an extra layer of sweetness.
- ½ teaspoon salt: Balances the sweetness and enhances flavor.

How to Make
- Begin by preheating your oven to 350°F (175°C). This step is crucial for achieving the perfect texture. Prepare your baking sheets with parchment paper to ensure easy removal later on.
- In a large mixing bowl, cream together the unsalted butter and sugar until the mixture becomes light and fluffy. This process aerates the ingredients, leading to a wonderful texture. You can use an electric mixer for efficiency.
- Add in the eggs one at a time, mixing thoroughly before the next addition. Incorporate the vanilla extract to enhance the flavors even further. The **sweet aroma** will start to fill your kitchen.
- Gradually sift in the flour, cocoa powder, and salt. Mix until just combined, taking care not to overmix. A smooth batter will yield tender treats.
- Fold in the chocolate chips or sprinkles for added sweetness and visual appeal. You’ll love the delightful crunch they provide.
- Using a cookie scoop or spoon, drop rounded tablespoons of dough onto the prepared baking sheets, leaving enough space between each ball. Bake for 12 to 15 minutes, or until the edges appear firm but the centers remain soft.
- Once baked, allow the treats to cool on the baking sheets for a few minutes before transferring them to a wire rack to cool completely.
Variations & Substitutions
Red Velvet Cookies: For a festive twist, replace half of the cocoa powder with red food coloring and a splash of buttermilk. This variation provides a beautiful red hue and a unique taste, ensuring they become a dessert costume for the holiday.
Gluten-Free Option: Substitute all-purpose flour with a gluten-free flour blend. This allows everyone, regardless of dietary needs, to enjoy the sweet treats. Utilize alternative binders such as flaxseed or chia seed for vegan adaptations.
Healthier Version: Consider using honey or maple syrup instead of granulated sugar, and incorporate whole wheat flour for added fiber. You can also add nuts or seeds for a delicious crunch while maintaining the flavor.
Cookie Sandwiches: For a fun twist, create sandwiches by spreading cream cheese frosting or flavored icing between two cookies. This will elevate your treats and add an extra layer of **deliciousness**.
Decorative Treats: Take your homemade chocolates and coat them in **white chocolate** or drizzled dark chocolate for a gourmet flair. Adding toppings like chopped nuts or shredded coconut can make them appealing and visually tempting.
Common Mistakes to Avoid
One common mistake is overmixing the batter. Overmixing can lead to tough cookies rather than soft and chewy ones. To avoid this, mix just enough until the dry ingredients are combined. Similarly, make sure not to skip the **cooling** process. If you move the treats while they’re still warm, they can become misshapen or break apart.
Another issue could be the baking temperature. Always preheat the oven; ignoring this might lead to uneven baking. Finally, don’t forget to check your baking sheets. Ensure there’s enough space in between each cookie drop; overcrowding may lead to cookies merging into one another.
Storage, Freezing & Reheating Tips
To maintain the freshness of your homemade treats, store them in an airtight container at room temperature. They can typically last 3 to 5 days without losing flavor. If you’re planning to keep them longer, freezing is an excellent option. Lay the cookies flat on a baking sheet and place them in the freezer for about an hour. Once frozen, transfer them to a freezer bag for long-term storage. They can remain frozen for up to 3 months.
When it’s time to enjoy them again, thaw them at room temperature or microwave them in short bursts to avoid dryness. Always ensure to check for any freezer burn if they haven’t been well-wrapped.
Frequently Asked Questions
Can I use a different flour besides all-purpose flour?
Absolutely! You can experiment with various flours such as almond flour or coconut flour for gluten-free or lower-carb options. Be aware, however, that the texture might change slightly, so adjustments in ratios may be necessary.
How can I make these treats more chocolatey?
For an extra chocolatey flavor, increase the amount of cocoa powder or chocolate chips in the recipe. You may also consider using dark chocolate as a replacement for semi-sweet chocolate chips. This will enhance the depth of **chocolate** flavor and satisfaction.
What’s the best way to decorate these treats?
A simple way to decorate your treats is to drizzle melted chocolate or add colorful sprinkles on top. For an elegant touch, consider using edible glitter or edible flowers as decorative accents. Presentation can elevate the simple treat into something special.
Can I modify the sweetness of the treats?
Certainly! Adjusting the granulated sugar based on your preference is straightforward. You may also use natural sweeteners, keeping in mind that some may react differently in baking.
Is it necessary to chill the dough before baking?
Chilling the dough helps in developing richer flavors and can provide a better texture, preventing them from spreading too much during baking. If you’re short on time, you can skip this step, but for the best results, a chill period is advisable.
Conclusion:
Creating homemade Valentine treats everyone loves is not just about the final product; it’s an experience filled with joy, love, and creativity. From baking to decorating, every step can be enjoyed, making them perfect for sharing with those you love. Embrace the process, try different variations, and make memories along the way. Your treats are sure to be cherished, and your loved ones will appreciate the effort you’ve put in, making this Valentine’s Day unforgettable.


