Prep time: 30 minutes
Cook time: 25 minutes
Total time: 2 hours (including rising time)
Servings: 12 rolls
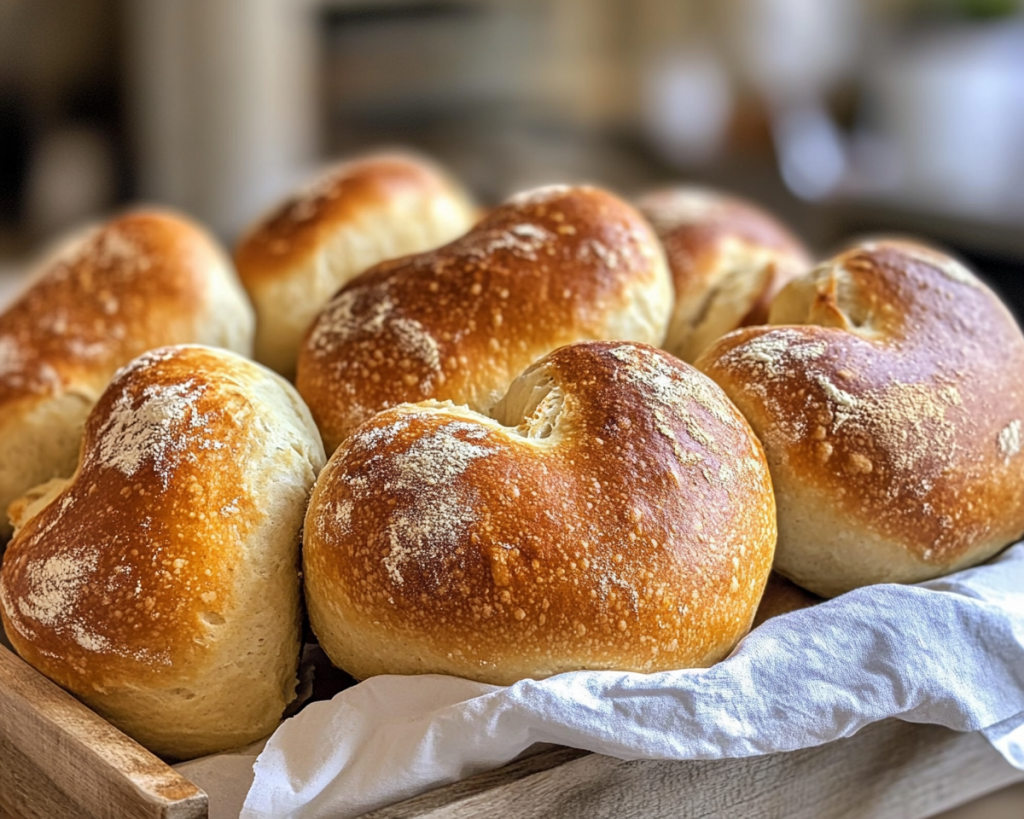
Imagine the aroma of freshly baked bread wafting through your home on a chilly evening, a scent so warm and comforting that it draws everyone into the kitchen. Heart Shaped Sourdough Rolls are more than just a simple bread recipe; they are a heartfelt gesture, especially suitable for Valentine’s Day or any occasion that calls for love and warmth. These rolls are soft, tangy, and slightly chewy—characteristics that are hallmarks of a good sourdough. With a little creativity, you can shape them into delightful hearts that will make anyone’s day special.
This recipe is designed not only for seasoned bakers but also for those who may be new to the world of sourdough or bread-making in general. You’ll discover simple tips, essential techniques, and creative variations that allow you to customize the flavors to your liking. We’ll walk through the step-by-step process of creating these charming rolls—from the initial mix of ingredients to the final golden-brown finish.
Whether you’re planning a romantic dinner, a festive gathering, or simply looking for an enjoyable baking project, this recipe aims to please. Let’s dive deep into the world of Heart Shaped Sourdough Rolls!
What Is Heart Shaped Sourdough Rolls Recipe Easy Valentine’s Day Bread?
Heart Shaped Sourdough Rolls are a delightful twist on traditional sourdough bread, made with a process that captures the unique culinary tradition of bread-making while adding a touch of love to the presentation. Originating from the age-old practice of sourdough fermentation, which involves using naturally occurring bacteria and yeast, these rolls showcase a rich, tangy flavor combined with a soft yet distinct texture. The addition of heart-shaped forms turns these rolls into a perfect surprise for loved ones, turning ordinary mealtimes into romantic occasions.
The flavor profile of these rolls is both complex and inviting. The tanginess from the sourdough starter offers a perfect balance against buttery, sweet toppings or alongside savory dishes, making them incredibly versatile. Each bite of the roll provides a chewiness that only sourdough can deliver, enhanced further by the golden crust that develops during baking. These heart-shaped rolls not only feed the stomach but also nourish relationships, making them an exceptional choice for Valentine’s Day or any heartfelt occasion.
In crafting this recipe, you’ll learn valuable techniques from the bread-making process that can be applied to various types of sourdough bread in the future. Understanding the importance of hydration, fermentation, and shaping is crucial for achieving that perfect rise and crust.
Why You’ll Love This
There are countless reasons to cherish this Heart Shaped Sourdough Rolls recipe. First and foremost, the **taste** is a standout feature. With its slightly tangy flavor and delightful chewiness, every bite is an experience. The smell of baking bread is an experience that evokes comfort and warmth, making it an irresistible addition to dinner tables or Sunday brunches.
In terms of **ease**, this recipe simplifies the sourdough process for both beginners and seasoned bakers, allowing you to produce restaurant-quality rolls without the need for specialized equipment. The tangy flavor and soft texture are achieved through a natural sourdough starter, which is often seen as a challenging component, but it’s broken down into clear, manageable steps.
Cost-wise, baking your own bread can be far less expensive than store-bought varieties, especially when it comes to artisanal rolls. The ability to customize ingredients allows for a budget-friendly yet delightful addition to your meals. This recipe also supports **healthy eating**; crafted from whole ingredients with no preservatives, these rolls contribute wholesome goodness to your diet.
Many people think that baking with **sourdough** takes a significant amount of time, leading to hesitance. However, while it indeed requires patience and a little more attention, the results are undeniably worth it. With practice, the technique becomes intuitive, transforming you into a confident baker.
Another advantage is the **versatility**. Whether you enjoy them with a bowl of soup, as a side for salads, or simply topped with butter, these rolls can fit various menus. They also make for an impressive gift, showcasing the love and effort you’ve poured into baking.
Ingredients You’ll Need
To create your Heart Shaped Sourdough Rolls, you’ll require a handful of key ingredients. Here’s a detailed list:
- Sourdough starter: A healthy starter serves as the foundation for your rolls, contributing the necessary rise and tangy flavor. You can create your own starter or buy one from a local bakery or online.
- All-purpose flour: This provides the structure needed to hold the shape of the rolls. You can substitute up to half with whole wheat flour for a healthier option.
- Water: Room temperature water hydrates the flour and allows for active fermentation. Use filtered water if possible, as it improves flavor.
- Salt: Essential for enhancing flavor and regulating yeast activity, salt is a crucial component in any bread recipe.
- Sugar: This is optional, but it feeds the yeast for a faster rise and adds a hint of sweetness to the rolls.
- Butter: This enriches the dough and adds a soft texture; feel free to use unsalted butter for a more controlled salt level.
- Milk: Adding milk creates a richer flavor and softer texture, making these rolls feel extra luxurious.
Each of these ingredients plays a vital role in the creation of your rolls, and being familiar with their functions can help you troubleshoot if something goes awry. Always opt for high-quality ingredients for the best results.
How to Make
Creating perfect Heart Shaped Sourdough Rolls is a process that requires attention to detail but is extremely rewarding. Follow these step-by-step instructions:
- Activate your sourdough starter: Ensure your sourdough starter is bubbly and active before beginning. Feed it about 4-6 hours prior to baking. This step is crucial for achieving the right dough consistency and fermentation. Look for a starter that has approximately doubled in size and has a tangy aroma.
- Mix dry ingredients: In a large mixing bowl, combine 4 cups of all-purpose flour, 2 teaspoons of salt, and 2 tablespoons of sugar if you choose to use it. This method evenly distributes the salt and sugar, contributing to a well-balanced flavor in your rolls. Stir gently with a wooden spoon until fully blended.
- Combine wet ingredients: In a separate bowl, mix 1 cup of water and ½ cup of milk, warming it slightly if necessary. Make sure it’s not too hot; you want it to be comfortably warm to the touch but not steaming. Melt 3 tablespoons of butter and add it to the wet ingredients, stirring until combined.
- Add the sourdough starter: Gently fold in 1 cup of your active sourdough starter into the wet mixture, creating a homogenous mixture. The fermentation process begins here, so be patient. The active cultures will work to raise your dough wonderfully.
- Combine wet and dry ingredients: Gradually pour the wet mixture into the dry ingredients, stirring until a shaggy dough forms. Don’t be alarmed by the stickiness; this is normal for sourdough! You may use your hands to knead slightly but avoid overworking the dough.
- Knead for 5-7 minutes: On a lightly floured surface, knead your dough until it becomes smooth and elastic. This step is vital for gluten development, which will yield the lovely chewiness characteristic of sourdough. As you knead, feel for that elastic quality; the dough should bounce back slightly when pressed.
- First rise: Grease a large bowl and place your kneaded dough inside. Cover it with a damp kitchen towel or plastic wrap, and let it rise for 1-2 hours until doubled in size. Keep an eye on the dough—temperature plays a significant role here, so a warm spot in your kitchen is ideal.
- Shape the rolls: Once risen, gently deflate your dough. Divide it into 12 equal portions. To shape into hearts, take each portion and shape it into a small ball. Then, elongate the ball into a teardrop shape. Pinch the top for the “dip” in the heart and slightly spread the base. Ensure they’re all of similar size for uniform baking.
- Second rise: Arrange your heart-shaped rolls on a parchment-lined baking sheet, ensuring they’re close but not touching. Cover them again and let them rise for another 30-45 minutes. During this time, preheat your oven to 375°F (190°C).
- Bake: When ready, uncover your rolls and bake them for about 20-25 minutes or until golden brown on top. The rolls should sound hollow when tapped at the bottom, indicating they are thoroughly baked. Take them out of the oven and let them cool slightly on a wire rack before serving.
- Serve warm: These rolls are best enjoyed warm and can be served with butter, jam, or as a side to your favorite dishes. The aroma in your kitchen will have everyone eagerly awaiting their first bite!
Following these steps diligently will yield delightful heart-shaped rolls that are sure to make an impression at any gathering. Don’t rush the process; enjoy the baking experience from start to finish!
Variations & Substitutions
Each person has their unique taste; hence variations of this recipe can make it even more exciting. Here are some delightful options for customization:
Cheese-Stuffed Heart Rolls: If you’re a fan of cheese, why not add a heart of melted goodness within? Take a small portion of your dough and press it down slightly. Place a cube of your favorite cheese in the center, encasing it by folding the dough back over. Shape it into a heart as usual. As it bakes, the cheese will ooze out, creating a deliciously decadent roll. This variation is perfect for gatherings where a savory twist is expected, and cheese lovers will undeniably appreciate the treat.
Herbed Sourdough Rolls: For an aromatic variation, incorporate fresh herbs into your dough. Consider adding a tablespoon or two of chopped rosemary, thyme, or even garlic powder to your dry ingredients. The result will be a flavor infusion that complements the rolls beautifully, perfect for pairing with grilled meats or as an addition to salads. This version can attract those seeking lighter, fragrant rolls that can accompany a variety of dishes.
Sweet Cinnamon Rolls: Transform your heart-shaped rolls into sweet cinnamon rolls by adding brown sugar and cinnamon to your filling. Roll out the dough and spread softened butter over it, sprinkle a generous mix of cinnamon and sugar, then roll up and slice into smaller portions. Shape them into hearts and let them rise before baking. This delicious variant can serve as a breakfast treat or a delightful dessert, fulfilling your sweet cravings while still staying true to the sourdough roots.
Gluten-Free Sourdough Rolls: Following a gluten-free diet? Substitute the all-purpose flour with a gluten-free flour blend, ensuring it contains xanthan gum for proper binding. This will allow you to enjoy these delightful rolls without sacrificing taste or texture. Remember to check the hydration level, as gluten-free flours can absorb moisture differently. Adjust water as needed for a perfect dough consistency. These rolls can be just as satisfying as their traditional counterparts while being considerate of gluten sensitivities.
Common Mistakes to Avoid
Even seasoned bakers can encounter a few familiar pitfalls when making sourdough bread. Here are some common mistakes and helpful tips to avoid them:
Firstly, **not using an active starter** can lead to dense rolls. Ensure your sourdough starter has been fed recently and is bubbly and active before you begin. A sluggish starter won’t provide the necessary lift for your rolls, so moving forward with an unprepared starter can significantly compromise your bake.
Another common issue is **over-kneading or under-kneading the dough**. It’s essential to find a balance during the kneading process. Over-kneading can result in a tough texture, while under-kneading leaves the rolls flat and dense. Aim for a smooth dough that has elasticity; it should be able to spring back when gently pressed.
Some bakers also underestimate the importance of **temperature control**. The ideal environment for rising sourdough is warm but not hot. Too much heat can kill the yeast, while too cold an environment can slow down the fermentation process. If your kitchen is chilly, try placing the dough near a warm oven or using a proofing box to create the perfect rising conditions.
Lastly, **baking at the wrong temperature** can ruin your rolls, leading to burnt edges or doughy centers. Always preheat your oven and invest in an oven thermometer to ensure you’re working with the right temperature. Following the correct baking time is equally important; check your rolls frequently to achieve that perfect golden-brown exterior.
Storage, Freezing & Reheating Tips
To enjoy your Heart Shaped Sourdough Rolls beyond the initial bake, proper storage is essential. Once cooled, store the rolls in an airtight container at room temperature for up to three days. This will maintain their freshness, keeping the crust nice and chewy while preventing it from drying out.
For longer storage, you can freeze these rolls. Allow them to cool completely before wrapping each roll individually in plastic wrap and placing them into a freezer-safe bag. They can last in the freezer for up to three months. When you’re ready to enjoy them, simply take one out and let it thaw at room temperature or reheat it directly from the freezer in a 350°F (175°C) oven for about 10-15 minutes until warmed through.
When reheating, you have a few options. For a quick fix, reheat in a microwave, but be cautious, as this can lead to a chewy texture. The oven method offers the best results, crisping the exterior while keeping the inside soft and fluffy.
Always remember to practice safe food handling when storing your sourdough rolls. As per food safety best practices, ensure your hands, work surfaces, and storage containers are clean to prevent contamination.
Frequently Asked Questions
What is a sourdough starter, and how do I make one?
A sourdough starter is a mixture of flour and water that captures wild yeast and bacteria from the environment, enabling the fermentation process required for sourdough bread. To make a starter, combine equal parts water and flour (typically whole grain for an initial mix) in a jar, feed it every day by discarding half and replenishing it with more flour and water. In about 5-7 days, your starter should be bubbly and ready to use.
Can I use instant yeast instead of sourdough starter?
Yes, substitute active dry yeast or instant yeast if you’re looking for a faster process. Add approximately 1 tablespoon of yeast to your dry ingredients, adjusting the water content accordingly. However, keep in mind that you will miss out on the characteristic tang and depth of flavor that comes from natural fermentation.
Why did my rolls turn out flat?
Flat rolls may result from an inactive or underfed sourdough starter, insufficient kneading affecting gluten structure, or improper rising times. Ensure your starter is bubbly before use and allow the dough to rise adequately in a warm environment. This will contribute to a proper lift.
How can I add flavor to my rolls without changing their base ingredients?
You can incorporate various flavor enhancements like herbs, cheeses, or spices directly into the dough. For added sweetness, consider filling your rolls with cinnamon sugar or fruit preserves. Experimenting with fillings provides an exciting element to the basic roll.
Can I bake this recipe in smaller portions?
Absolutely! You can adjust the size of the rolls as desired. Just keep in mind that baking times may vary. Smaller rolls will bake more quickly, so start checking them a few minutes earlier than the recommended time.
Conclusion:
Heart Shaped Sourdough Rolls are a wonderful way to express love and creativity in the kitchen. Their delightful flavor, easy preparation, and impressive presentation make them a must-try for any occasion. Whether you choose to follow the traditional recipe or personalize with your favorite flavors, you can’t go wrong. I encourage you to give this recipe a shot, enjoy the process, and share the resulting rolls with the ones you love. With every roll you bake, you’re not just creating bread; you’re crafting memories that will be savored for years to come. Happy baking!


