Prep time: 30 minutes
Cook time: 45 minutes
Total time: 1 hour 15 minutes
Servings: 8
Imagine walking into your kitchen and being greeted by the sweet, inviting aroma of baked apples, spices, and warm pie crust. On special occasions, particularly on Valentine’s Day, nothing expresses love quite like a homemade dessert. This Heart Shaped Apple Pie Recipe Easy Valentines Day Dessert Idea not only captures the essence of romance but also provides a delightful culinary adventure.
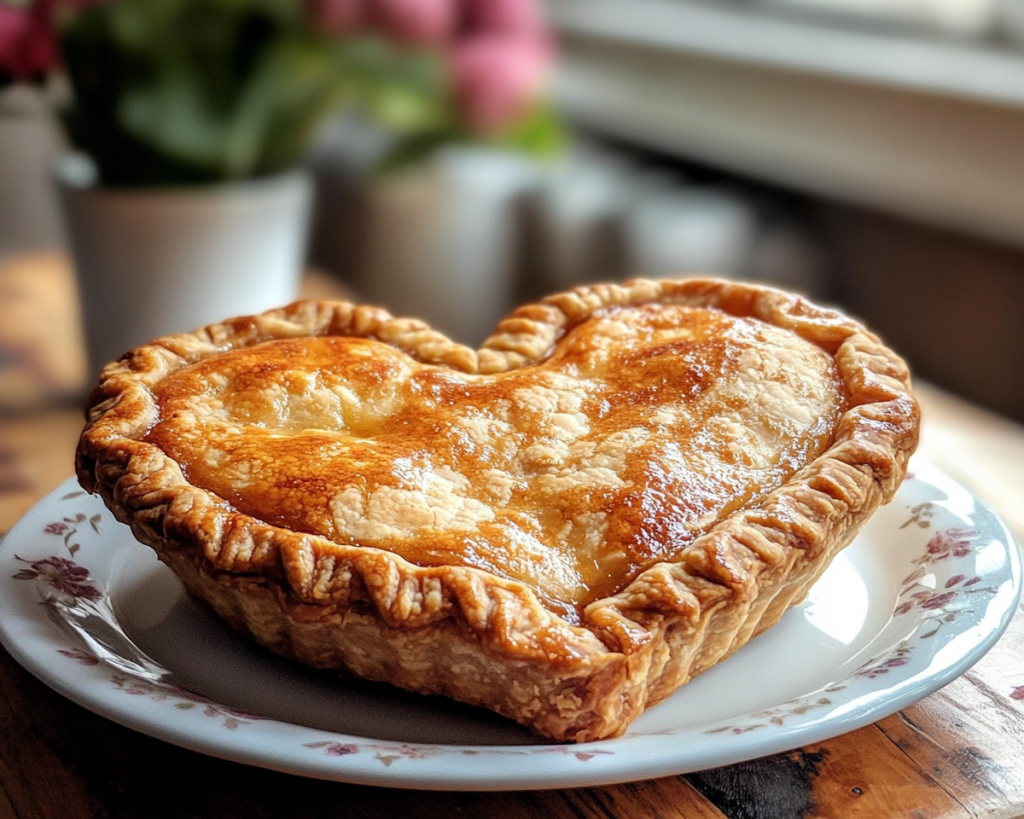
What makes this pie truly special is its stunning heart shape and the delicious filling, which combines tart and sweet apples, warm spices, and a flaky crust. You will find that this recipe is incredibly easy to follow, perfect even for those inexperienced in the kitchen. As you read on, be prepared for tempting tips, variations, and a step-by-step guide that assures your success.
What Is Heart Shaped Apple Pie Recipe Easy Valentines Day Dessert Idea?
The Heart Shaped Apple Pie is not just a dessert; it’s a heartfelt expression of love and creativity. Traditionally, apple pie has been cherished in many cultures, with its roots traced back to the early settlers in America who were inspired by European recipes. What sets this variant apart is its iconic heart shape, which is simply perfect for Valentine’s Day.
The pie features a buttery golden crust that is both flaky and slightly crisp. Inside, you’ll find tender apple slices mingling with sugar, cinnamon, and nutmeg, each bite delivering a balance of sweetness with a touch of spice. The texture is heavenly; the crust nearly melts in your mouth while the filling retains just the right amount of firmness.
Making this pie isn’t just about following a recipe; it’s also about embracing the art of baking. The heart shape symbolizes love, making it an ideal gift for that special someone or even for sharing with family during this romantic season. In this section, you’ll learn everything you need to know to recreate it perfectly in your own kitchen.
Why You’ll Love This
This Heart Shaped Apple Pie offers a delightful combination of flavors and textures that will make it the star of any dessert table. First and foremost, the taste is simply exceptional; the tartness of the apples perfectly counterbalances the sweetness of the sugar, and the warm spices create an inviting aroma that fills your home.
One might think that making a pie from scratch is daunting, but this recipe simplifies the process. Even those new to baking will find it straightforward, allowing busy parents or anyone short on time to savor the satisfaction of creating something truly lovely. Additionally, it’s an economical choice; apple pie often utilizes ingredients you might already have on hand, making it budget-friendly.
There are always misconceptions about baking from scratch. Many believe it requires advanced skills, yet this pie’s simplicity allows for a mix of creativity and ease. You can customize the flavors or even adjust the sweetness according to your taste. For example, using different types of apples can shift the flavor profile entirely, so feel free to experiment!
Ingredients You’ll Need
- Apples: About six cups of peeled, cored, and sliced apples. Granny Smith is a popular option due to its tartness, but you can mix and match with Honeycrisp or Fuji.
- Sugar: Around ¾ cup of granulated sugar to sweeten your apple mixture. Consider using brown sugar for a deeper flavor.
- Cinnamon: One teaspoon acts as the warm spice that complements the apples.
- Nutmeg: A pinch for added warmth and richness; it can be omitted if desired.
- Flour: For thickening the apple filling, about 2 tablespoons. Cornstarch is a good substitute for a clearer filling.
- Butter: Two tablespoons, unsalted, to enhance flavor and add richness when cooking the apple mixture.
- Pie crust: Store-bought or homemade, enough for a 9-inch pie. A flaky crust is essential to achieve that classic apple pie texture.
- Egg wash: One egg mixed with water to brush on the crust before baking, giving it a golden brown finish.
Each ingredient plays a crucial role in creating the pie. The apples are the star of the show, and choosing the right variety is essential for achieving that perfect balance of flavors. Sugar and cinnamon elevate the sweetness and warmth respectively, while the flour thickens the filling, ensuring that each slice holds its shape. Butter enriches the overall taste and enhances the caramelization of apples during baking.
Always remember to read food labels if you’re considering allergens or dietary restrictions; gluten-free options are available for crusts, and natural sweeteners can replace granulated sugar.
How to Make
1. **Prepare the apples:** Start by peeling, coring, and slicing your apples. You should aim for even slices to ensure they cook uniformly. Place them in a large bowl and mix with the granulated sugar, cinnamon, nutmeg, and flour. Allow this to sit while you prepare your crust; this lets the flavors meld together and produces a delightful syrup.
2. **Make the pie crust:** If you’re using a store-bought crust, roll it out flat. For a homemade version, combine flour with some salt and cold butter, blending until the mixture resembles small peas. Gradually add cold water until a dough forms. Divide into two balls, flatten into disks and wrap them in plastic wrap. Chill in the refrigerator for at least 30 minutes.
3. **Preheat the oven:** Set your oven to 375°F (190°C). This ensures that while your pie is being assembled, the oven is ready to go for a crisp, clean finish.
4. **Assemble the pie:** Roll out one chilled disk of dough onto a floured surface until it’s about 12 inches in diameter. Place it in a greased pie dish, allowing the edges to hang over. Pour in your apple mixture evenly, ensuring it is piled high in the center. Dot the apples with butter chunks.
5. **Top with the second crust:** Roll out the second piece of dough, then cut it into heart shapes using a cookie cutter or knife to create a stunning design. Lay the hearts over your apple filling in a decorative pattern, or place the entire top crust over and create slits for ventilation. Make sure to seal and crimp the edges well.
6. **Egg wash:** To achieve a beautiful golden color, brush the top crust with the egg wash. This step is essential for that glossy appearance.
7. **Bake:** Pop your pie in the preheated oven and bake for 35-45 minutes or until the crust is golden brown and the filling is bubbly. Keep an eye on it to avoid burning; a pie shield or tenting with aluminum foil can help if the edges darken too quickly.
8. **Cooling:** Allow the pie to cool for at least 30 minutes before serving. This cooling time helps the filling set, making slicing easier!
Enjoy the anticipation as the fragrance fills your home, inviting everyone to gather around for a taste of your culinary creation.
Variations & Substitutions
Caramel Apple Variation: For those who love rich flavors, consider adding caramel to your filling. Drizzle store-bought caramel sauce over the apples before sealing the pie. This adds a delightful sweetness and a chewiness that contrasts with the tender apples, creating a luxurious dessert experience.
Gluten-Free Variation: Substitute regular flour for a gluten-free blend to make this recipe suitable for those with gluten sensitivities. Additionally, ensure your pie crust is labeled gluten-free, or try a nut-based crust for a different texture.
Spiced Apple Pie Variation: If you want a twist on the traditional, add a teaspoon of allspice or even a splash of vanilla extract to the apple mixture. This introduces a warm background flavor that complements the cinnamon beautifully.
Mixed Berry Apple Pie Variation: Combine apples with mixed berries such as blueberries or raspberries for a fruity burst. Simply adjust the sugar level, as berries can vary in sweetness compared to apples. This variation is especially vibrant and visually appealing!
Nut Crusted Variation: For added crunch and flavor, chop nuts like pecans or walnuts and combine them with the top crust. This variation adds a fantastic texture that contrasts well with the soft apple filling.
Each of these variations adds a unique twist to the classic recipe while retaining the essential charm of the Heart Shaped Apple Pie. Feel free to adjust and play with additional flavors or textures, making this dessert uniquely yours.
Common Mistakes to Avoid
One of the most common pitfalls when making apple pie is using the wrong type of apple. Using only sweet varieties can lead to an overly sugary filling, so ensure you combine sweetness with tartness. A blend of apples will provide depth in flavor and better balance.
Another frequent issue is undercooking the filling. If you notice that the apples are still crunchy after baking, they haven’t been cooked long enough. Each apple variety has different cooking times, so choosing a mix and ensuring sufficient baking time is crucial.
Not preparing your pie crust correctly can lead to a soggy base. After rolling out your bottom crust, consider pre-baking it for about 10 minutes before adding the filling. This helps prevent a mushy pie. Also, be sure to crimp the edges securely to keep everything contained while baking.
Finally, neglecting to let the pie cool completely can result in a soupy or improper cutting when serving. Patience is key here; cooling allows the filling to set properly and makes for beautiful slices.
By keeping these common mistakes in mind, you will achieve a stunning and delicious Heart Shaped Apple Pie that is bound to impress.
Storage, Freezing & Reheating Tips
When it comes to storing your Heart Shaped Apple Pie, you must follow some essential guidelines to maintain its quality. If you plan to enjoy the pie within a couple of days, simply cover it with plastic wrap or aluminum foil. It can stay un-refrigerated for about two days, allowing the crust to retain its flaky consistency.
However, if you want to keep it longer, freezing is an excellent option. Wrap the pie tightly in plastic wrap, then place it into an airtight container. This will prevent freezer burn and maintain its quality for up to three months. When you’re ready to enjoy it, simply thaw in the refrigerator overnight and reheat in the oven at 350°F (175°C) for about 20-30 minutes.
When reheating, ensuring the crust remains crispy is paramount. To achieve this, you might consider placing it on a baking sheet lined with parchment paper and lightly covering it with aluminum foil to prevent over-browning.
Following these storage and reheating techniques will ensure that your apple pie remains an inviting and flavorful dessert for weeks to come.
Frequently Asked Questions
Can I use a store-bought pie crust for this recipe?
Absolutely! Store-bought pie crusts can save you time and still produce a delicious pie. Just make sure to follow package instructions for best results, and don’t forget about the egg wash to give it that beautiful golden color.
How do I know when my pie is done baking?
A good indicator is when the crust turns a deep golden brown and you can see the filling bubbling through the slits. You can also insert a knife into the filling; if the apples are tender and soft, your pie is likely done.
What if I don’t have fresh apples? Can I use canned or frozen apples instead?
Yes, you can utilize canned apples, but make sure to drain them well to avoid excess moisture that could lead to a soggy crust. If using frozen apples, defrost them completely and drain any excess liquid before incorporating them into the pie filling.
What types of apples work best for this recipe?
Choosing a mix of apples is best! Tart choices like Granny Smith combined with sweeter varieties like Fuji or Honeycrisp provide a delightful and complex flavor. This mixture ensures a satisfying balance between sweet and tart flavors.
Can I make this pie ahead of time?
Yes! This pie can be prepared a day in advance. Just follow all the steps but bake it the following day. If you prefer, you can also freeze it before baking and pull it out when needed. Just be sure to extend the baking time if starting from frozen.
Conclusion:
The Heart Shaped Apple Pie Recipe Easy Valentines Day Dessert Idea stands as a delightful expression of love wrapped in deliciousness. With its beautiful shape and heartwarming flavors, it promises to enchant anyone who takes a bite. Whether you’re celebrating Valentine’s Day or just looking to create a special dessert at home, this pie is versatile and easy enough for everyone to try.
Take a moment to personalize this recipe, making it your own with different flavors or variations. Don’t hesitate to share it with loved ones; after all, homemade pie makes for unforgettable memories. Enjoy the process, revel in the aroma of baked apples and spices wafting through your home, and most importantly, gauge each moment where you come together with family or friends to relish each slice.
Now, roll up your sleeves and let’s get baking!


