Prep time: 10 minutes
Cook time: 20 minutes
Total time: 30 minutes
Servings: 4
Ground Beef Recipes: Cheesy Beef and Rice Stuffed Bell Peppers in 30 Minutes is the perfect solution for busy weeknights. They’re quick to prepare, packed with flavor, and easily customizable to suit your taste. Imagine vibrant bell peppers filled with a savory mixture of ground beef, melted cheese, and fluffy rice. Not only do they look great on your dinner table, but they also provide a nutritious meal that the whole family will love.
What Is Ground Beef Recipes: Cheesy Beef and Rice Stuffed Bell Peppers in 30 Minutes?
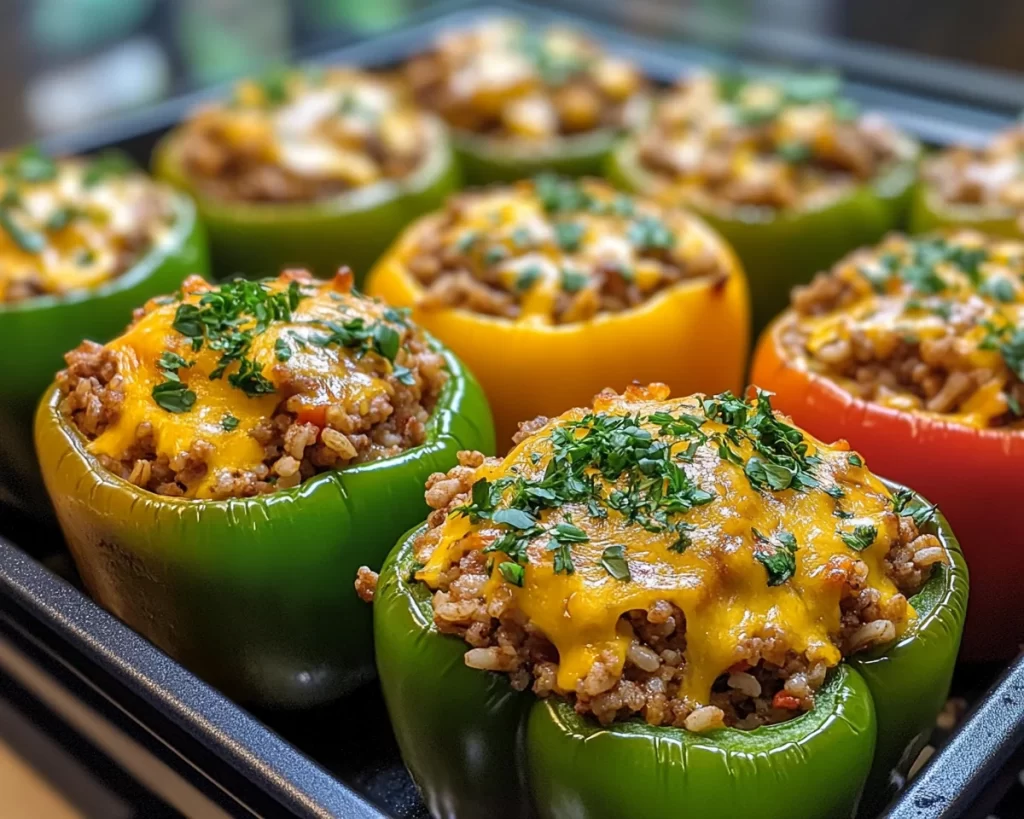
This delightful dish combines juicy ground beef with fluffy rice and zesty spices, all nestled inside sweet, juicy bell peppers. It’s a comforting and hearty recipe that offers a satisfying blend of flavors and textures. The creaminess of the cheese melts perfectly atop the beef and rice mixture, creating a delicious topping that complements the slight crunch of the peppers. In just 30 minutes, you can savor this flavorful meal that is suitable for both adults and children.
Why You’ll Love This
There are many reasons to fall in love with Ground Beef Recipes: Cheesy Beef and Rice Stuffed Bell Peppers. For starters, it is exceedingly *convenient*. You have everything you need for a balanced meal in one beautiful dish. The easy-to-follow steps make it a joy to prepare, even for those who are beginner cooks. The versatility of this recipe allows you to tweak it based on what you have on hand or what your family enjoys. It’s a wonderful choice for *busy parents*, *meal prep enthusiasts*, and anyone who appreciates delicious food without a lot of fuss.
Ingredients You’ll Need
- 4 large bell peppers: Choose your favorite colors—red, yellow, or green. These provide vitamins and add a sweet flavor to the dish.
- 1 lb ground beef: Use lean ground beef for a healthier option. It is the main protein source in this recipe.
- 1 cup cooked rice: This can be regular white rice or brown rice, depending on your preference; it helps to bulk up the filling.
- 1 cup shredded cheese: Cheddar or mozzarella works best, bringing a rich, gooey texture to the dish.
- 1 small onion: Diced finely, it adds a wonderful flavor to the meat filling.
- 2 cloves garlic: Minced garlic adds an aromatic depth to the dish.
- 1 tsp oregano: This herb adds a lovely earthy flavor.
- Salt and pepper: To taste, these are essential seasonings that enhance all the other flavors.
- 1 tbsp olive oil: For sautéing the onion and garlic, enhancing the overall taste.

How to Make
- Preheat your oven to 375°F (190°C). This ensures the peppers cook evenly and the cheese melts beautifully.
- While the oven is heating, prepare the bell peppers. Slice the tops off and remove the seeds and membranes. This allows for a generous filling later on.
- In a large skillet, heat the olive oil over medium heat. Add the diced onions and sauté until they are translucent, which should take about 3-4 minutes. This step enhances the flavor.
- Next, add the minced garlic and cook for an additional minute, stirring frequently to prevent burning. The aroma will fill your kitchen, making it hard to wait for the final dish!
- Stir in the ground beef, breaking it apart with a spatula. Cook until it is browned through, which usually takes about 5-7 minutes. Season with salt, pepper, and oregano to taste, ensuring all the flavors meld together.
- Once the beef is fully cooked, add the cooked rice and half of the shredded cheese. Mix everything together until evenly combined. The cheese will help bind the filling while adding richness.
- Carefully fill each prepared bell pepper with the beef and rice mixture. Pack it in well, and top with the remaining cheese for that lovely cheesy crust.
- Place the filled peppers upright in a baking dish and cover tightly with aluminum foil. Bake for 20 minutes, then remove the foil for the last 5-7 minutes to allow the cheese to brown slightly.
- Once done, remove from the oven and let cool for a few minutes before serving. The colors and textures will be irresistible; enjoy your meal!
Variations & Substitutions
Vegetarian Version: Swap out the ground beef for plant-based meat alternatives or even use a combination of black beans and corn to create a vegetarian dish that is equally flavorful.
Spicy Kick: For those who love heat, add diced jalapeños or cayenne pepper to the beef mixture for an extra layer of spice. You could also use pepper jack cheese instead of cheddar for that cheesy, spicy fusion.
Different Grains: While rice is traditional, you can substitute quinoa or couscous for a different texture and flavor profile. Quinoa is a great gluten-free option packed with protein, while couscous can add a unique fluffiness to your filling.
Cheese Variety: Experiment with different cheeses like feta for a tangy twist or gouda for a smokier flavor. Mixing cheeses can elevate the dish further and add complexity to its taste.
Common Mistakes to Avoid
Overcooking the Peppers: Be cautious not to over-bake the peppers. They should remain slightly firm, which allows for a pleasant texture contrast with the filling. Overcooked peppers can become mushy and unappetizing.
Not Seasoning Well: Ground beef can be bland if not seasoned correctly. Don’t shy away from seasoning at each stage. Taste your mix and adjust again before stuffing the peppers to ensure a richly flavored dish.
Too Much Filling: While you want to fill the peppers generously, overstuffing can cause them to spill over during cooking. This can create a mess and make them difficult to handle. A comfortable amount will help keep everything intact.
Storage, Freezing & Reheating Tips
Once you’ve made these delicious stuffed peppers, they can be stored in an airtight container in the refrigerator for up to 3 days. Make sure to let them cool completely before sealing them to avoid condensation, which can lead to sogginess.
For longer storage, you can freeze the stuffed peppers. Wrap each one individually in plastic wrap, then place them in a freezer-safe bag. They can be stored this way for up to 3 months. When you’re ready to eat them, thaw them overnight in the fridge before reheating.
To reheat, place the stuffed peppers in an oven preheated to 350°F (175°C) for about 20 minutes until heated through. You can also microwave them for a quicker option; just cover them with a microwave-safe lid to prevent drying out.
Frequently Asked Questions
Can I make these ahead of time?
Yes, you can prepare the filling and stuff the peppers a day in advance. Store them in the fridge until you are ready to bake them. This makes for a quick and easy meal when time is short!
What can I serve these stuffed peppers with?
They are delicious on their own, but you can pair them with a simple side salad or some crusty bread for a complete meal.
How do I know when they are done cooking?
The peppers should be tender yet still hold their shape. Furthermore, the filling should be hot throughout. You can use a food thermometer; the internal temperature should reach 165°F (74°C).
Can I use different kinds of meat?
Absolutely! You can substitute ground turkey, chicken, or even pork if you prefer. Just remember that cooking times might vary slightly depending on the meat chosen.
Is this recipe healthy?
It can be, depending on your ingredient choices. Using lean ground beef and lots of veggies can make this a nutritious meal. You can always customize the filling to include even more vegetables for added nutrients.
Conclusion: Ground Beef Recipes: Cheesy Beef and Rice Stuffed Bell Peppers in 30 Minutes is an ideal dish for anyone seeking a tasty, nutritious meal they can whip up quickly. It combines convenience, flavor, and versatility to create a family favorite that you’ll want to make again and again. Whether you stick to the classic recipe or venture into various adaptations, this dish can cater to your family’s preferences and dietary needs. Happy cooking!