Prep time: 40 minutes
Cook time: 1 hour
Total time: 1 hour 40 minutes
Servings: 12
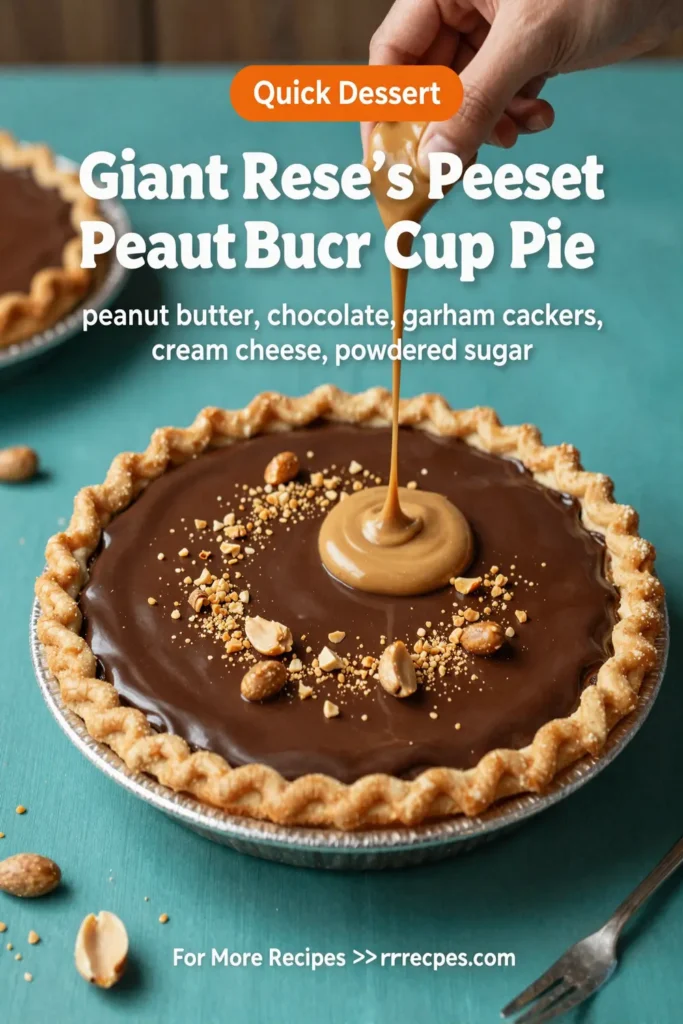
Giant Reese’s Peanut Butter Cup Pie is an indulgent dessert that will take your chocolate and peanut butter cravings to soaring heights. Imagine a creamy peanut butter filling, nestled within a decadent chocolate crust, topped with luscious chocolate ganache and, of course, plenty of Reese’s Pieces and peanut butter cups. This pie not only stands out with its visual appeal but also delivers a symphony of flavors that cater to both chocolate enthusiasts and peanut butter lovers alike.
What Is Giant Reese’s Peanut Butter Cup Pie?
Giant Reese’s Peanut Butter Cup Pie is an oversized dessert inspired by the famous peanut butter cups that many have grown to love. This pie’s base features a rich chocolate crust made from crushed cookies or biscuits, which provides a delightful crunch that contrasts beautifully with the smooth and creamy peanut butter filling. This filling is made with rich cream cheese, sugar, and of course, creamy peanut butter, each layer adding its unique flavor to the dish. Topped with chocolate ganache, this pie becomes a chocolate lover’s dream. It’s perfect for any occasion, from birthday celebrations to casual family gathering, ensuring every slice holds a delightful surprise.
Why You’ll Love This
This recipe combines the much-loved flavors of Reese’s Peanut Butter Cups with the convenience of a pie. One of the best aspects is its versatility—whether you are a baking novice or a seasoned pro, you’ll find the steps easy to follow. Moreover, the presentation of this pie will wow your guests, making it an ideal centerpiece for special occasions. Plus, the ingredients are simple and can often be found in your pantry. It’s also a fantastic way to involve kids in the kitchen, allowing them to help with mixing and decorating the pie, making it a fun family activity. With its delicious combination of textures—smooth, creamy, and crunchy—you won’t want to miss out on this dessert.
Ingredients You’ll Need
- 1 ½ cups chocolate cookie crumbs – These provide a rich, chocolatey crust that pairs perfectly with the peanut butter filling.
- ½ cup unsalted butter, melted – This helps bind the cookie crumbs together and adds richness to the crust.
- 1 cup creamy peanut butter – The star of our pie, its smoothness ensures a creamy filling.
- 8 oz cream cheese, softened – This gives the filling its luscious texture and a slight tang that balances the sweetness.
- 1 cup powdered sugar – This sweetens the filling and helps stabilize it.
- 1 tsp vanilla extract – For added flavor that complements the peanut butter.
- 1 cup chocolate chips – These will be melted to create a rich ganache topping.
- ½ cup heavy cream – To make the ganache smooth and luscious.
- ½ cup Reese’s Pieces – For added crunch and the signature peanut butter flavor.
- Chopped mini Reese’s Peanut Butter Cups (optional) – For decorating and providing additional flavor on top.

How to Make
- To start, preheat your oven to 350°F (175°C). In a mixing bowl, combine the chocolate cookie crumbs and melted butter until fully combined. The mixture should hold together when pressed. Use this mixture to form the crust in a pie pan, pressing firmly on the bottom and up the sides.
- Bake the crust for about 10 minutes, until set. Allow it to cool completely while you prepare the filling. This cooling step is crucial; otherwise, it might ruin the texture of your filling.
- In a large bowl, beat together the softened cream cheese and creamy peanut butter until smooth and fluffy. This step is important for achieving a silky texture. Gradually add the powdered sugar and vanilla extract, mixing until fully incorporated.
- Once the filling is smooth, spread it evenly into the cooled chocolate crust, ensuring an even layer. You can add a few mini Reese’s cups on top of the filling for an extra surprise.
- Next, prepare the chocolate ganache. In a small saucepan, heat the heavy cream until it simmers, then pour it over the chocolate chips in a bowl. Let it sit for about 3 minutes before stirring until smooth. This creates a glossy topping.
- Pour the ganache over the peanut butter filling, making sure to cover it completely. It will add a rich, chocolatey layer that enhances the flavor profile of the pie.
- Chill the pie in the fridge for at least 2 hours or until set. This chilling time helps the flavors meld and allows the ganache to firm up. Before serving, top with Reese’s Pieces for design and crunch.
Variations & Substitutions
Healthy Alternative: If you’re looking to lighten things up, consider using sugar-free chocolate cookies and a lower-fat cream cheese. Using a natural peanut butter can also reduce added sugars, making it a fantastic alternative for healthier dessert options.
Nut-Free Version: For those with nut allergies, you can replace peanut butter with sun butter or any other seed butter. This substitution still provides creaminess while being safe for nut-free diets. Just ensure that your cookies are also nut-free.
Flavor Twist: Want to take flavor up a notch? Add a layer of caramel sauce beneath the ganache. The sweet, gooey texture brings an exciting twist that elevates the pie to new heights of indulgence.
Extra Crunch: For an added crunch, fold in some chopped nuts or crushed pretzels into the filling. This unexpected ingredient introduces a delightful saltiness that complements the sweetness wonderfully.
Common Mistakes to Avoid
Overbaking the Crust: One common mistake is leaving the crust in the oven too long. This can lead to a crust that is too hard and difficult to slice. Keep a close eye on it after 5 minutes, and pull it out when it’s just set.
Not Cooling the Crust: Failing to cool the crust properly before adding the filling can make the filling too runny or cause it to melt, disrupting the layering effect of the pie. Ensure it’s room temperature or chilled before proceeding.
Skipping the Chilling Time: Rushing the chilling can severely affect the texture of your pie. Giving it ample time to set in the fridge is essential for achieving that perfect slice and presentation.
Storage, Freezing & Reheating Tips
For any leftovers, store the pie in an airtight container in the refrigerator for up to 5 days. To keep it fresh, ensure the pie is well covered, preferably with plastic wrap, to prevent it from drying. If you want to keep it for a longer period, this pie can be frozen! Slice it and wrap each piece individually in plastic wrap, then place in a freezer-safe bag. When you’re ready to enjoy it again, let it thaw in the fridge overnight for best results. Reheating isn’t necessary, but if you prefer a warm dessert, microwave individual slices for about 10-15 seconds, watching closely to prevent melting.
Frequently Asked Questions
Can I use a different type of cookie for the crust? Absolutely! While chocolate cookies provide that signature flavor, you can experiment with graham crackers or even vanilla wafer cookies. Each different cookie will offer a unique dimension to the pie, so feel free to get creative.
What can I use if I don’t have peanut butter? If peanut butter isn’t available or you have allergies, using almond butter or sunflower seed butter works well. These substitutes can replicate the creaminess and flavor profile without the use of peanuts.
How can I make this pie more chocolatey? To increase the chocolate flavor in the pie, consider adding cocoa powder into your filling or substituting some of the peanut butter with chocolate spread. The ganache can also be enriched with a pinch of espresso powder for added depth.
Can I make this pie ahead of time? Yes! This pie can be made a day or two in advance, which also allows the flavors to develop further. Just be sure to cover it well and keep it in the fridge until you are ready to serve.
Conclusion: The Giant Reese’s Peanut Butter Cup Pie is a crowd-pleaser that will surely impress guests, bringing joy to any table. With its simple ingredients and straightforward instructions, it’s a perfect baking project for both beginners and experienced bakers. So, gather your ingredients, channel your inner baker, and enjoy a slice of this heavenly dessert that’ll take you back to your childhood favorites.


