Prep time: 20 minutes
Cook time: 30 minutes
Total time: 50 minutes
Servings: 12
If you have ever experienced the joy of biting into a rich, fudgy brownie, you know exactly why they are a beloved dessert. Now imagine that brownie shaped like a charming little chocolate bunny! Easter Chocolate Bunny Brownies are an exquisite complement to any festive occasion, particularly during the Easter season. With a delightful mixture of chocolatey goodness and cute bunny shapes that attract both kids and adults alike, these brownies offer both visual appeal and indulgent flavor.
Packed with flavors that will make your taste buds dance, these brownies do more than simply satisfy your sweet tooth. They can become the centerpiece of your dessert table, inviting curiosity and smiles from your guests. As you dive into this guide, you will learn how to create these scrumptious treats, explore variations to cater to different tastes, and pick up helpful tips to ensure your success in the kitchen. Prepare to experience the delightful aroma of warm brownies wafting through your home as you bake the perfect Easter dessert!
What Is Easter Chocolate Bunny Brownies?
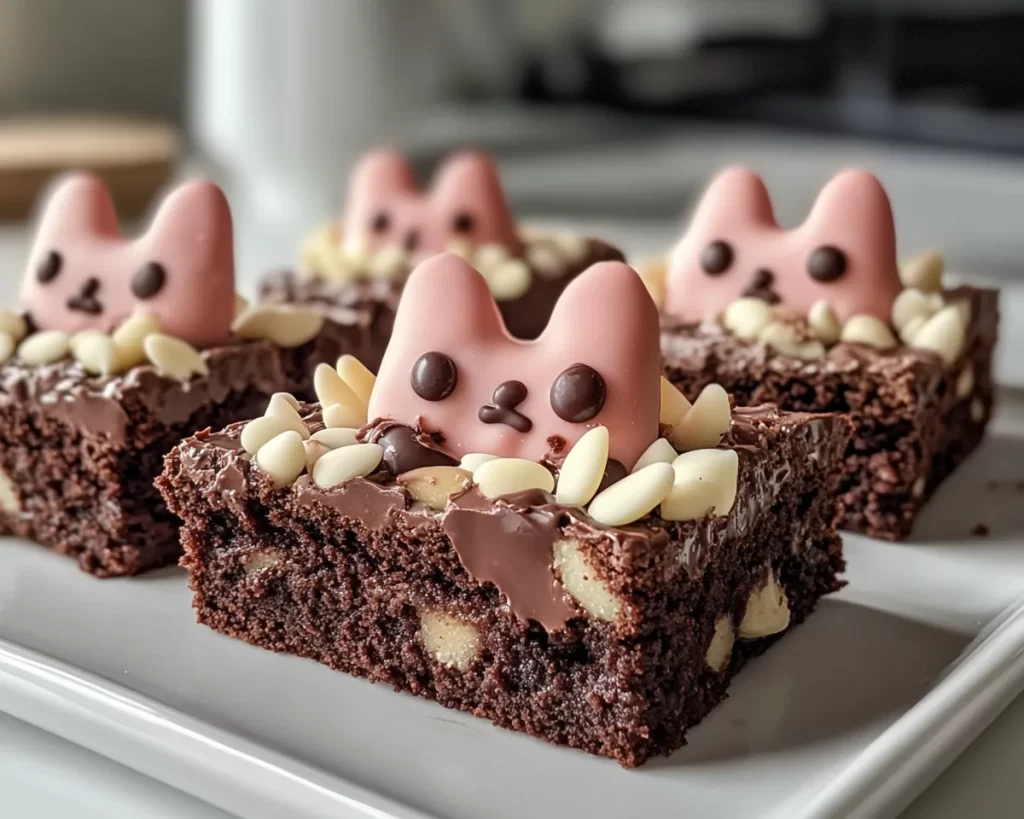
Easter Chocolate Bunny Brownies are a delightful twist on traditional brownies that are often enjoyed during the spring holiday season. Combining a dense, fudgy brownie base with the fun and whimsical shape of bunnies, these treats bring a festive spirit to the table. The history of brownies dates back to the late 19th century in the United States, but their unique pairing with Easter-themed decorations adds a modern twist, making them ideal for family gatherings and celebrations.
The texture of these brownies is both rich and chewy, ensuring a satisfying bite every time. When baked correctly, they will have a beautifully cracked top and a soft, gooey interior that melts in your mouth. You can enhance their charm by placing chocolate bunnies or candies atop the brownies, transforming an ordinary dessert into a memorable centerpiece. The flavor profile is typically intense, with layers of chocolate that are perfect for any chocolate lover. So, let’s dive into this delicious creation and discover what you need to make them a reality!
Why You’ll Love This
One of the primary reasons you’ll love these Easter Chocolate Bunny Brownies is their irresistible taste. The combination of rich chocolate with the sweetness of sugar creates a decadent dessert that is hard to resist. In addition to the taste, the preparation is simple and straightforward, making these brownies a fantastic option for busy parents and beginners in the kitchen. You can whip them up relatively quickly and the baking time is manageable, allowing you to enjoy fresh brownies without spending hours in the kitchen.
Another advantage is their versatility. They can be adapted to accommodate various dietary preferences or dietary restrictions. You can easily make them gluten-free by opting for gluten-free flour, or substitute sugar with alternatives like maple syrup or agave nectar for a healthier option. Additionally, you can add in mixes like nuts or different chocolate varieties to further customize your brownies. These brownies hold their ground in every dessert comparison; they beat fancy cakes in terms of ease and delight any sweet tooth.
Ingredients You’ll Need
- Unsweetened cocoa powder: This is essential for achieving a deep chocolate flavor. You can substitute it with cacao powder for a healthier option.
- Granulated sugar: The main sweetener of the brownies. Coconut sugar can provide a more natural alternative if desired.
- Brown sugar: This adds moisture and additional depth of flavor. Light brown sugar works best, but dark brown sugar can add even more richness.
- Butter: Melted butter contributes to the fudgy texture. If you’re looking for a dairy-free option, coconut oil works well in most cases.
- Eggs: Eggs give structure and moisture to the brownies. For a vegan option, flax eggs can be a great substitute.
- All-purpose flour: Provides the base for the brownies. You can use whole wheat flour for a nuttier flavor, or a gluten-free blend for a gluten-free option.
- Chocolate chips: Semi-sweet or dark chocolate chips can enhance the chocolate flavor and add a delightful gooeyness. You can also opt for milk chocolate or even white chocolate chips if desired.
- Vanilla extract: A classic flavor enhancer that elevates the overall taste of the brownies. Use pure vanilla extract for the best flavor.
- Chocolate bunnies/candy: These are optional but highly recommended for decoration and additional chocolatey goodness.
Each ingredient plays a critical role in creating a delightful dessert, so be sure to choose quality options to achieve the best results.
How to Make
1. **Preheat your oven:** Begin by preheating your oven to 350°F (175°C). This is an important step to ensure even baking. If you skip this step, the brownies may not rise properly and can end up dense and flat.
2. **Prepare the baking pan:** Grease a 9×13-inch baking dish with non-stick cooking spray or line it with parchment paper. Parchment paper is often a favorite amongst bakers as it allows for easy removal of the brownies without causing any damage.
3. **Melt the butter:** In a small saucepan or microwave-safe bowl, melt the butter until it’s completely liquefied. Be careful not to overheat it; you want it to be warm, not boiling.
4. **Mix the sugars and cocoa:** In a large mixing bowl, add the granulated sugar, brown sugar, and the unsweetened cocoa powder. Use a whisk to combine these ingredients thoroughly, removing any lumps of cocoa for a smooth texture.
5. **Add melted butter:** Pour the melted butter into the sugar and cocoa mixture. Stir well until combined. The mixture will start to look shiny, which is a sign of a well-mixed brownie batter.
6. **Incorporate the eggs and vanilla:** Crack in the eggs, one at a time, and pour in the vanilla extract. Mix until fully incorporated—be careful not to overmix at this stage, as too much air can lead to less fudgy brownies.
7. **Fold in the flour and chocolate chips:** Gradually add the all-purpose flour to the mixture, stirring gently until just combined. Finally, fold in the chocolate chips, making sure they are evenly distributed throughout the batter.
8. **Pour into the prepared pan:** Pour the brownie batter into the greased baking dish and spread it evenly. Use a spatula to smooth the top for a uniform appearance.
9. **Bake:** Place the brownie pan in the preheated oven and bake for about 25 to 30 minutes. A toothpick inserted into the center should come out mostly clean, with just a few moist crumbs attached for that perfect fudgy texture.
10. **Cool and decorate:** Once baked, remove the brownies from the oven and allow them to cool in the pan for at least 10 minutes. After cooling slightly, lift them out of the pan using the parchment paper (if you used it) and let them cool completely on a wire rack. Afterward, use a bunny-shaped cookie cutter to cut them into bunny shapes. Place chocolate bunnies or candies on top for decoration just before serving.
11. **Enjoy!:** Slice into servings, plate, and enjoy your delightful Easter Chocolate Bunny Brownies! These are best served warm, but they can also be kept for a later treat.
Variations & Substitutions
Gluten-Free Brownies: If you or your loved ones are gluten-sensitive, substituting regular all-purpose flour for a gluten-free blend is a straightforward twist on the original recipe. Most gluten-free flours work well in brownie recipes, particularly those that contain a mix of rice flour, potato starch, and tapioca flour. Just ensure you’re using a blend that is specifically formulated for baking to maintain the right texture and rise.
Nutty Chocolate Bunny Brownies: For added texture and flavor, consider folding in a cup of chopped nuts such as walnuts or pecans. Nuts will provide a delightful crunch and pair beautifully with the chocolatey fudginess. If nut allergies are a concern, you can skip this option altogether or replace the nuts with seeds like sunflower or pumpkin seeds.
Vegan Chocolate Bunny Brownies: To create a vegan-friendly version of these brownies, replace the eggs with flax eggs or apple sauce. To make a flax egg, simply mix 1 tablespoon of ground flaxseed with 2.5 tablespoons of water and let it sit for about 5 minutes until it thickens. Substitute the butter with coconut oil or a vegan butter alternative. These simple swaps will maintain the rich flavor and fudgy texture everyone will love.
Mint Chocolate Bunny Brownies: Elevate the brownie experience with a hint of mint. Incorporate some peppermint extract into the batter or use mint-flavored chocolate chips instead of the regular ones. This variation brings a refreshing twist, making your brownies an exciting treat that offers something different yet familiar.
Common Mistakes to Avoid
One of the most common mistakes in brownie baking is overmixing the batter. This can create air bubbles that lead to cakey brownies instead of the desired fudginess. After you add the flour, mix just until combined; it’s okay if a few streaks of flour remain.
Another frequent issue is underbaking or overbaking. To achieve that perfect gooey texture, it’s crucial to check your brownies a few minutes before the recommended baking time. Remember, they continue cooking after taken out of the oven, so always err on the side of slightly underbaking them.
Lastly, not allowing the brownies to cool sufficiently can lead to crumbling or falling apart during cutting. Patience is key! Give these brownies at least 10-15 minutes to cool in the pan, and if you can, slice them once they’ve cooled completely on a wire rack.
Storage, Freezing & Reheating Tips
To keep your brownies fresh, store them in an airtight container at room temperature. They will stay delicious for about 3 to 5 days. For longer storage, consider freezing them. Simply wrap each brownie individually in plastic wrap, place them in a freezer bag, and they can last up to 3 months in the freezer.
When you’re ready to enjoy a brownie from the freezer, allow it to thaw at room temperature or pop it in the microwave for about 15-30 seconds. Always remember to check them periodically while reheating to avoid overheating, which could dry them out.
For any leftover decorated brownies, you might want to store the decorations separately to maintain their freshness. Chocolate candies and bunnies may become melty or lose their shape in storage with the brownies.
Frequently Asked Questions
Can I add other flavors to the brownie batter? Yes! You can customize your brownie batter with various flavors. For example, adding espresso powder can enhance the chocolate flavor, while spices like cinnamon or nutmeg can create warmth. Just make sure to adjust the quantities gradually to maintain the balance.
What if I don’t have a brownie pan? Can I use another type of pan? Absolutely! If you don’t have a standard brownie pan, you can use a round cake pan or even a cupcake tray for individual brownie cups. Just be sure to adjust your baking time as necessary since the thickness and size may change the overall cooking duration.
How can I prevent my brownies from sticking? If you’re worried about the brownies sticking to the pan, line it with parchment paper or use non-stick spray generously. Greasing thoroughly allows for easier removal and leaves behind minimal cleanup.
What’s the best way to cut brownies? Using a sharp knife that is heated with hot water can help achieve clean cuts. Wipe the knife between each cut to keep it from getting messy and ensure beautiful brownie shapes.
Can I make these brownies ahead of time? Yes! These brownies can be made a day or two in advance. Just store them in an airtight container at room temperature, and they will maintain their deliciousness. In fact, many people enjoy them even more after a day, as the flavors meld together.
Conclusion:
Easter Chocolate Bunny Brownies are the perfect blend of fun and flavor, creating a festive treat that everyone can enjoy. With a straightforward recipe and endless possibilities for customization, you can easily adapt these brownies to suit your tastes and your guests’ preferences. So gather your ingredients, witness the delight of baking, and share your creations with friends and family during this joyful season. Don’t forget to snap some pictures of your adorable bunny brownies and share them for everyone to see! Happy baking!


