Prep time: 20 minutes
Cook time: 30 minutes
Total time: 50 minutes
Servings: 16 brownies
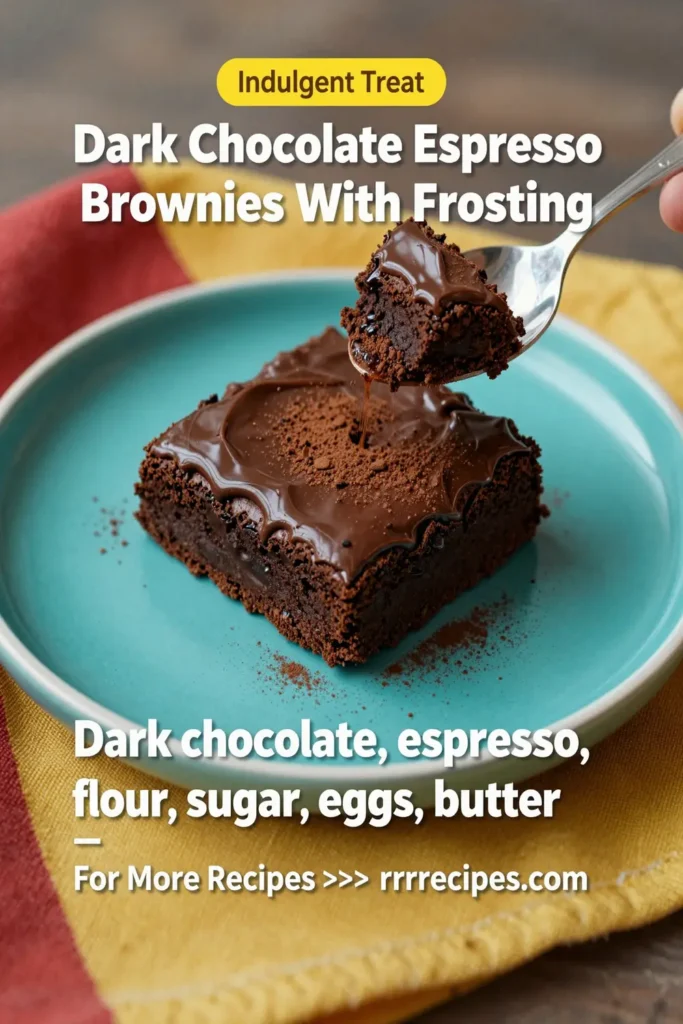
Dark Chocolate Espresso Brownies with Frosting are a decadent dessert that blends rich chocolate and robust espresso in one delicious package. These brownies are perfect for any occasion, offering a deep flavor profile that satisfies even the most demanding sweet tooth. Whether you’re preparing for a family gathering or simply need a pick-me-up treat during a busy week, these brownies deliver a delightful experience. The combination of dark chocolate and espresso creates a rich, moist brownie base topped with a silky frosting, making them an irresistible choice for chocolate lovers.
What Is Dark Chocolate Espresso Brownies With Frosting?
Dark Chocolate Espresso Brownies with Frosting are not your average brownies. These treats are made with high-quality dark chocolate and a hint of espresso, which deepens the chocolate flavor, making every bite intense and satisfying. The brownies are fudgy, rich, and perfectly sweetened, complemented by a luscious frosting that enhances their indulgence. They are an excellent choice for dessert lovers looking for something unique and comforting.
Why You’ll Love This
You’ll appreciate these brownies not only for their taste but also for how easy they are to make. Perfect for busy parents with limited time to spend in the kitchen, they come together quickly with minimal cleanup. Anyone can enjoy them, from novice bakers to seasoned professionals, thanks to the simple ingredients and straightforward process. Furthermore, the espresso kick adds an unexpected twist that sets this recipe apart from traditional brownie recipes.
Ingredients You’ll Need
- 1 cup (170g) of dark chocolate chips: Use high-quality chocolate for the best flavor; it contributes to the fudginess of the brownies.
- ½ cup (115g) of unsalted butter: This will give the brownies their rich texture and flavor without the saltiness from margarine.
- 1 cup (200g) of granulated sugar: This sweetens the brownies perfectly; consider using less if you prefer a less sweet treat.
- 2 large eggs: Eggs bind the ingredients together and contribute to the overall structure of the brownies.
- 1 teaspoon of pure vanilla extract: Adds depth to the flavor and enhances the chocolate and espresso.
- ½ cup (65g) of all-purpose flour: Provides structure; avoid over-mixing to keep your brownies fudgy.
- 2 tablespoons of unsweetened cocoa powder: Deepens the chocolate flavor without adding sweetness.
- 2 teaspoons of instant espresso powder: This is the secret ingredient that intensifies the chocolate flavor. You can adjust this based on your flavor preference.
- ½ teaspoon of salt: Intensifies the flavors, balancing the sweetness of the brownies.
How to Make
- Preheat the oven: Begin by preheating your oven to 350°F (175°C). Grease a 9×9-inch baking pan or line it with parchment paper for easy removal.
- Melt the chocolate and butter: In a medium saucepan, melt the dark chocolate chips and unsalted butter together over medium heat, stirring continuously until smooth. Be careful not to overheat the mixture; remove from heat once melted.
- Add sugar and mix: Stir in the granulated sugar into the melted mixture until well combined. Allow it to cool slightly before adding the eggs.
- Incorporate eggs and vanilla: Add the eggs one at a time, mixing well after each addition. Then stir in the vanilla extract, blending until everything is smooth and unified.
- Combine dry ingredients: In a separate bowl, whisk together the flour, cocoa powder, instant espresso powder, and salt. Gradually fold this mixture into the wet ingredients until just combined; be careful not to over-mix.
- Pour into the pan: Pour the brownie batter into the prepared baking pan, spreading it evenly with a spatula. Bake for about 25-30 minutes or until a toothpick inserted in the center comes out with a few moist crumbs.
- Make the frosting: While the brownies cool, you can prepare the frosting. Combine ½ cup (115g) of unsalted butter, 1 cup (120g) of cocoa powder, 3 cups (360g) of powdered sugar, and ¼ cup (60ml) of milk in a bowl, mixing until creamy and smooth.
- Frost the brownies: Once the brownies are completely cooled, spread the frosting over the top. Cut into squares and serve.
Variations & Substitutions
Nutty Chocolate Brownies: For those who enjoy a crunch, consider adding ½ cup (70g) of chopped walnuts or pecans to the brownie batter before baking. The nutty texture complements the chocolate beautifully.
Gluten-Free Version: You can easily make these brownies gluten-free by substituting all-purpose flour with a 1:1 gluten-free flour blend. Ensure that all other ingredients, particularly the baking powder, are also gluten-free.
Less Sweet Option: If you prefer a less sweet brownie, reduce the granulated sugar to ¾ cup (150g) and adjust the frosting to your liking. Dark chocolate is naturally rich, and going lighter on the sugar allows the intense chocolate flavor to shine.
Mocha Swirl Brownies: Enhance the coffee flavor, swirl in some coffee-flavored cream cheese before baking for a luxurious twist that will leave coffee lovers in heaven. Just dollop small spoonfuls across the brownie batter and swirl with a knife.
Common Mistakes to Avoid
Overmixing the Batter: Mixing the brownies too much introduces excess air, resulting in a cake-like texture instead of fudgy brownies. Mix until the dry ingredients are just incorporated.
Not Prepping the Pan Correctly: Failing to grease or line your baking pan can lead to brownies sticking, making them difficult to remove. Always use parchment paper or grease the pan generously with butter or cooking spray.
Opening the Oven Door: Avoid checking on the brownies too frequently while baking. Opening the oven door causes temperature fluctuations, which can affect how the brownies rise and bake through.
Storage, Freezing & Reheating Tips
Once cooled, store the brownies in an airtight container at room temperature for up to 3 days. For longer storage, consider freezing them. Wrap each brownie individually in plastic wrap, then place them in a freezer-safe container. They can be frozen for up to 3 months. When ready to enjoy, thaw them at room temperature for a few hours or microwave for 15-20 seconds until warm.
To reheat brownies, place them in the microwave for short intervals, checking frequently to avoid overheating. You can serve the reheated brownies warm for an even more delightful chocolate experience.
Frequently Asked Questions
Can I use milk chocolate instead of dark chocolate?
Using milk chocolate will yield a sweeter brownie with a different flavor profile. While it’s certainly an option, be aware that it will lose intensity and richness compared to using dark chocolate.
How do I make my brownies less fudgy?
If you prefer a cakier brownie, increase the flour by a couple of tablespoons or bake them slightly longer. Additionally, reducing the butter used in the recipe may also contribute to a more cake-like texture.
Can I add chocolate chips to the batter?
Absolutely! Adding ½ cup of chocolate chips to the batter before baking can enhance the chocolate flavor and give you delightful pockets of melted chocolate throughout.
Are these brownies good for special occasions?
These brownies are fabulous for special events, thanks to their rich and indulgent flavors. They can be served at parties, potlucks, or any gathering where a standout dessert is needed.
How do I know when the brownies are done baking?
Check for doneness by inserting a toothpick in the center; if it comes out with a few moist crumbs, they are ready. If the toothpick comes out wet with batter, they need more time. Keep a close eye on them, especially toward the end of the baking time.
Conclusion: Dark Chocolate Espresso Brownies with Frosting are not only easy to make but also indulge your taste buds with an exquisite brownie experience. They cater perfectly to busy lifestyles, allowing everyone to enjoy a sweet moment. With these tips and tricks, you’ll create a dessert that’s sure to be a favorite among family and friends alike. Enjoy your baking!