Prep time: 30 minutes
Cook time: 20 minutes
Total time: 50 minutes
Servings: 12 spring rolls
Crispy spring rolls are a delightful treat that not only serve as a fantastic appetizer but can also stand alone as a satisfying snack. Whether you’re hosting a party, enjoying a movie night, or simply craving something crunchy and savory, mastering the art of making spring rolls can elevate your culinary skills. In this guide, we’ll explore the fundamentals of creating perfectly crispy spring rolls, along with essential tips to ensure that your rolls have a perfect crunch every time.
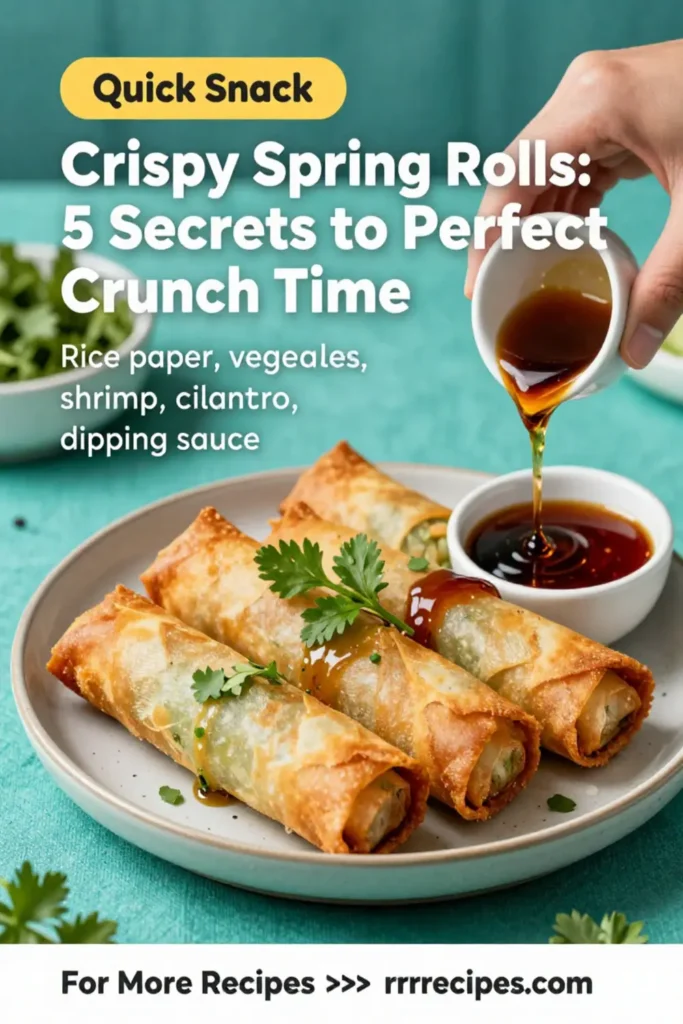
What Is Crispy Spring Rolls: 5 Secrets to Perfect Crunch Every Time?
Crispy spring rolls are thin cylindrical wrappers filled with various ingredients, ranging from vegetables to meats, and then deep-fried to a golden perfection. Often enjoyed in Asian cuisines, these rolls can be found in many variations, but their signature crunch is what keeps everyone coming back for more. By focusing on the right techniques and ingredients, transforming your spring rolls from average to extraordinary is simpler than you might think.
Why You’ll Love This
You’ll love this spring roll recipe for several reasons. First and foremost, the perfectly crispy texture outer layer ensures a satisfying crunch that contrasts beautifully with the flavorful filling. Moreover, they’re incredibly versatile—whether you prefer a vegetarian option filled with crunchy carrots, crunchy cabbage, or a meatier choice with seasoned chicken or shrimp, the flavor combinations are endless. Additionally, these rolls are *great for meal prep*. You can make a larger batch in one go and enjoy them later. They are also ideal for *hungry kids* or unexpected guests; they are quick to whip up and can be air-fried or deep-fried in a matter of minutes.
Ingredients You’ll Need
Here is a bullet list of the primary ingredients needed to craft these mouthwatering spring rolls, along with explanations for their roles:
- Spring Roll Wrappers (12 sheets): The foundation of your spring rolls, these thin wrappers create a light and crispy shell.
- Cabbage (2 cups, finely chopped): Provides a crunchy texture and absorbs flavors from the other ingredients.
- Carrots (1 cup, julienned): Adds sweetness and color, contributing to both flavor and presentation.
- Green Onions (½ cup, chopped): Introduces a subtle onion flavor that brightens the overall taste.
- Fresh Herbs (½ cup, such as cilantro or basil): Enhances freshness and flavor, giving a vibrant touch.
- Protein Option (1 cup, cooked chicken or shrimp): Offers a hearty filling that makes the spring rolls more satisfying.
- Salt (to taste): Essential for enhancing the overall flavor.
- Pepper (to taste): Adds a hint of spice, balancing the sweetness of the vegetables.
- Oil (for frying): Choose a neutral oil like vegetable or canola for deep-frying to achieve that perfect crunch.

How to Make
Making spring rolls can feel challenging, but with the right approach, you’ll find it rather satisfying. Follow these step-by-step instructions to achieve crispy, golden spring rolls that will impress.
- Prepare the Filling: Begin by heating a skillet over medium heat. Add a drizzle of oil, then toss in the finely chopped cabbage, julienned carrots, and chopped green onions. Sauté for about 5-7 minutes until they soften but remain slightly crisp. The aim is to infuse the vegetables with flavor while retaining a nice crunch.
- Season the Mixture: Once the vegetables are cooked but not soggy, add your protein (if using) and season with salt and pepper to taste. Feel free to experiment with sauces like soy sauce or hoisin for an added depth of flavor. Mix everything thoroughly until combined.
- Assemble the Rolls: To assemble, lay a spring roll wrapper on a clean, flat surface. Spoon about 2 tablespoons of the filling mixture at the bottom third of the wrapper. Roll it over tightly, folding in the sides as you go to encase the filling securely. Wet the edges with a little water to seal the roll. Repeat until all wrappers are filled.
- Heat the Oil: In a deep pot or fryer, heat oil to 350°F (175°C). To test, drop a small piece of the spring roll wrapper into the oil; it should sizzle and rise to the surface.
- Fry to Perfection: Carefully place a few spring rolls in the hot oil, making sure not to overcrowd the pot. Fry for about 4-5 minutes, turning occasionally until they are golden brown and crispy. Using a slotted spoon, remove them and drain on paper towels.
- Serve Hot: Allow the spring rolls to cool slightly before serving. Pair them with your favorite dipping sauce, such as a sweet chili sauce or soy sauce, for a delightful complement.
Variations & Substitutions
Vegetarian Spring Rolls: If you’re looking to create a vegetarian version, you can simply omit the protein and increase the quantity of vegetables. Add mushrooms, bell peppers, or even tofu for added texture. For extra flavor, consider mixing in some soy sauce or sesame oil to the filling prior to assembly.
Shrimp Spring Rolls: For a seafood twist, substitute the protein with shrimp. Add cooked, chopped shrimp into the vegetable filling. Shrimp spring rolls are incredibly flavorful and offer a satisfying bite. Tofu can also be added for a protein boost.
Spicy Spring Rolls: If you enjoy a bit of heat, consider adding sliced jalapeños or a drizzle of sriracha to the filling mixture. This adds a spicy kick that can elevate the flavor profile significantly.
Baked Spring Rolls: For a healthier alternative, you can bake the spring rolls instead of frying. Brush them with a little oil and place them on a baking sheet lined with parchment paper. Bake at 400°F (200°C) for 20-25 minutes or until golden brown, turning occasionally for even browning.
Gluten-Free Spring Rolls: For a gluten-free adaptation, look for rice paper wrappers instead of traditional spring roll wrappers. The rice paper will provide a delicate, chewy texture that is delicious when fried or baked.
Common Mistakes to Avoid
Making crispy spring rolls is not as simple as it sounds, and a few common pitfalls can lead to soggy results.
Overfilling the Wrappers: One of the most common mistakes is overfilling the spring roll wrappers. This can lead to difficulty in rolling them tightly and could cause the filling to spill out during frying. Be conservative with the filling amount and ensure you can roll it up securely.
Not Heating the Oil Enough: Insufficiently heated oil can lead to spring rolls that absorb too much oil, resulting in greasy rolls. Make sure the oil reaches the right temperature before adding the rolls—400°F (200°C) is ideal for that perfect crunch.
Using Wet Fillings: Avoid using overly moist ingredients in your spring roll filling, as this can cause the wrappers to become soggy while frying. If using ingredients like mushrooms or cottage cheese, ensure they’re thoroughly drained before adding them to your mixture.
Storage, Freezing & Reheating Tips
If you find yourself with leftover spring rolls or want to prepare ahead of time, storing them properly is crucial.
To store leftover spring rolls, place them in an airtight container in the refrigerator. They can be stored for up to 3 days. If you wish to freeze uncooked spring rolls, arrange them in a single layer on a baking sheet, flash freeze them, and then transfer to a resealable plastic bag. They can be frozen for up to 2 months.
When it comes to reheating, it’s best to use an oven rather than a microwave to maintain that desired crunch. Preheat your oven to 375°F (190°C) and place the rolls on a baking sheet. Bake for about 10-15 minutes until they are heated through and crispy.
Frequently Asked Questions
Can I make spring rolls ahead of time?
Absolutely! You can prepare the filling and assemble the spring rolls a few hours ahead of time. Just be sure to cover them with a damp paper towel to prevent drying out. While they can be kept in the fridge for a few hours, I recommend frying them just before serving to maintain their crispiness.
Can I use different types of wrappers?
Yes, while traditional spring roll wrappers are commonly used, you can experiment with rice paper or even wonton wrappers. However, be aware that the texture and crunch may vary slightly with different wrappers.
What dips work best with spring rolls?
Some popular dipping sauces for spring rolls include sweet chili sauce, peanut sauce, hoisin sauce, and soy sauce. You can also create a homemade dipping sauce by mixing soy sauce, rice vinegar, and a touch of sesame oil.
Can I bake spring rolls instead of frying?
Yes, baking is a healthier option! Simply lightly brush them with oil before placing them in a preheated oven. Bake until golden brown and crispy, which usually takes about 20-25 minutes at 400°F (200°C).
What other ingredients can I add to my spring rolls?
Feel free to customize your filling to your taste! Ingredients such as bell peppers, zucchini, bean sprouts, and even nuts like crushed peanuts or cashews can add additional flavor and texture to your spring rolls.
Conclusion: Making crispy spring rolls is a rewarding endeavor that brings joy not only to you, the cook, but also to your family and guests. By utilizing the right ingredients and techniques, you can ensure that each spring roll offers that irresistible crunch. Enjoy experimenting with different fillings and dips, and savor the delightful flavors that come from crafting these little bundles of happiness.


