Prep time: 20 minutes
Cook time: 30 minutes
Total time: 50 minutes
Servings: 4
When you think of comfort food, the imagery conjured often revolves around dishes that are crispy, cheesy, and downright delicious. One such dish that has a knack for evoking these warm feelings is the Crispy Malibu Chicken. With its golden crust, juicy chicken, and rich cheese filling, it’s no wonder this recipe has captured the hearts (and stomachs) of many home cooks. As a busy parent or someone keen on saving time in the kitchen, you might often seek meals that are not just satisfying, but also easy enough to whip up on a weeknight. This Crispy Malibu Chicken Recipe stands out for its flavor and simplicity, ensuring you spend less time in the kitchen without sacrificing taste.
The delight of biting into a crispy, cheesy chicken dish will transport you to your favorite family dinner gatherings. Perhaps you remember a time when your loved ones would come together over a hearty meal, laughter echoing amid filled plates. This recipe is your ticket to recreate those treasured moments. In this article, we will guide you through everything you need to know—from ingredients and preparation tips to various ways to customize this dish to suit your dietary needs.
What Is Crispy Malibu Chicken Recipe – Perfect Golden Cheesy Delight?
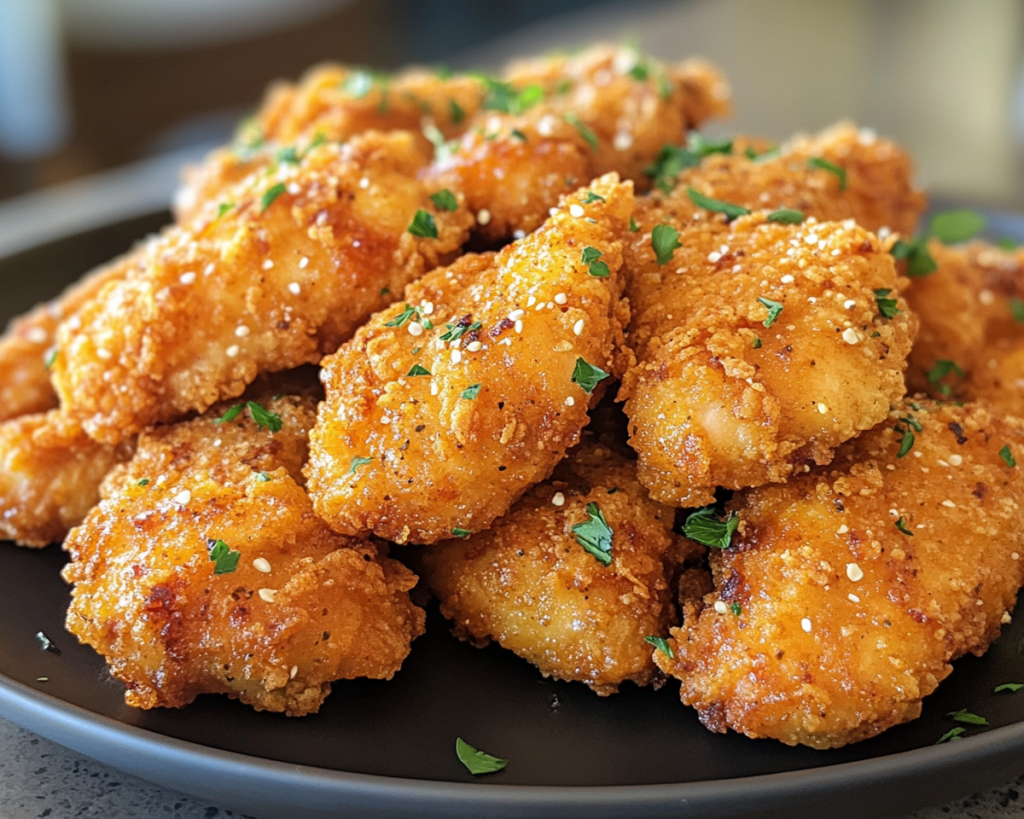
The Crispy Malibu Chicken is an exquisite dish that marries classic comfort food with a touch of coastal charm. Originating from California, it features chicken breasts that are pounded flat and filled with cheese and ham, coated in breadcrumbs, and then fried or baked to crispy perfection. The result is a delightful harmony of textures: the outside is crunchy, while the inside remains juicy and tender, with the flavors of melted cheese and savory ham bursting through.
What truly sets this dish apart is not just its taste, but its versatility. Whether you’re trying it for a quick dinner or serving it at a family gathering, this recipe adapts beautifully. Each bite offers a unique combination of savory and cheesy goodness, making it a crowd-pleaser. Beyond being a delightful meal, it’s also a wonderful option for meal prepping, ensuring that busy weeknights can still be filled with delicious homemade dinners.
Why You’ll Love This
There are several reasons why the Crispy Malibu Chicken will earn a spot in your regular rotation. First and foremost, it scores high on flavor. The golden, crispy exterior complements the moist chicken inside, while the rich cheese filling makes for a satisfying bite. Unlike other complicated recipes, this one is straightforward and does not require you to be a culinary expert. Even if you’re a beginner, you’ll find that this dish is easy to master and customize according to your taste preferences.
Moreover, from a budget standpoint, making your own Crispy Malibu Chicken at home can be significantly cheaper than ordering takeout or going out to eat. You can also tweak the recipe to fit dietary restrictions or personal preferences, using gluten-free breadcrumbs or alternative cheeses, for example. Many people mistakenly believe that restaurant-style dishes are out of reach at home, but with this easy recipe, you’ll quickly realize that good food does not have to come with a hefty price tag or a labor-intensive process.
Ingredients You’ll Need
To get started on this mouth-watering dish, here’s a list of the ingredients you’ll need:
- 4 boneless, skinless chicken breasts: The star of the dish, providing protein and structure.
- 4 slices of ham: Adds a savory layer inside the chicken.
- 4 slices of Swiss cheese: The ideal melt factor with a smooth flavor.
- 1 cup of all-purpose flour: Used for dredging to help create that crispy coating.
- 2 large eggs: Acts as a binding agent for the breadcrumbs.
- 1 cup of breadcrumbs: Either regular or panko, for that extra crunch.
- Salt and pepper: Essential seasonings to enhance flavor.
- Olive oil: For frying; can also use butter for an extra rich flavor.
Each ingredient is vital—it plays a role in crafting the flavors and textures that make this dish special. Substituting ingredients can also lead to exciting variations, which is something we will explore later in this article.
How to Make
Ready to take on the culinary adventure that is Crispy Malibu Chicken? Follow these step-by-step instructions to achieve a restaurant-quality dish right in your own kitchen.
- Prepare the chicken: Start by placing the chicken breasts between two pieces of plastic wrap. Using a meat mallet, pound them gently until they are about ½ inch thick. This not only tenderizes the chicken but also helps it cook evenly. Be careful not to pound too hard; the goal is to flatten without tearing.
- Season the chicken: Once your chicken is flattened, generously season both sides with salt and pepper. Don’t skip this step! Proper seasoning ensures that every bite is flavorful and delicious.
- Add the filling: Lay one slice of ham and one slice of Swiss cheese on top of each chicken breast. You want to set them towards one end, leaving some space at the edges to prevent spills when you roll them up.
- Roll and secure: Starting from the end with the fillings, carefully roll the chicken tightly. Use toothpicks or kitchen twine to secure the rolls, ensuring the cheese and ham stay inside while cooking.
- Dredge the chicken: Set up three shallow dishes for the breading process: one for flour, one with beaten eggs, and another with breadcrumbs. Start by dredging each roll in flour, ensuring it’s coated evenly before dipping into the egg wash and finally rolling it in breadcrumbs. This triple-dipping method guarantees a perfect crunch. Ensure your hands are clean during this process to keep everything tidy.
- Fry the chicken: In a large skillet, heat about ¼ inch of olive oil over medium heat. Once hot, add the chicken rolls, making sure not to overcrowd the pan. Cook for about 4-5 minutes on each side, or until they are golden brown and crispy. You may need to do this in batches depending on the size of your skillet.
- Drain and rest: Once cooked, transfer the chicken rolls to a plate lined with paper towels to drain excess oil. Let them rest for a few minutes before serving—this allows the cheese to settle slightly, preventing a melty explosion.
- Serve: Slice the chicken rolls into pinwheels, displaying the beautiful layers of ham and cheese. Serve warm, and enjoy the delightful crunch and cheesy interior!
Each step ensures that your Crispy Malibu Chicken turns out beautifully, both in appearance and flavor. Remember, while cooking is an exact science, personal touches can be added—don’t hesitate to use your intuition as you follow the recipe.
Variations & Substitutions
Gluten-Free Variation: If you’re looking to make this dish gluten-free, you can easily substitute the all-purpose flour and breadcrumbs with gluten-free alternatives. Make sure your breadcrumbs are certified gluten-free. This variation allows those with gluten sensitivity to enjoy this classic without any worries while maintaining the delicious crunch!
Pesto Chicken Variation: For a delightful twist, replace the slices of ham with a generous spread of pesto sauce. This adds a vibrant flavor profile, infusing fresh herbs and garlic into the dish. The Swiss cheese can remain, or you could swap it for mozzarella for a different melt. This is perfect for those who love Mediterranean flavors!
Vegetarian Option: If you want to make a vegetarian version, you can use eggplant or zucchini instead of chicken. Slice these vegetables and prepare them similarly—pounding isn’t necessary here. Layer the ham and cheese, then coat and fry as directed. This variation is delightful for anyone looking for a meatless meal that still holds the essence of the original recipe.
Cheese Lovers Extra: If you are a cheese lover, consider adding a mix of cheeses to the stuffing. Cheddar, gouda, or even blue cheese can be incorporated for a different flavor dimension. Just remember to balance the strong flavors to avoid overwhelming the dish. You can also mix herbs like thyme or basil for added freshness.
Spicy Twist: For those who enjoy a bit of heat, add jalapeños or other spicy peppers inside the chicken rolls. Pair with pepper jack cheese for an extra kick. This variation is suited for those who want to spice up their dinner routine without compromising the dish’s core appeal.
In each of these variations, you’ll find that subtle tweaks can transform a classic into something uniquely yours, making it suitable for different diets or flavor preferences.
Common Mistakes to Avoid
While making Crispy Malibu Chicken may seem straightforward, there are a few common pitfalls to watch out for. One critical mistake is overcooking the chicken. Chicken breasts can dry out quickly, leading to a meal that falls flat on flavor and texture. Using a meat thermometer can help you ensure the chicken reaches an internal temperature of 165°F without going beyond that.
Another mistake is improper coating. Ensure that each chicken roll is well-coated in flour, eggs, and breadcrumbs. If any step is skipped, you might end up with a soggy coating rather than that golden crispiness. Additionally, be cautious about the oil temperature. If the oil is too hot, the coating might burn before the chicken cooks through. Conversely, if it’s not hot enough, your rolls can absorb too much oil, becoming greasy instead of crispy.
Finally, be sure to let the chicken rest after frying. This is crucial to avoid super-heated cheese spilling out uncontrollably when you cut it. Proper resting allows the flavors to meld and the interior to settle.
Storage, Freezing & Reheating Tips
Storing Crispy Malibu Chicken is fairly simple. If you have leftovers, allow them to cool completely before transferring them to an airtight container. They can be stored in the refrigerator for up to 3 days. For longer storage, consider freezing them. Wrap each chicken roll tightly in plastic wrap before placing them in a freezer bag. They should last for about 2 months in the freezer.
When reheating, it’s best to avoid the microwave, as this can make the coating soggy. Instead, preheat your oven to 375°F and place the rolls on a baking sheet for about 15-20 minutes or until heated through. This method helps maintain the crispiness while warming the chicken perfectly. You can also use an air fryer for a quicker reheating option—just a few minutes in an air fryer can restore that initial crispiness.
For food safety, always ensure that the chicken reaches a minimum internal temperature of 165°F before serving after storing or reheating.
Frequently Asked Questions
Can I use other meats instead of chicken?
Yes! While the traditional recipe uses chicken breasts, you could substitute turkey or even pork. The cooking time may vary based on the thickness and type of meat, so be sure to adjust accordingly.
Is it possible to bake this instead of frying?
Absolutely! You can bake the Crispy Malibu Chicken for a healthier option. Preheat your oven to 375°F and place the chicken on a baking sheet lined with parchment paper. Bake for about 25-30 minutes or until the chicken is cooked through and the coating is golden.
Can I prepare this dish in advance?
Definitely! You can assemble the chicken rolls and refrigerate them until you’re ready to cook. This is a great meal prep idea for busy weeknights. Just remember to coat them lightly in breadcrumbs right before frying for a fresh texture.
What can I serve with Crispy Malibu Chicken?
This dish pairs well with a variety of sides such as a simple green salad, garlic mashed potatoes, or steamed vegetables. You could also serve it with a light dipping sauce like honey mustard or a creamy ranch for added flavor.
Are there vegetarian alternatives for this recipe?
Yes! As discussed earlier, using eggplant or zucchini in place of chicken works wonderfully. Additionally, you can add roasted bell peppers or spinach for more flavor and nutrition.
Conclusion:
The Crispy Malibu Chicken Recipe not only provides an avenue for cooking a delectable meal but also opens up possibilities for creativity and variation. Whether you choose to stick to the classic or venture into new territories with personal tweaks, this dish is undeniably a treat that can attract anyone’s palate. It’s perfect for weeknight dinners, meal prepping, or impressing guests at a gathering. So go ahead, roll up your sleeves, and dive into making this crispy delight. Don’t forget to share your culinary creations, as your experience may inspire others to explore their kitchen as well!