Prep time: 20 minutes
Cook time: 0 minutes
Total time: 20 minutes
Servings: 8 servings
Creating a Chip & Dip Charcuterie Board is a delightful way to bring the party to life. Whether you are hosting a game night, a casual get-together, or a family gathering, a charcuterie board laden with chips and dips serves not only as a stunning centerpiece but also as a delectable choice for everyone. This easy-to-assemble board encourages mingling and sharing, making it a perfect option for busy hosts. In just 20 minutes, you can whip up a visual and flavorful treat that delights both the eyes and the palate.
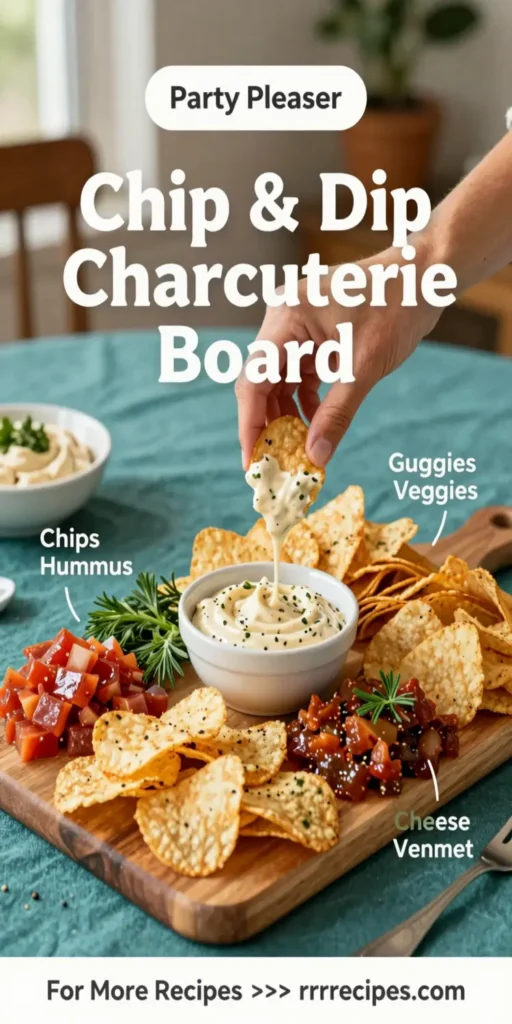
There are endless possibilities when it comes to arranging your Chip & Dip Charcuterie Board. Imagine a colorful spread of crispy tortilla chips, creamy guacamole, zesty salsa, and maybe even a warm cheese dip. Each item can be personally tailored to evoke flavors that your guests will love, ensuring that everyone finds something they enjoy. Moreover, charcuterie boards offer a chance to be playful and creative with presentation, opening doors to exciting flavor combinations and textures.
With that in mind, let’s dive into the detail of constructing the ultimate Chip & Dip Charcuterie Board, ensuring each bite will delight.
What Is Chip & Dip Charcuterie Board?
A Chip & Dip Charcuterie Board is a creative presentation of chips paired with an assortment of dips, designed to offer a variety of flavors and textures for guests to enjoy. This board typically features different types of chips such as tortilla chips, pita chips, or vegetable chips, along with a selection of dips that may include guacamole, salsa, hummus, and cheese dips. This culinary assembly not only allows for an enticing visual display but also satisfies various taste preferences, making it a fun and interactive dining experience.
Creating a Chip & Dip Charcuterie Board takes the traditional idea of a charcuterie board and seamlessly combines it with the joy of snacking on chips and dips. The beauty of this kind of board is that there is no strict recipe, which means you can use whatever dips and chips resonate with your guests. Mix in some veggies, a few cheeses, or even meats to elevate the board into something truly extraordinary.
Why You’ll Love This
This Chip & Dip Charcuterie Board shines in its versatility and ease of assembly. First and foremost, it is a fantastic time-saver for busy parents or anyone who finds themselves strapped for time yet wanting to put out an impressive spread. You won’t need to spend hours in the kitchen preparing complex dishes.
Financially, this type of board is budget-friendly. You can stick to using store-bought items, or you might choose to whip up a dip or two, allowing you to control costs while still serving delicious flavors. Many dips are simple to prepare, often involving basic ingredients that you may already have in your kitchen.
The engaging nature of a Chip & Dip Charcuterie Board promotes social interaction. It’s a hands-on experience, encouraging guests to dive in and sample a little bit of everything. As a result, it becomes an excellent choice for social gatherings and parties, breaking the ice and enhancing the convivial atmosphere.
Ingredients You’ll Need
- Tortilla Chips: 1 bag (about 12 ounces) – A classic base for dipping that adds a satisfying crunch.
- Guacamole: 2 cups – Creamy and rich, avocado-based dip that brings a fresh flavor.
- Salsa: 2 cups – A zesty and vibrant dip that’s a staple on any chip board.
- Queso Dip: 2 cups – A warm cheese dip that provides a comforting flavor, often made with melted cheese and spices.
- Vegetable Chips: 1 bag (about 7 ounces) – A crunchy alternative that adds color variety and nutrition.
- Pita Chips: 1 bag (about 8 ounces) – Offers a different texture that pairs well with creamy dips.
- Fresh Vegetables: 2 cups, such as carrots, celery sticks, and bell pepper strips – Adds freshness and crunch as additional dipping vehicles.
- Olives: 1 cup – A briny bite that complements the other dip options.
- Cheeses: 8 ounces, assorted (like cheddar and pepper jack) – Adds creamy richness to the board.
How to Make
- Gather Your Ingredients: Start by assembling all of your ingredients in one place. This makes it easier to visualize your board and helps you make decisions about placement and arrangement.
- Choosing the Board: Select a large platter, wooden board, or a large cutting board as your base. The size will depend on how many guests you’re serving. Aim for something that allows enough space for all your dips and chips.
- Dip Arrangements: Place the dips in small bowls and set them down on the board first. This establishes the layout for your board and provides a focal point. Feel free to space them out for visual appeal.
- Adding Chips: Next, arrange the tortilla chips and pita chips around the dips. Consider creating small piles or mounds of chips to make it feel bountiful. Utilize different bowls for different types of chips to add variety in texture and color.
- Fresh Vegetables: After your base layer is complete, fill in gaps with the fresh vegetables. Arrange the carrot sticks, celery, and bell pepper strips so guests have easy access to crispy, refreshing bites.
- Finishing Touches: Finally, add olives and piece of cheese throughout the board to create a visually stimulating spread. Make sure to fill in any empty spaces to create a cohesive look. Adjust everything as needed until you’re happy with the layout.
Variations & Substitutions
Spicy Southwest Addition: For those who love a kick, add a spicy black bean dip alongside the guacamole. This adds not only heat but also another layer of flavor that perfectly complements the other dips. You could also include jalapeño pepper slices on the board for an interactive option for guests to spice up their servings.
Healthy Twist: For a healthier version, substitute traditional tortilla chips with baked chips or even make your own using corn tortillas. This can eliminate excessive fats and calories while still offering a satisfying crunch. Further, replace queso with a yogurt-based ranch dip, which adds creaminess with fewer calories.
International Flair: Transform the board by incorporating international flavors. Add tzatziki sauce for a Greek influence or baba ghanoush for a Middle Eastern touch. Use pita chips as an accompaniment for these dips to harmonize the flavors and keep it thematic.
Common Mistakes to Avoid
One of the most common pitfalls when creating a Chip & Dip Charcuterie Board is overloading it. Be mindful of balance and don’t overcrowd the board which can make it overwhelming and detract from the visual appeal of the presentation. Instead, space everything out evenly and consider leaving some room for additions, like freshly baked items or crackers.
Another drawback is neglecting the variety of textures. Ensure your board has a mix of crunchy, creamy, and fresh components. Balance is key to a satisfying snacking experience. If your board consists entirely of crunchy items or too many creamy dips, it may fall flat.
Lastly, don’t forget about food safety. If you plan on serving the board at a temperature above 70°F for extended periods, be wary of dairy-heavy items such as cheese dips or creamy guacamole, to avoid spoilage. Keeping these dips on ice or moving them to a cooler location after being out for a while may be necessary.
Storage, Freezing & Reheating Tips
For any leftovers from your Chip & Dip Charcuterie Board, start by storing each component separately. This will ensure that the texture and flavor of each dip remain intact. Place the dips in airtight containers in the refrigerator. Fresh vegetables can also be stored in sealed bags with a damp paper towel to maintain their crunch.
It’s advisable to consume any leftovers within 3–4 days for optimal freshness. Dips like guacamole can discolor overnight, so adding lime juice before storing can help maintain its hue.
As for dips, most can be frozen for up to a month. To reheat, thaw them in the refrigerator overnight and then microwave or stovetop heat until warmed through. Always ensure that queso is melted and reached a suitable temperature before serving again.
Frequently Asked Questions
Can I use store-bought dips? Absolutely! Store-bought dips are a fantastic time-saver. Choose quality brands that offer fresh flavors. You’re welcome to dress them up on your board with garnishes like fresh herbs or spice dusting to make them look homemade, without the struggle of preparing everything from scratch.
How do I ensure the dips don’t spoil? Keeping dips in cool conditions is essential. If you anticipate that the board will be out for a long period, consider placing bowls in ice to maintain a safe temperature. Moving the dips to the refrigerator after an extended period outdoors will also help to avoid spoilage.
Can I personalize the charcuterie board? Definitely! Feel free to add your favorite dips, chips, or snacks that you know your guests will enjoy. Experimenting with seasonal flavors or themes could yield delightful surprises. Whether it’s adding salsas made from seasonal produce or including unique chips, personal touches enhance the experience.
What if I have dietary restrictions to consider? When hosting, ask guests in advance if they have dietary restrictions. Utilizing more vegan options (like hummus) or gluten-free chips is a great way to ensure everyone feels included. Additionally, providing labels for each item can be helpful for guests with allergies.
How do I make my board visually appealing? Use a large platter and stagger your dips and chips in an organized yet casual arrangement. Consider color when making your selections to create a vibrant display. Mixing round and square bowls can add interesting dimensions to your presentation and keep it lively.
Conclusion: A Chip & Dip Charcuterie Board is a straightforward way to create an atmosphere of fun and flavors in your gatherings. With rich textures and a plethora of colorful options, this board serves not only as a meal but also as an entertaining centerpiece. Don’t hesitate to get creative and customize it to fit any occasion!


