Prep time: 10 minutes
Cook time: 10 minutes
Total time: 20 minutes
Servings: 4-6
When you’re strapped for time yet want a show-stopping snack for game night, this Charcuterie Board: Game Night Loaded Nacho Charcuterie Board is your go-to solution. It’s all about the quick assembly of vibrant colors, textures, and flavors that can be ready in just 20 minutes. Not only does this board satisfy your cravings for something crunchy and cheesy, but it also impresses your guests with its elegant presentation. With a mix of savory, spicy, and sweet components, this loaded nacho charcuterie board is perfect for any occasion, from casual family gatherings to lively parties.
What Is Charcuterie Board: Game Night Loaded Nacho Charcuterie Board in 20 Minutes ?
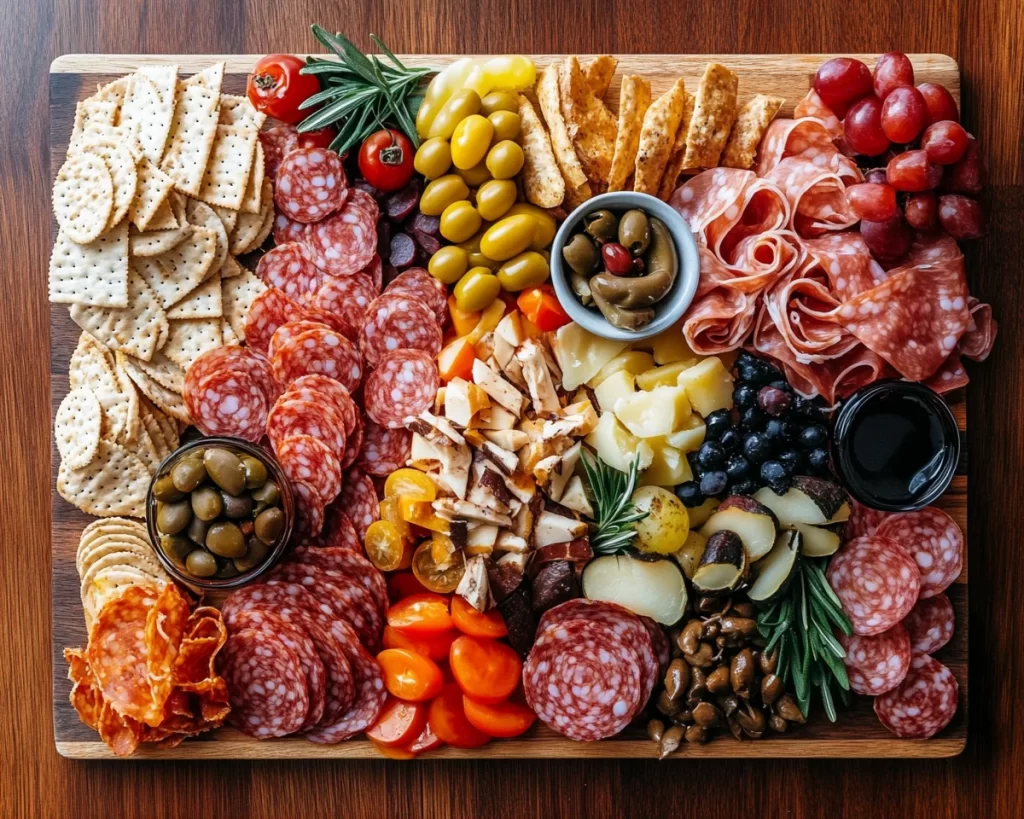
A charcuterie board is generally known for its assortment of cured meats, cheeses, breads, and condiments, but this inventive take draws on the beloved nachos to create a fun and interactive snack experience. Imagine a lavish spread where tortilla chips are piled high with all your favorite loaded nacho toppings: gooey cheese, spicy jalapeños, fresh guacamole, and savory ground meat, all elegantly arranged for maximum flavor and visual appeal. The beauty of this dish lies in its adaptability, allowing you to customize it based on your and your guests’ preferences while adhering to a simple assembly process.
Why You’ll Love This
There are countless reasons to dive into this nacho charcuterie board. First and foremost, it is incredibly quick to assemble, making it perfect for busy parents or anyone who finds themselves short on time. Coupled with the savory and tangy flavor combinations, you’re sure to please taste buds of all ages. Moreover, you’ll love how this dish revolves around the idea of sharing. It encourages mingling and chatting, making it an ideal crowd-pleaser for game nights, parties, or family gatherings. Plus, the colorful presentation is visually enticing, ensuring it will be a highlight of your dining table.
Ingredients You’ll Need
- Tortilla chips (1 large bag): The crispy base that provides the crunch and serves as a great carrier for all the toppings.
- Shredded cheese (2 cups): Opt for a mix of cheddar and Monterey Jack for the best melty, gooey texture.
- Ground beef or turkey (1 pound): Season this protein with spices for a delicious and hearty addition.
- Jalapeños (1/4 cup, sliced): For those who love heat, fresh or pickled; they add a wonderful kick.
- Guacamole (1 cup): Adds a creamy element that balances out the spiciness. Homemade or store-bought works!
- Sour cream (1 cup): This provides a cool contrast to the other bold flavors.
- Salsa (1 cup): Choose your favorite variety, whether it’s chunky or smooth, mild or hot.
- Olives (1/2 cup, sliced): Black or green, they add an interesting briny flavor.
- Chopped cilantro (1/4 cup): A fresh garnish that adds vibrant color and flavor.
How to Make
- Begin by preparing your ground meat. In a skillet over medium heat, cook the ground beef or turkey, breaking it up with a spatula. Once browned, season with your choice of taco spices, such as cumin, chili powder, and garlic powder. Cook until fragrant and set aside to cool slightly.
- Next, spread out your tortilla chips on a large serving platter or board. Ensure to create an even layer where the chips can be easily accessed. Feel free to arrange them in a circular pattern or a loosely stylized design for visuals.
- Generously sprinkle shredded cheese over the chips, allowing it to fall into the gaps and cover them well. The amount can be adjusted to your preference; more cheese typically equals more deliciousness!
- Now, scatter the seasoned ground meat over the cheesy layer. Make sure to distribute it evenly to allow all the chips to have a taste of the savory flavor. You want every bite to be a complete explosion of flavor.
- Next, add your jalapeños. You can scatter them directly over the meat or arrange them beautifully around the board to create a visually appealing effect. The spiciness from the jalapeños will elevate the flavor profile significantly.
- Once your boards are loaded up, create dollops of guacamole and sour cream by using a spoon or piping bag. This adds texture and creaminess while making it easy for guests to grab toppings as they go. Finish by drizzling salsa over the top and sprinkling olives and chopped cilantro for added flair.
Variations & Substitutions
Vegetarian Version: If you’re catering to vegetarians, swapping the ground meat with a sautéed mix of bell peppers, mushrooms, and black beans can make a delicious alternative. The earthy beans combined with fresh veggies provide a satisfying bite, while still keeping the board exciting.
Spicy Nachos: Elevate the heat factor by incorporating spicy queso instead of traditional shredded cheese. You can also add sliced serrano peppers for an extra kick. This variation caters to those who enjoy their snacks with a hint of fiery passion.
Sweet Touch: For a unique twist, consider adding some sweet elements like a drizzle of honey or maple syrup over your nachos. You can also set up a small dessert section with sliced fruits or chocolate items to create the ultimate board experience, perfect for a dessert-themed gathering.
Common Mistakes to Avoid
Overloading on Toppings: One of the most common mistakes is exceeding the amount of toppings. Too much can lead to soggy chips and overwhelming flavors. Aim to find a balance that complements without overpowering each component.
Not Preheating the Oven: If you plan on melting the cheese in the oven, be sure to preheat it properly. A cold oven can result in uneven melting and may ruin the whole experience. Always ensure it’s adequately hot to achieve gooey perfection.
Skipping the Fresh Ingredients: Fresh ingredients like cilantro or avocado are often overlooked. Leaving these out can make the board appear dull and two-dimensional. Always include elements that add flavor, freshness, and color to keep your board vibrant and appealing.
Storage, Freezing & Reheating Tips
When it comes to storing your loaded nacho charcuterie board, remember it’s best enjoyed fresh. However, if you do have leftovers, store each component in airtight containers. The tortilla chips should always be kept separate to prevent them from becoming soggy. In the fridge, leftover meat, cheese, and toppings can last up to three days. If you’ve assembled the board with toppings, avoid freezing, as it can alter the texture of delicate items like avocados and sour cream. When reheating any leftover meat, use a skillet over medium heat, stirring frequently to ensure even warming without drying it out.
Frequently Asked Questions
Can I prepare the ingredients in advance?
Absolutely! You can chop your veggies and prepare your meat the day before. Just store everything separately to maintain freshness. When it’s time to serve, you can quickly assemble your board.
What types of cheese work best?
A blend of Monterey Jack and cheddar offers both flavor and excellent melting properties. For something different, consider pepper jack for an extra kick.
Can I make this board gluten-free?
Yes, simply opt for gluten-free tortilla chips. There are many brands available that offer great texture without gluten, so you don’t have to compromise on flavor.
How do I keep nachos from getting soggy?
To prevent sogginess, serve the toppings on the side and let your guests customize their nachos. This way, the chips stay crispy while allowing everyone to enjoy the flavors they love.
Is this board suitable for kids?
Definitely! This loaded nacho charcuterie board is perfect for kids. You can provide mild toppings and let them build their own personalized version, making it not just a meal but also a fun activity.
Conclusion:
A Charcuterie Board: Game Night Loaded Nacho Charcuterie Board brings together the elements of creativity, flavor, and togetherness in a fun and interactive way. It’s designed for everyone to enjoy, from the busy home cook to guests at a cozy gathering. With just a few simple steps and minimal cooking involved, this recipe allows you to spend more time with your loved ones and less behind the stove. Enjoy the vibrant flavors and the smiles on faces as everyone indulges in this quick and satisfying culinary delight!


