Prep time: 30 minutes
Cook time: 15 minutes
Total time: 45 minutes
Servings: 24 cookies
Craving something sweet and comforting? Imagine the delightful taste of Italian pastries transforming into delightful cookies. These Cannoli Cookies beautifully encapsulate the rich tradition of Italian desserts. With their creamy filling and perfectly baked exterior, these cookies are not just a treat; they’re an experience you will cherish. In this recipe, you will discover the art of making Cannoli Cookies, along with tips to ensure that your cookies emerge perfect every time. Get ready for a fun and flavorful journey that will impress your family and friends.
What Is Cannoli Cookies 🍪 (Sweet Italian Dessert)?
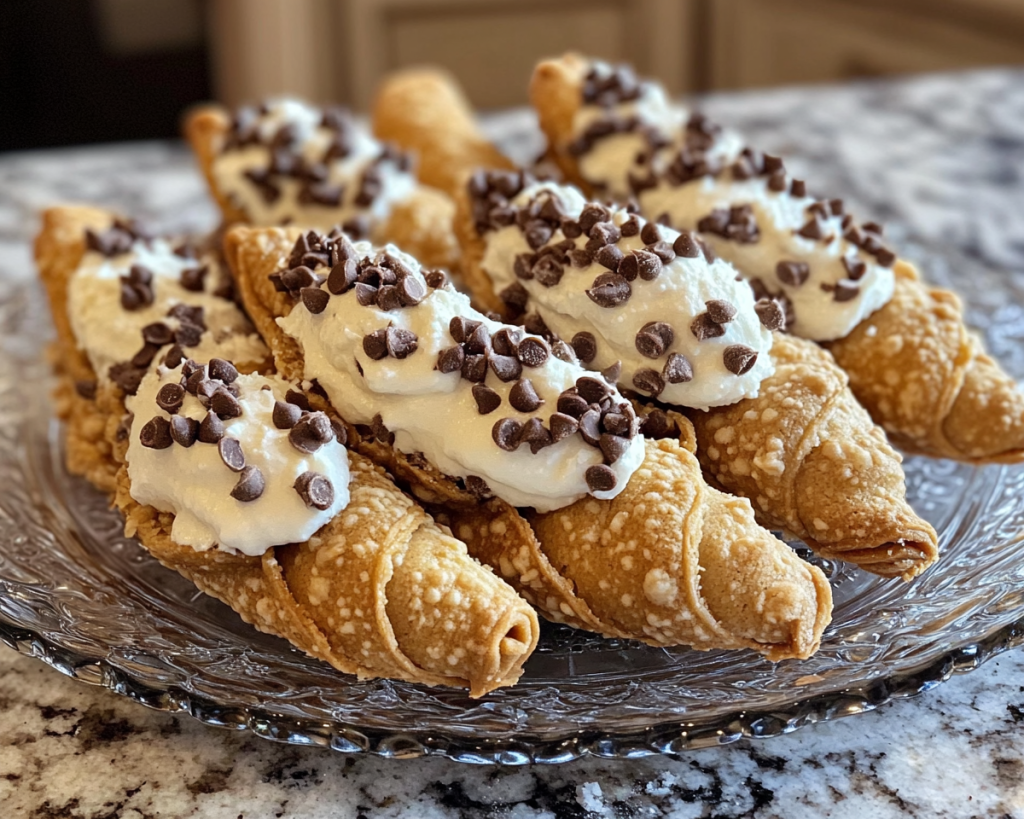
Cannoli Cookies are inspired by the classic Italian dessert known as **cannoli**, which features crispy pastry shells filled with sweet, creamy ricotta cheese. Unlike traditional cannoli, these cookies offer the same flavor profile but in a more accessible and bite-sized form. The flavor of these cookies is rich and sweet, with hints of vanilla, orange zest, and cinnamon, making them an indulgent treat for any occasion.
The texture of Cannoli Cookies is fantastic; you will enjoy a slight crispiness on the outside encasing a soft, creamy filling that melts in your mouth. The marriage of these textures elevates this simple cookie into a delightful indulgence. With a rich Italian heritage, Cannoli Cookies have become quite popular, especially at gatherings and during festive seasons, making them a must-have sweet treat for all dessert lovers.
Why You’ll Love This
You will absolutely love Cannoli Cookies for several reasons. Firstly, they are incredibly delicious; the rich, sweet filling and perfectly baked outside create a memorable taste experience. From the moment you take a bite, you will be transported to a cozy Italian café, relishing every mouthful.
Moreover, this recipe is straightforward and requires minimal ingredients. Even if you are a beginner in the kitchen, you can achieve a stunning result. Unlike many desserts that can be time-consuming or messy, Cannoli Cookies involve manageable steps and will not overwhelm busy parents or novice bakers. Plus, the ingredients are often pantry staples—making it budget-friendly and convenient for a last-minute dessert option.
Lastly, Cannoli Cookies are versatile; you can adapt them according to your preferences. Whether changing the filling or adding nuts or chocolate chips, you can personalize them to your taste, ensuring a memorable treat for any gathering.
Ingredients You’ll Need
- All-purpose flour: Essential for the cookie base, providing structure. You can substitute with gluten-free flour for a gluten-free version.
- Granulated sugar: Sweetens the cookies. For a healthier alternative, you can use coconut sugar.
- Baking powder: Helps the cookies rise and gives them a light texture.
- Salt: Enhances the flavors; it’s crucial for balancing sweetness.
- Unsalted butter: Adds richness and flavor. Ensure your butter is softened for easy mixing.
- Ricotta cheese: The star ingredient in the filling, providing creaminess and flavor. You can use mascarpone as a luxurious alternative.
- Vanilla extract: Adds aroma and enhances the overall flavor.
- Cinnamon: Offers a warm spice note that complements the other ingredients.
- Orange zest: Provides a fresh, citrusy twist. This can be replaced by lemon zest for a different flavor.
- Chocolate chips: Optional but delightful for added sweetness and texture.
These ingredients work together to create an unforgettable cookie experience, so it’s important to choose them carefully. Understanding their roles will help you appreciate the delightful transformation that occurs when making Cannoli Cookies.
How to Make
- Preheat the Oven: Start by preheating your oven to 350°F (175°C). This step ensures that your cookies bake evenly and develop the perfect golden color. While the oven is heating, you can prepare your cookie dough.
- Mix Dry Ingredients: In a large bowl, combine 2 ½ cups of all-purpose flour, 1 teaspoon of baking powder, and a pinch of salt. Whisk them together to ensure there are no lumps. This mixture forms the foundation of your cookie dough, creating a balanced texture.
- Cream the Butter and Sugar: In another mixing bowl, cream together 1 cup of softened unsalted butter and 1 cup of granulated sugar using an electric mixer. Beat them until light and fluffy, approximately 3-4 minutes. This step introduces air into your mixture, giving the cookies a light and tender quality.
- Add Wet Ingredients: Once light and fluffy, add in 1 cup of ricotta cheese, 1 teaspoon of vanilla extract, 1 teaspoon of cinnamon, and 1 teaspoon of orange zest. Mix until well combined. The ricotta cheese is what makes these cookies exceptionally moist and flavorful.
- Combine Mixtures: Gradually add your dry ingredient mixture to the wet mixture, stirring until just combined. Avoid over-mixing to maintain the tenderness of your cookies. If you wish to include chocolate chips, fold them in at this stage.
- Shape the Cookies: Using a cookie scoop or spoon, drop heaping tablespoons of dough onto a parchment-lined baking sheet, spacing them about 2 inches apart. This ensures they don’t stick together while baking.
- Bake: Place the cookie sheet in the preheated oven and bake for about 12 to 15 minutes, or until the edges are lightly golden but the centers still appear soft. Watching carefully is key at this stage to avoid overbaking, which can lead to dry cookies.
- Cool the Cookies: Once baked, remove the cookies from the oven and let them cool on the baking sheet for about 5 minutes. They will firm up a bit during this time. Afterward, transfer them to a wire rack to cool completely.
- Prepare the Filling: While the cookies are cooling, prepare your filling. In a mixing bowl, combine 1 ½ cups of ricotta cheese, 1 cup of powdered sugar, and any additional flavorings you desire (such as chocolate chips or chopped pistachios). Beat until smooth and creamy.
- Assemble: Once the cookies are completely cooled, use a piping bag or a spoon to generously fill half of the cookies with the ricotta mixture and top with another half. The harmonious pairing of the crunchy cookie and creamy filling is what makes this dessert truly irresistible.
- Serve: Dust the assembled cookies with powdered sugar before serving for a lovely finishing touch. Enjoy your Cannoli Cookies with a cup of coffee or tea; they are the perfect complement to either beverage!
Variations & Substitutions
Chocolate Chip Cannoli Cookies: For a delightful twist, you can add mini chocolate chips to the cookie dough and also to the filling. Chocolate complements the sweet ricotta filling beautifully, offering a rich contrast to the flavors. If you’re looking for something with a bit more character, try swapping out the vanilla extract for mint extract, providing a refreshing taste.
Gluten-Free Cannoli Cookies: If you are following a gluten-free diet, simply replace the all-purpose flour with a gluten-free flour blend. Make sure it includes a binding agent, which is essential to maintaining the texture of the cookies. These cookies will retain their moist and tender quality and will be enjoyed by everyone, including those who do not typically follow gluten-free diets.
Citrus Twist Cannoli Cookies: Instead of using just orange zest, you can create a citrus medley by combining both lemon and lime zests in the cookie and filling. This will provide a vibrant, refreshing flavor profile that brightens up each bite. Add a teaspoon of lemon juice to the filling for an even more pronounced zesty kick.
Nuts and Spices Variations: You can incorporate finely chopped nuts, such as pistachios or walnuts, into either the cookie dough or the filling. This adds both texture and a wholesome flavor that pairs wonderfully with the sweetness of the ricotta. Additionally, try experimenting with different spices like nutmeg or cardamom alongside the cinnamon. This will bring a warm, comforting aroma to your cookies.
Common Mistakes to Avoid
When making Cannoli Cookies, there are a few common pitfalls to watch out for. One major mistake is overmixing your dough; this can lead to tough cookies. Remember, once you’ve added your dry ingredients, mix just until they are incorporated. You want to maintain tenderness and achieve that melt-in-your-mouth texture.
Another error is not properly measuring ingredients. For instance, using too much flour will result in dense cookies. Always spoon the flour into your measuring cup and level it off for accuracy. Additionally, ensure your cookies cool completely before filling them. Filling warm cookies can lead to a mess as the filling may melt and ooze out.
It’s also crucial to monitor your baking time. Each oven is different; so, closely watch your cookies as they bake. Overbaked cookies can be dry, while underbaked ones may collapse. Aim for lightly golden edges and soft centers to achieve the perfect Cannoli Cookies.
Storage, Freezing & Reheating Tips
Storing Cannoli Cookies correctly is vital to preserving their freshness. To keep your cookies, store them in an airtight container at room temperature for up to 3 days. If you want to maintain their texture and flavor, consider refrigerating them. The cool environment helps prolong their shelf life while keeping the filling creamy and delicious.
If you wish to make these cookies ahead of time, you can freeze the cookie dough before baking. Simply scoop the dough onto a parchment-lined baking sheet and freeze until firm. Then, transfer the dough balls into a freezer-safe bag for up to 3 months. When ready to bake, preheat the oven and bake the frozen dough directly without thawing, adding an extra minute or two to the baking time.
When it comes to reheating, if you choose to warm your cookies, do so in a gentle manner. Set your oven to a low temperature (around 300°F) for about 5 minutes, which will help them regain their softness without cooking them further. Avoid using a microwave, as this can make them overly chewy.
Frequently Asked Questions
Can I use low-fat ricotta cheese for this recipe?
Yes, you can use low-fat ricotta cheese if you prefer a lighter version. However, bear in mind that the texture might be slightly less creamy than with full-fat ricotta. The flavor will still be delicious, ensuring a satisfying dessert.
Can I make these cookies vegan?
Absolutely! You can substitute the butter with coconut oil and use a plant-based ricotta or tofu blended with nutritional yeast and lemon juice for the filling. Adjusting the recipe in this way will create delicious vegan Cannoli Cookies that everyone, regardless of dietary preference, can enjoy.
How do I prevent my cookies from spreading too much during baking?
To minimize spreading during baking, chill the cookie dough for at least 30 minutes before baking. This allows the fats to solidify, which helps the cookies maintain their shape. Additionally, make sure you are accurately measuring your flour, as excess fat can also cause spreading.
What can I do if my filling is too runny?
If your ricotta filling turns out runny, consider draining the ricotta through a cheesecloth to remove excess moisture. Another option is to add more powdered sugar or even crushed cookies to thicken the filling and help it hold its shape better.
Can I use other flavors for the filling?
Definitely! You can experiment with various flavors like almond extract, chocolate, or even coffee to create unique fillings. The key is to balance the flavors so they don’t overpower the ricotta cheese, allowing for a delightful dessert experience.
Conclusion:
These Cannoli Cookies offer a delicious blend of traditional Italian flavors and the convenience of cookies, making them a standout treat for any occasion. They’ll become a favorite among family and friends, and the best part is that they are easy to customize to your preferences. Whether you stick to the classic version or explore various exciting variations, your time spent in the kitchen will yield delightful results. Don’t hesitate to try this recipe, share it with others, and let the joy of making and eating Cannoli Cookies fill your home with warmth and sweetness. Happy baking!


