Prep time: 15 minutes
Cook time: 0 minutes
Total time: 15 minutes
Servings: 12 bars
Indulging in a sweet treat doesn’t always have to be complicated or time-consuming. With our Black Forest Cookie Bars, you can create a decadent dessert in just 15 minutes, showcasing the beloved flavors of the classic Black Forest cake. This no-bake recipe is perfect for those busy days when you want to impress family and friends without spending hours in the kitchen. These bars combine chocolate, cherries, and whipped cream for a deliciously rich and satisfying dessert.
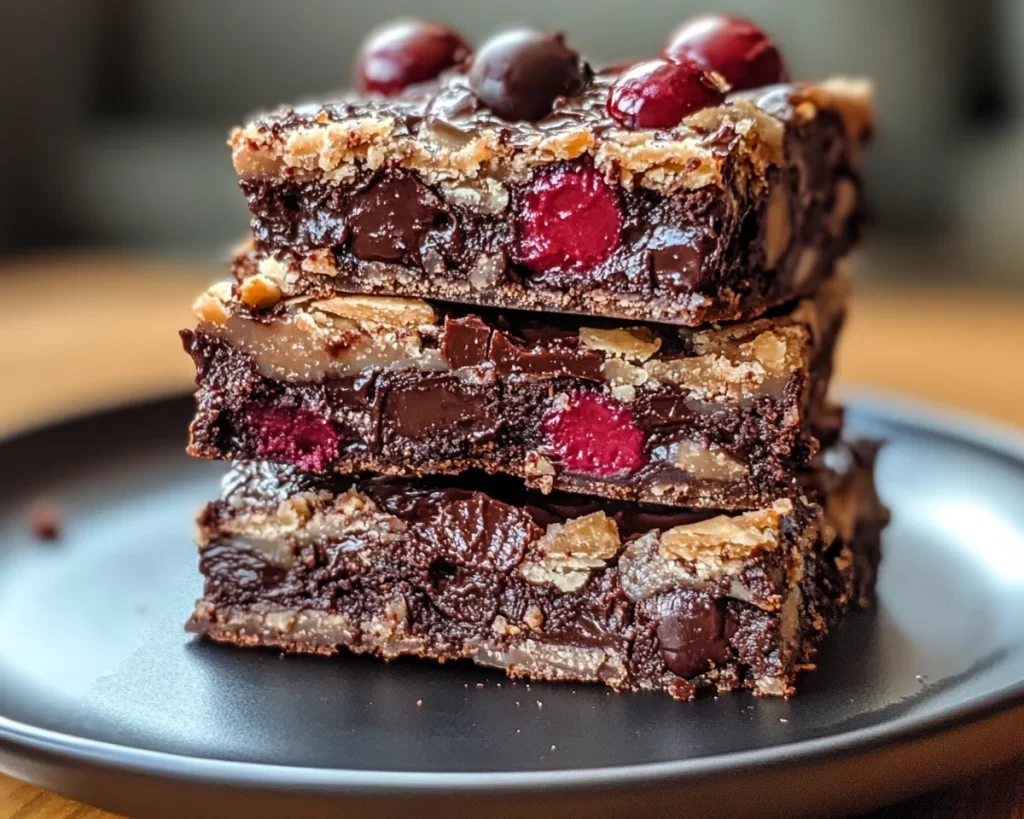
What Is Black Forest Cookie: No Bake Black Forest Cookie Bars in 15 Minutes?
The Black Forest Cookie Bars are a delightful creation inspired by the traditional German Black Forest cake. Instead of layers of cake, this recipe offers a straightforward bar format that is easy to make and equally enjoyable. Made with a rich chocolate cookie base, layered with a cherry filling, and topped with a luscious whipped topping, these bars encapsulate all the essential elements of the classic dessert. The best part is that you don’t need to bake anything, making it an ideal option for a quick treat.
Why You’ll Love This
There are countless reasons to love these cookie bars. Firstly, they are a perfect solution for busy parents or anyone short on time but still craving a dessert. Secondly, the combination of flavors—smooth chocolate, sweet cherries, and creamy topping—creates an indulgent experience that everyone will adore. Moreover, these bars are versatile and can be made in advance, making them an excellent choice for meal prep or last-minute gatherings. With a simple recipe that caters to beginners, you can create something truly special without the fuss.
Ingredients You’ll Need
- Chocolate cookie crumbs: 2 cups – These form the base of your bars, delivering that delicious chocolate flavor.
- Unsalted butter: ½ cup (melted) – This helps bind the cookie crumbs together and adds richness.
- Cherry pie filling: 1 can (about 21 ounces) – This is a key element, providing the iconic cherry flavor.
- Whipped cream: 1 cup (or whipped topping) – This adds a lightness to the bars.
- Chocolate shavings: for garnish – Optional but highly recommended for an appealing finished product.
How to Make
- Start by preparing a 9×9 inch baking dish. Line it with parchment paper, leaving some overhang for easy removal later. This will ensure your bars come out neatly once set.
- In a mixing bowl, combine the chocolate cookie crumbs and the melted butter. Stir until the cookie crumbs are completely coated and have the texture of wet sand. This mixture will serve as the base for your bars.
- Press the cookie mixture firmly into the bottom of the prepared baking dish. Use the back of a measuring cup to help pack it tightly, ensuring an even layer. This step is crucial for a solid base.
- Next, spread the cherry pie filling evenly over the cookie base. How generous you are with the cherries will affect the overall flavor and sweetness of your bars, so don’t skimp!
- In a separate bowl, whip the cream until it forms soft peaks. Then, spread it over the cherry filling, smoothing it out evenly. This layer will create a creamy contrast to the two other layers.
- Finally, sprinkle chocolate shavings on top for an added touch of elegance and chocolate flavor. Refrigerate the bars for at least 2 hours to allow them to set properly.
Variations & Substitutions
White Chocolate Raspberry Bars: For a twist on the classic flavor, substitute the chocolate cookie base for a vanilla crumb base and replace the cherry filling with raspberry preserves. This creates a lovely contrast and a unique flavor combination that is equally delicious.
Nutty Crunch Bars: If you enjoy a bit of crunch, consider adding some crushed nuts to your cookie base. Walnuts or almonds work well. This variation will add texture and a nutty flavor that enhances the overall experience of the bars.
Gluten-Free Version: For those following a gluten-free diet, simply substitute regular chocolate cookie crumbs with gluten-free cookie crumbs. Ensure that the whipped cream you use is also free from gluten ingredients. This way, everyone can enjoy these delectable bars without compromise.
Common Mistakes to Avoid
One common mistake is not pressing the cookie base firmly enough. If it is too loose, the bars risk falling apart after being cut. Take the time to pack it tightly, ensuring it holds its shape well.
Another issue can arise with the cherry filling; some may use too much, which can make the bars overly soggy. Stick to the recommended amount and spread it evenly for the best texture.
Finally, when whipping the cream, be cautious not to overwhip it. While soft peaks work best, overwhipped cream can turn grainy and separate. Whip until just soft peaks form to achieve that light, airy texture.
Storage, Freezing & Reheating Tips
Store the Black Forest Cookie Bars in an airtight container in the refrigerator for up to 5 days. If you want to freeze them, wrap each bar tightly in plastic wrap or aluminum foil, and place them in a freezer-safe container. They can last up to 2 months in the freezer. When ready to enjoy, simply thaw in the refrigerator overnight. Avoid reheating, as the bars are best served chilled.
Frequently Asked Questions
Can I make these bars ahead of time?
Absolutely! In fact, these bars are perfect for making ahead as they need time to set in the fridge. You can prepare them 1-2 days prior to serving, making them ideal for gatherings or family meals.
What can I substitute for cherry pie filling?
If cherries aren’t your favorite, consider using any fruit pie filling such as blueberry or peach, or even fresh fruits mixed with a sugar syrup for a fresher flavor profile.
Can I use a different type of cookie for the base?
Yes! You can experiment with different cookie types, like vanilla wafer crumbs or even oatmeal cookies, for a unique flavor base. Just ensure they complement the cherry filling.
How do I get clean slices when cutting the bars?
To achieve cleaner slices, use a sharp knife dipped in hot water to cut through the bars. After each slice, wipe the knife to ensure the layers remain distinct without smearing.
What’s the best way to serve these bars?
For an impressive presentation, serve these bars on a platter drizzled with chocolate sauce. Add some fresh cherries or mint leaves on the side for a pop of color and freshness.
Conclusion: The Black Forest Cookie Bars combine rich flavors with a quick prep time, making them a recipe any dessert lover can appreciate. With introduction variations and tips, you’ll have a delightful treat at your fingertips in no time! Whether for a busy weeknight or a special gathering, this recipe will quickly become a favorite in your home.