# Biscoff Brownies – Fudgy, Gooey & Cookie-Butter Bliss!
Are you ready for a dessert that’ll make your taste buds dance in delight? If you crave that combination of chewy, rich, chocolatey goodness with a luscious, buttery twist, then these **Biscoff brownies** are exactly what you need in your life! Imagine biting into a decadent, fudgy brownie that’s swirled with smooth, caramelized cookie butter, bringing a unique flavor that’s both nostalgic and sophisticated. Just thinking about them is enough to send your mouth watering!
In this article, I’m excited to share my favorite Biscoff brownies recipe — one that I’ve perfected over the years. I’ll guide you through each step and share my tips, tricks, and secrets to ensure you create a rich, gooey batch that your friends and family will rave about. Plus, these brownies make for the ultimate comfort food, perfect for any occasion!
## What are Biscoff Brownies?
If you’re not familiar with Biscoff spread, let me paint you a picture: It’s a creamy spread made from the famous speculoos cookies — lightly spiced, crunchy cookies that originate from Belgium and have a sweet, caramel-like flavor. The spread takes that delightful taste and transforms it into a smooth, spreadable form that’s simply irresistible.
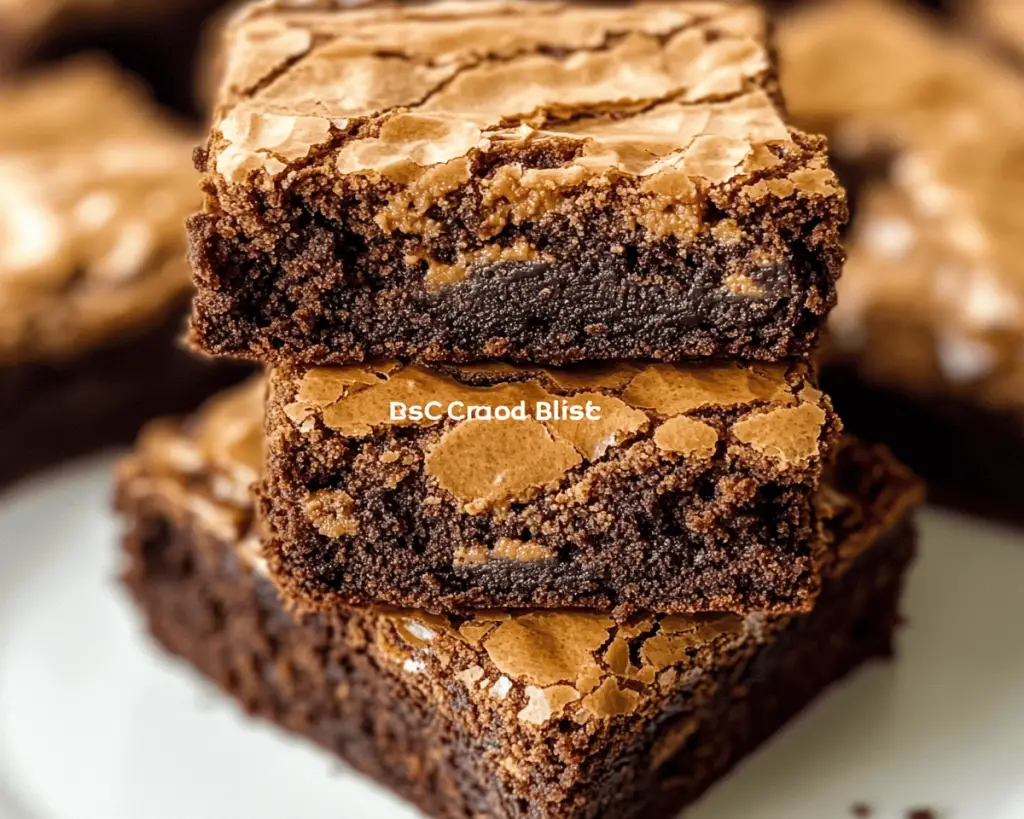
Biscoff brownies are a delightful mashup of classic brownies and this beloved cookie spread. With a rich chocolate base complimented by swirls of Biscoff, they boast a fudgy texture that melts in your mouth. The combination of chocolate and cookie butter creates a symphony of flavors that harmonizes beautifully, leading to a dessert experience unlike any other. Expect soft, gooey centers with slightly crisp edges — the perfect balance of textures!
## Why You’ll Love This Recipe
These Biscoff brownies stand out for several reasons:
1. **Deceptively Simple**: Despite the gourmet flavor, this recipe is straightforward, making it perfect for both novice bakers and seasoned pros.
2. **Gooey Goodness**: The melting chocolate combined with the smooth, swirled Biscoff creates a rich, fudgy brownie that is sure to satisfy.
3. **Unique Flavor**: Combining chocolate and cookie butter elevates this classic dessert to a whole new level of deliciousness.
4. **Great for Sharing**: Perfect for gatherings, parties, or simply to indulge yourself. Just wait until you see the smiles when you serve these!
5. **Baking Therapy**: There’s something so comforting about baking. The process of melting, mixing, and swirling can offer therapeutic benefits, making it a fun and rewarding experience.
## Ingredients You’ll Need
Here’s what you need to whip up your Biscoff brownies:
– **Unsalted Butter (1/2 cup, plus extra for greasing)**: Adds richness and moisture, making the brownies fudgy.
– **Granulated Sugar (1 cup)**: Helps create that perfect chewy texture and balances the bitterness of cocoa.
– **Brown Sugar (1/2 cup)**: Brings a hint of molasses flavor for a deeper sweetness while keeping the brownies moist.
– **Large Eggs (2)**: Provide structure and binding; they help the brownies rise and create the ideal fudgy consistency.
– **All-Purpose Flour (1/2 cup)**: Gives the brownies body. Make sure not to overmix, as this can lead to a crumbly texture.
– **Cocoa Powder (1/3 cup)**: For that rich chocolate flavor. Go for high-quality cocoa for the best results.
– **Biscoff Spread (3/4 cup)**: Formulated for luxurious swirls throughout the batter, bringing that unique caramel and spice essence.
– **Salt (1/4 teaspoon)**: Enhances the sweetness and rounds out the flavors.
– **Vanilla Extract (1 teaspoon)**: Adds a warm depth that complements the other flavors beautifully.
### Picking the Best Ingredients:
When selecting your Biscoff spread, look for a creamy, quality version without excessive additives. Brands like Lotus are a favorite. If you want a nut-free alternative, this spread is a perfect choice. For the chocolate component, go for either dutch-processed cocoa or natural cocoa based on your preference; both give a delicious result, just with slightly different flavor profiles.
## How to Make Biscoff Brownies
Follow these simple steps to create your Biscoff brownies:
1. **Preheat Your Oven**: Start by preheating your oven to 350°F (175°C). Grease an 8×8-inch baking pan with butter or line it with parchment paper for easy removal later.
2. **Melt the Butter**: In a medium saucepan over low heat, melt the **unsalted butter** gently until fully liquefied. Remove it from heat and let it cool slightly before adding sugars.
3. **Mix the Sugars**: Stir **granulated sugar** and **brown sugar** into the melted butter until thoroughly combined. The mixture should be smooth and glossy, giving a fantastic sheen to your brownies when baked.
4. **Incorporate Eggs and Vanilla**: Take a minute to whisk in the **eggs** and **vanilla extract** until the mixture is well combined. You’re looking for a shiny, cohesive batter that signals the fudginess ahead!
5. **Add Dry Ingredients**: Sift in **all-purpose flour**, **cocoa powder**, and **salt**. Carefully fold the dry ingredients into the wet, ensuring you mix just until combined—this is where you want to avoid overmixing which can form tough brownies. The batter should appear rich and thick.
6. **Swirl in Biscoff**: Pour half of your brownie batter into the prepared pan, spreading it evenly. Take **Biscoff spread** and gently dollop it around the surface of the brownie batter. Then, add the remaining brownie batter on top. To create beautiful swirls, take a knife or toothpick and gently swirl the Biscoff into the brownie batter — be careful not to overdo it; you want distinct pockets of cookie butter.
7. **Bake**: Place the pan in the preheated oven and bake for about 25-30 minutes, or until the edges are set but the center is still a tad gooey. You can do the classic toothpick test — it should come out with moist crumbs attached but not wet batter.
8. **Cool and Slice**: Remove the brownies from the oven and let them cool in the pan for at least 20 minutes before slicing. The cooling process helps them set, allowing for cleaner cuts.
## Tips, Tricks & Variations
– **Storage**: Store your Biscoff brownies in an airtight container for up to one week at room temperature or up to two weeks in the fridge. They also freeze well for up to three months; just make sure to wrap them tightly!
– **Reheating**: For a heavenly warm treat, microwave a slice for about 10-15 seconds or until warmed through — it will soften the chocolate and Biscoff spread again!
– **Make It Vegan**: To make these brownies vegan, substitute the eggs with flax eggs (1 tablespoon ground flaxseed + 2.5 tablespoons water per egg) and use vegan butter. Ensure your Biscoff spread is dairy-free as well.
– **Mix in Chocolate Chips**: Enhance the chocolatey goodness by stirring in a handful of chocolate chips or chunks for a delightful chocolate burst in every bite.
– **Presentation**: Dust finished brownies with powdered sugar or drizzle with more warm Biscoff spread for an elegant finish when serving.
## What to Serve With Biscoff Brownies
Biscoff brownies are heavenly on their own, but they can also be paired with other treats:
– **Vanilla Ice Cream**: The classic cold and creamy companion that contrasts beautifully with the rich, warm brownies.
– **Espresso or Coffee**: A bold cup enhances the brownie experience, bringing out the chocolate notes.
– **Caramel Sauce**: Drizzle some salted caramel sauce on top for extra sweetness and depth.
Imagine digging into a fudgy brownie, cooled slightly, with a scoop of ice cream on top melting into the warm chocolate. The balance of temperature and texture is simply divine!
## Nutrition & Health Benefits
These brownies are certainly a treat food, but they also bring some benefits:
– **Rich in Energy**: With their mix of sugars and fats, they provide a great energy boost, ideal for a dessert after a big meal or a mid-afternoon pick-me-up.
– **Social Sharing**: Baking and sharing treats can enhance mental well-being by fostering connections with others, bringing joy not only from eating but also from sharing experiences.
For more nutrition insights, check out [Healthline](https://www.healthline.com/) and [BBC Good Food](https://www.bbcgoodfood.com/).
## Frequently Asked Questions
1. **Can I use whole wheat flour?**
Absolutely! You can substitute half or all of the all-purpose flour with whole wheat flour for some added nutrition, but note that this may modify the texture slightly, making it denser.
2. **How do I know when my brownies are done baking?**
Brownies are done when the edges look set and distinct from the center, which should still appear soft. A toothpick inserted in the center should come out with moist crumbs, indicating the gooey texture you love.
3. **Can I add nuts to the recipe?**
Of course! Chopped walnuts or pecans can provide a delicious crunch. Fold them in right before you swirl in the Biscoff spread for added texture.
4. **Do these brownies contain gluten?**
Yes, the original recipe contains all-purpose flour, making it non-gluten-free. To make a gluten-free version, use a 1:1 gluten-free baking flour blend instead.
5. **What’s the best way to serve leftovers?**
Keep the leftovers in an airtight container at room temperature, or for added freshness, refrigerate them — then serve either chilled or warm. Both options are delightful!
## Conclusion
Once you make these Biscoff brownies, you’ll understand why they are an irresistible dessert that can quickly become a beloved family favorite. They’re perfect for every occasion — from a cozy night in to holiday celebrations. They’ll fill your kitchen with the warm, inviting aromas of baked goods that make you feel right at home.
So, why not whip up a batch tonight? Your taste buds will thank you! If you loved these brownies, please leave a comment or tag me on Instagram — I’d love to see your delicious creations! Happy baking!


