Prep time: 15 minutes
Cook time: 30 minutes
Total time: 45 minutes
Servings: 12 brownies
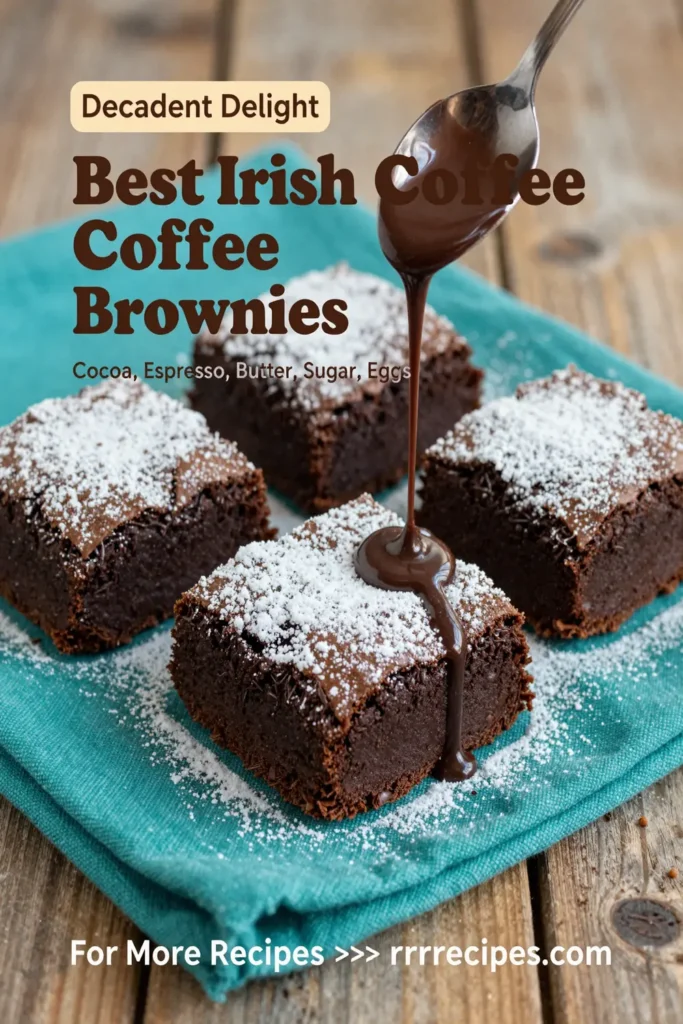
Best Irish Coffee Brownies combine the rich flavors of chocolate with the robust essence of whiskey and coffee, creating a decadent dessert that is perfect for special occasions or casual gatherings. Imagine biting into a soft brownie, the warmth of coffee mingling with a hint of Irish whiskey, all enveloped in the sweet embrace of rich, dark chocolate. These brownies are not just for adults; the flavors can captivate anyone who enjoys chocolatey treats. The combination of taste and texture results in a dessert that feels luxurious and indulgent, yet remains simple enough for even novice bakers to master.
What Is Best Irish Coffee Brownies?
Best Irish Coffee Brownies are delightful squares of chocolate decadence infused with the unmistakable flavors of Irish coffee. Traditionally, Irish coffee consists of hot coffee, Irish whiskey, and sugar, topped with cream. This recipe takes that comforting beverage and transforms it into a fudgy brownie that retains all the complex notes of the original drink. The result is a perfectly balanced treat that highlights rich cocoa flavor, aromatic coffee, and a gentle kick of whiskey.
Why You’ll Love This
There are numerous reasons to fall in love with these brownies. For one, they are incredibly easy to make. If you’re a busy parent or just short on time, these brownies can be whipped up in under an hour. Plus, they fit seamlessly into a variety of settings: you can bring them to family gatherings, serve them at parties, or enjoy them as an evening treat after dinner. The depth of flavor is another major allure; rich chocolate blends with the hint of coffee and whiskey, creating a sophisticated dessert that can elevate even the simplest meal. Lastly, they’re perfect for sharing, making them a wonderful centerpiece for any gathering.
Ingredients You’ll Need
- 1 cup unsalted butter: Adds richness and moisture, giving a fudgy texture to the brownies.
- 2 cups granulated sugar: Provides sweetness and helps in creating a chewy texture.
- 4 large eggs: Acts as a binder to hold the brownies together; enhances the moisture.
- 1 teaspoon vanilla extract: Adds a warm flavor; complements the cocoa and coffee beautifully.
- 1 cup all-purpose flour: Forms the base of the brownies; ensures a sturdy structure.
- 2/3 cup unsweetened cocoa powder: Infuses deep chocolate flavor; essential for that classic brownie taste.
- 1 teaspoon baking powder: Helps the brownies rise slightly for a lighter texture.
- 1/2 teaspoon salt: Balances out the sweetness and enhances all flavors.
- 1/2 cup brewed coffee (cooled): The signature ingredient that brings in the coffee flavor; use a strong brew.
- 1/2 cup Irish whiskey: Adds a nuanced flavor, elevating the brownies’ overall profile.
- 1 cup chocolate chips: Optional; for additional texture and bursts of molten chocolate in each bite.
How to Make
- Preheat your oven to 350°F (175°C). Prepare a 9×13-inch baking pan by greasing it or lining it with parchment paper. This ensures easy removal after baking.
- In a medium saucepan over medium heat, melt the butter, stirring occasionally. Once melted, remove from heat and let it cool slightly before adding in the granulated sugar. Stir until combined.
- Add the eggs one at a time, mixing well after each addition. Then stir in the vanilla extract, ensuring all your wet ingredients are incorporated.
- In a separate bowl, whisk together the flour, cocoa powder, baking powder, and salt. Gradually fold this dry mixture into the butter-egg mixture, stirring gently. Be careful not to over-mix—just aim for a well-combined batter.
- Next, pour in the brewed coffee and Irish whiskey. Fold until just incorporated; this step infuses the brownies with that delightful coffee flavor.
- If you’re using chocolate chips, gently fold them into the batter now. Pour the brownie mixture into your prepared baking pan, spreading it out evenly.
- Bake for 25 to 30 minutes, or until a toothpick inserted in the center comes out clean, with a few moist crumbs clinging to it. Be careful not to overbake!
- Once baked, remove the brownies from the oven and allow them to cool in the pan for at least 15 minutes before transferring them to a wire rack. This helps them set properly.
Variations & Substitutions
Nutty Delight: You can add 1 cup of chopped walnuts or pecans to the brownie batter for a delightful crunch. The nuts pair beautifully with the soft texture of the brownies and contribute a different layer of flavor.
Gluten-Free Option: Replace the all-purpose flour with a gluten-free flour blend to cater to gluten sensitivities. Just ensure the flour blend you use contains xantham gum or similar to maintain the proper structure of the brownies.
Minty Twist: If you’re a fan of mint, you can add 1 teaspoon of peppermint extract instead of vanilla. This will give your brownies a refreshing twist, reminiscent of classic mint chocolate desserts.
Extra Boozy Brownies: For those who really want to amp up the flavor, consider replacing half of the coffee with additional Irish whiskey. This will intensify the spirit’s notes and provide a deeper flavor profile.
Common Mistakes to Avoid
When making brownies, there are a few common mistakes to avoid for the best results. First, be cautious of over-mixing the batter. This can lead to tough brownies instead of the desired fudgy texture. Mix only until combined for optimal results.
Another pitfall is not allowing the brownies to cool in the pan. If you try to cut them too soon, they can crumble and fall apart; patience is key. Additionally, be wary of overbaking. Check for doneness a few minutes before the timer goes off. Brownies continue to cook in the pan after they are removed from the oven.
Storage, Freezing & Reheating Tips
To keep your brownies fresh, store them in an airtight container at room temperature for up to five days. For longer storage, place them in the fridge where they can last up to a week. If you want even longer storage, freeze the brownies for up to three months. Cut them into squares, wrap in plastic wrap, and then place them in a freezer-safe container.
When it’s time to reheat, simply take out the desired number of brownies, unwrap them, and place them in the microwave for about 10-15 seconds to warm them slightly. This step revives that fudgy texture, nearly as good as fresh out of the oven!
Frequently Asked Questions
Can I make this recipe without alcohol? Absolutely! You can substitute the Irish whiskey with additional brewed coffee or a splash of vanilla extract. The intense coffee flavor often compensates well for the absence of alcohol.
How do I know when the brownies are done baking? The best way to check for doneness is to insert a toothpick into the center. If it comes out with a few moist crumbs (but not wet batter), you know they’re ready. Remember that they will continue cooking slightly after being removed from the oven.
Can I use instant coffee instead of brewed coffee? Yes, instant coffee can be used. Mix the instant coffee granules with hot water to create the liquid coffee required for the recipe. However, a freshly brewed cup often yields a richer flavor.
How can I enhance the chocolate flavor? To take the chocolate intensity up a notch, consider adding more cocoa powder or dark chocolate chips. A touch of espresso powder mixed into the cocoa can really deepen the flavor, too.
Can I add frosting to the brownies? Yes, while these brownies are delicious on their own, a simple ganache or a buttercream frosting can elevate them further. A drizzle of whiskey-infused ganache gives an elegant touch!
Conclusion: Best Irish Coffee Brownies are an indulgent treat that seamlessly combines the rich flavors of Irish coffee with the comforting texture of brownies. The combination of chocolate and coffee creates a delightful experience for your taste buds, perfect for any occasion. With variations and tips provided, you can easily customize these brownies to suit your preferences. Happy baking!