Prep time: 10 minutes
Cook time: 10 minutes
Total time: 20 minutes
Servings: 6
Banana Pudding is a classic Southern dessert that brings warmth and joy to any gathering. Known for its creamy texture and delightful flavor, this version features homemade whipped cream that can elevate your classic recipe to a new level of indulgence. In just 20 minutes, you can whip up this crowd-pleaser that captures the essence of comfort food, perfect for busy parents or anyone new to the kitchen looking for a quick yet impressive dessert.
What Is Banana Pudding: Southern Banana Pudding With Homemade Whipped Cream in 20 Minutes?
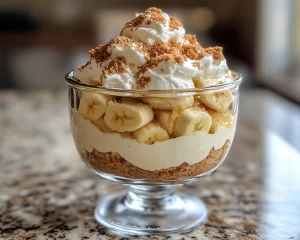
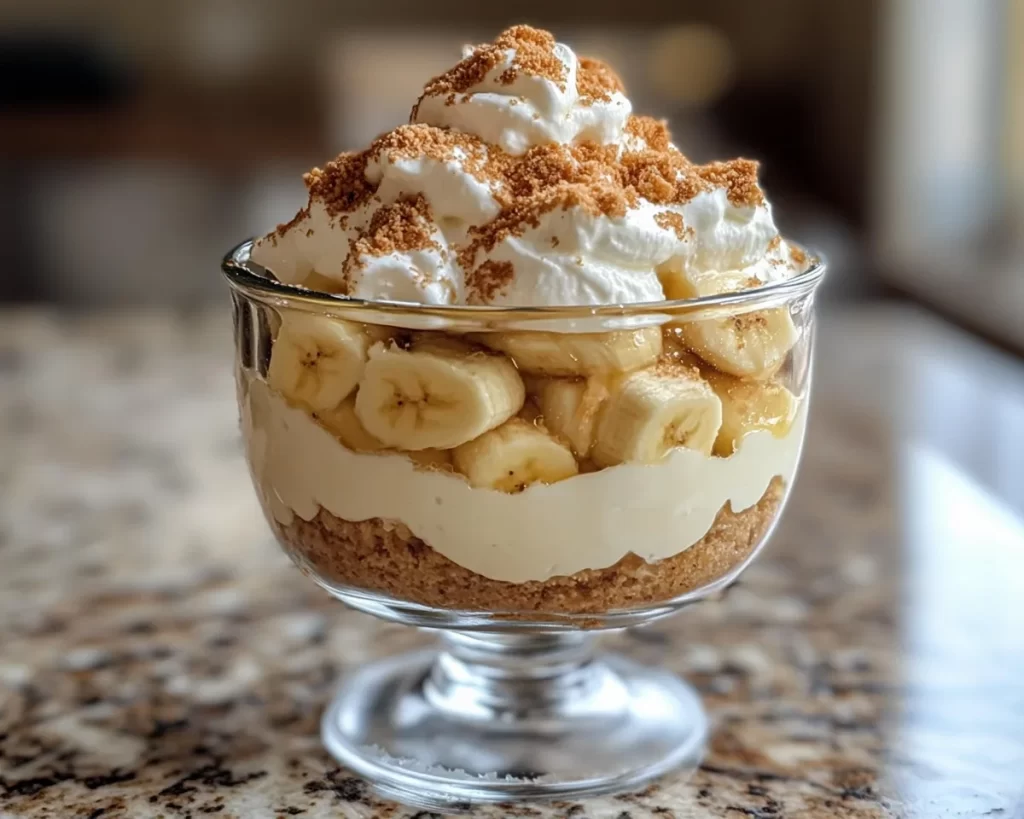
Banana pudding is a beloved Southern dessert comprised of layers of creamy pudding, ripe bananas, and vanilla wafers, all topped off with fluffy whipped cream. This particular recipe simplifies the process by incorporating homemade whipped cream instead of store-bought, offering a fresher taste that enhances the overall flavor. The addition of the whipped topping creates a light, airy texture that pairs wonderfully with the creamy pudding base and the softness of the bananas, making each bite an experience to savor.
Why You’ll Love This
You’ll adore this Banana Pudding recipe because it combines simplicity, speed, and unforgettable flavor. In just 20 minutes, you can create a dessert that feels both indulgent and wholesome. It serves perfectly for family gatherings, potlucks, or even a cozy dinner at home. The dish is adaptable to your taste preferences, whether you prefer an extra layer of whipped cream or a sprinkle of nuts on top. Moreover, the method is beginner-friendly, making it accessible for anyone looking to impress guests without spending hours in the kitchen.
Ingredients You’ll Need
- Bananas: 4 ripe bananas, sliced. Opt for bananas that are slightly speckled for the best sweetness and creaminess.
- Vanilla Wafers: 1 box (about 12 oz). These are essential for the traditional crunch and sweetness.
- Milk: 2 cups of whole milk. Whole milk results in a richer and creamier pudding.
- Granulated Sugar: 3/4 cup. This sweetens the pudding base, balancing the flavors perfectly.
- All-Purpose Flour: 1/3 cup. This thickens the pudding, giving it the perfect consistency.
- Salt: 1/4 teaspoon. Enhances the sweetness and overall flavor profile.
- Egg Yolks: 3 large. These are crucial for achieving a smooth and rich pudding.
- Butter: 2 tablespoons, unsalted. Adds richness to the pudding.
- Vanilla Extract: 1 teaspoon. A must for that sweet, aromatic flavor.
- Heavy Cream: 1 cup. For the homemade whipped cream, giving your dessert a fluffy finish.
- Powdered Sugar: 1/4 cup. To sweeten the whipped cream without adding grittiness.
How to Make
- In a medium saucepan, combine the milk, granulated sugar, flour, and salt. Whisk these ingredients together until they form a smooth mixture. On medium heat, stir continuously until the mixture thickens; this may take about 5 to 7 minutes. You want the pudding to be thick enough to coat the back of a spoon.
- Once thickened, remove the saucepan from the heat. In a separate bowl, beat the egg yolks lightly. Gradually add about one cup of the hot pudding mixture into the egg yolks, whisking constantly to temper the eggs. This step is essential to prevent them from scrambling.
- Return the egg yolk mixture to the saucepan, and add the butter and vanilla extract. Stir well until everything is blended and the butter is melted. Set aside to cool for about 10 minutes.
- While the pudding is cooling, you can prepare your homemade whipped cream. In a mixing bowl, beat the heavy cream and powdered sugar on high speed until stiff peaks form. This will give your whipped cream that fluffy texture that enhances the dessert.
- Now, to assemble your pudding. In a large serving dish or individual cups, layer the vanilla wafers at the bottom, followed by a layer of sliced bananas. Then pour a layer of pudding over the bananas, spreading it evenly.
- Repeat the layering process until you run out of your ingredients, finishing with a generous layer of homemade whipped cream on top. For added flair, consider decorating with additional banana slices or crumbled vanilla wafers.
Variations & Substitutions
Chocolate Banana Pudding
For a delightful twist, consider incorporating cocoa powder into the pudding mix. Use about 1/4 cup of unsweetened cocoa in place of a quarter of the granulated sugar. This creates a rich chocolate flavor that complements the bananas beautifully. Top it with chocolate shavings or mini chocolate chips for an added treat.
Banana Pudding Ice Cream
Transform this classic into a refreshing treat by blending the prepared pudding with whipped cream and freezing it in an ice cream maker. You can add chunks of vanilla wafers and sliced bananas during the last few minutes of churning. This variation gives you the comforting flavor of banana pudding in a cool, summer-friendly form.
Vegan Banana Pudding
For a plant-based option, substitute the milk with almond or coconut milk, and replace the whipped cream with coconut whipped cream. Use cornstarch instead of flour for thickening. A sprinkle of cinnamon can enhance the flavors even more, creating a delicious vegan dessert that everyone will enjoy.
Nut Crunch Banana Pudding
Add a nutty twist by incorporating finely chopped pecans or walnuts between layers. This adds a delightful crunch and pairs well with the creaminess of the pudding. Just be mindful of anyone with nut allergies if you’re serving this at a gathering.
Common Mistakes to Avoid
One common mistake is not whisking the pudding mixture consistently. If left unattended, it can scorch, resulting in an unpleasant texture and flavor; always stir constantly while cooking. Another pitfall is overcooking the pudding, which can lead to a grainy texture. It should be thickened just enough to coat a spoon, not overly thick. Lastly, when assembling, allow the pudding to cool slightly before layering with bananas to prevent them from browning too quickly.
Storage, Freezing & Reheating Tips
Banana pudding is best served fresh, but you can store leftovers in an airtight container in the refrigerator for up to 3 days. If opting to freeze, do so before adding the whipped cream, as freezing can change its texture. Assemble the pudding with fresh whipped cream when you’re ready to serve again. To reheat, gently warm the pudding on the stove while stirring continuously, ensuring it does not scorch.
Frequently Asked Questions
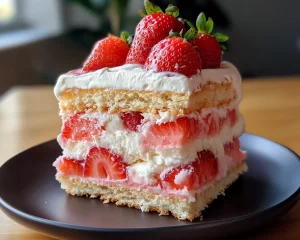
Can I use different fruits in banana pudding? Yes, you can experiment with other fruits such as strawberries or peaches. However, keep in mind that bananas have a unique texture and sweetness that significantly contribute to the dish’s overall flavor.
How can I make this recipe gluten-free? To make gluten-free banana pudding, substitute regular all-purpose flour with gluten-free all-purpose flour, ensuring that it has a similar consistency. You can also use gluten-free vanilla wafers for layering.
Can I prepare banana pudding in advance? While it is ideal to consume banana pudding fresh, you can prepare the pudding in advance and layer it just before serving. The bananas, however, should be added last to prevent browning. This ensures the best flavor and texture when served.
What is the best way to transport banana pudding to a gathering? If you’re bringing banana pudding to a potluck or gathering, consider using individual serving cups or jars for easy transport and serving. This also adds a charming touch to your presentation.
Conclusion: This Banana Pudding recipe is not just a dessert; it’s a celebration of flavors, textures, and cherished memories. With just a few simple steps, you can create a delightful dish that not only satisfies sweet cravings but also fills hearts with nostalgia. From its creamy layers to the airy whipped cream, each bite promises comfort and joy, making it a staple for any gathering or quiet night in. Enjoy every spoonful!