Prep time: 20 minutes
Cook time: 15 minutes
Total time: 35 minutes
Servings: 6
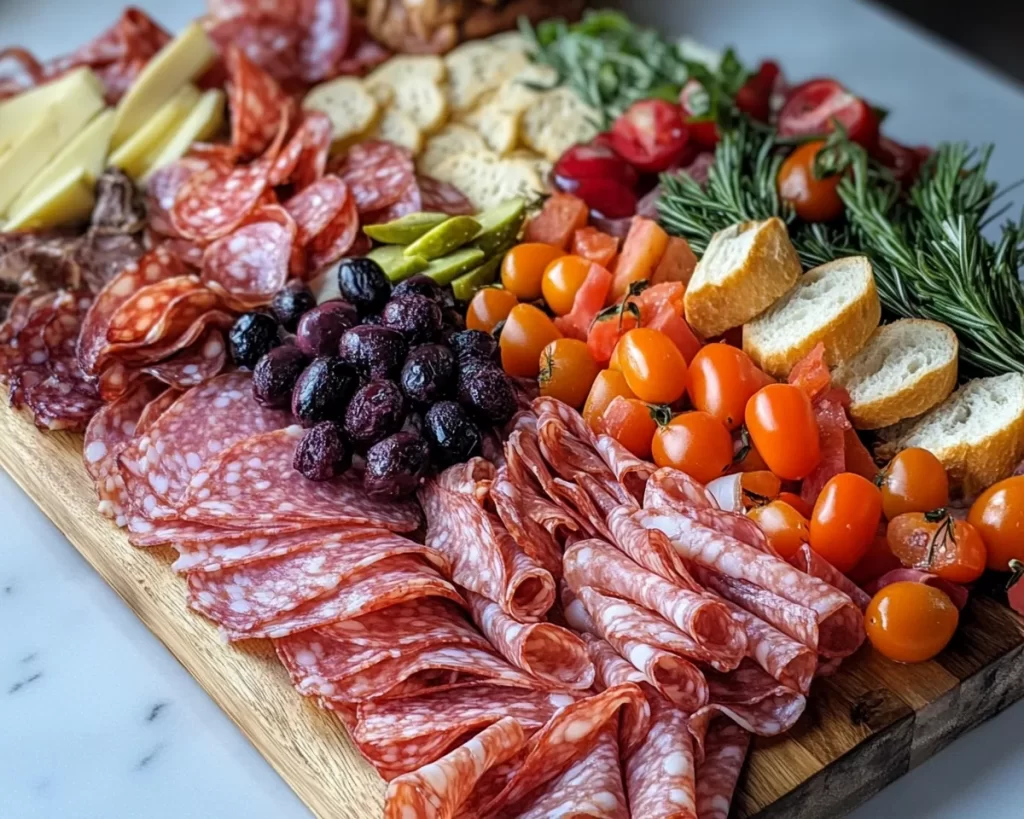
Spring is the perfect time for vibrant gatherings, and there’s no better centerpiece than a stunning charcuterie board. Combining the art of presentation with delicious flavors, this board featuring mini sandwiches is a delightful option for luncheons, picnics, or any casual get-together.
Each element—the meats, cheeses, and colorful garnishes—not only contributes to an aesthetic display but also offers a variety of tastes that guests can mix and match. Whether serving a brunch or hosting an afternoon tea, this board will charm everyone. Let’s dive into how to create this exciting spring charcuterie board!
What Is Spring Charcuterie Board Ideas with Mini Sandwiches in 5 Steps?
A spring charcuterie board with mini sandwiches brings together the best aspects of traditional charcuterie and encourages customization. Featuring bite-sized sandwiches alongside a selection of cured meats, cheeses, fruits, nuts, and spreads, this board can cater to various dietary preferences and tastes. The mini sandwiches add a fun, informal touch that makes it suitable for any gathering.
Why You’ll Love This
You’ll appreciate this board for its versatility and accessibility. Not only does it require minimal cooking compared to a fully plated meal, but it also invites creativity in presentation and ingredient selection. Some reasons you’ll love making this dish include:
- Ease of Preparation: With only a few simple steps, you can assemble a visually stunning platter.
- Customizable: Adapting the board to suit dietary preferences is a breeze.
- Interactive Dining Experience: Guests can select their favorites, making meals more engaging.
- Showcase Seasonal Ingredients: Fresh spring vegetables and fruits shine during this season.
Ingredients You’ll Need
To create a spring charcuterie board, you’ll need the following ingredients:
- 1 loaf of baguette: This serves as the base for your mini sandwiches. A crispy crust and soft interior will offer a delightful texture.
- 8 ounces of sliced turkey or chicken: Choose lean meats for a lighter option that pairs well with a variety of toppings.
- 8 ounces of cheese (cheddar or gouda): A sharp cheese adds a flavorful contrast to the mild taste of the meats.
- Fresh greens (arugula or spinach): These lend a fresh, crisp texture to your sandwiches.
- Sweet spreads (honey mustard or fig jam): These enhance flavors and add a touch of sweetness.
- Colorful veggies (cucumbers, radishes, bell peppers): These not only decorate the board but also provide additional crunch.
- Fruits (grapes, strawberries): Fresh fruits offer a refreshing balance to the saltiness of the meats and cheese.
- Nuts (almonds or walnuts): Add these for a crunchy element and extra protein.

How to Make
To create your spring charcuterie board, follow these simple steps:
- Prepare the bread: Begin by slicing the baguette into small pieces, about two inches each. This size is perfect for mini sandwiches. Lightly toast the slices in the oven for about 5 minutes until golden and slightly crisp. This step is vital, as it will help the bread hold its structure against moist fillings.
- Layer the fillings: Spread your choice of sweet spread on one side of each slice. Use honey mustard for a tangy kick or fig jam for a sweet note. Add the sliced meats and then layer on cheese, followed by a handful of greens. The balance of flavors here is crucial; opt for mild greens to let the other ingredients shine.
- Assemble the sandwiches: Top the step from the previous point with a second slice of toasted bread. Press down gently to secure each sandwich’s fillings. This will help prevent the layers from slipping apart when guests pick them up!
- Garnish the board: Arrange the mini sandwiches on a large cutting board or platter. Surround them with vibrant veggies, an assortment of fruits, and a handful of nuts. The key here is to create a visually appealing display that invites guests to dig in. The color contrast will make your board pop!
- Final touches: For an added flair, consider drizzling a little balsamic glaze over the vegetables or adding small herb sprigs for decoration. These details elevate the presentation, making it look gourmet while also enhancing flavors.
Variations & Substitutions
Vegetarian Version: Replace meats with hummus or white bean dip and add more roasted vegetables for a hearty flavor. A mix of flavorful cheeses like feta or cream cheese can also provide richness. Swap in avocado slices for extra creaminess, and incorporate various fruits to maintain the board’s appeal.
Gluten-free Option: Opt for gluten-free bread or use rice cakes as the base for your mini sandwiches. This keeps the dish accessible while maintaining the delightful elements of the charcuterie board. Add in more fresh veggies and dips, like guacamole or salsa, to keep it exciting.
International Flavors: Spice things up by including international elements. Use naan or pita bread instead of baguette, and fill them with tzatziki, olives, and feta for a Mediterranean twist. Alternatively, you could include Asian flavors with teriyaki chicken and pickled vegetables.
Dips and Spreads: Introduce a variety of dips to accompany the sandwiches, such as spinach artichoke dip or a creamy avocado dip. These give guests more options and can be made ahead of time for convenience.
Cheese Variations: Consider using a split of goat cheese and smoked cheddar for a more complex flavor palette. You may also choose to include flavored cream cheeses, like herbed or peppered, which add zest to your mini sandwiches and pair beautifully with the toppings you choose.
Common Mistakes to Avoid
When making a spring charcuterie board, there are common pitfalls to watch out for. Ensure you do not overcrowd the board with ingredients. This can make it difficult for guests to serve themselves properly and lessen the overall aesthetic appeal. Additionally, **always** ensure that the meats and cheeses are at room temperature before serving. Cold products don’t release their full flavors.
Another common mistake is underestimating the quantity of each ingredient required. If hosting a larger gathering, it’s always safer to prepare a bit more to accommodate unexpected guests. **Ignoring seasonal ingredients** is another oversight; fresh produce is not only more flavorful but also visually appealing.
Storage, Freezing & Reheating Tips
If you have leftovers, store each component separately to prevent soggy bread or wilted greens. Place sandwiches in an airtight container, and consume them within a few hours for the best taste. If you have remaining cheeses or meats, these can generally last 2-3 days in the fridge.
For freezing, wrap individual sandwiches tightly in plastic wrap and place them in a freezer-safe bag. They can remain frozen for up to a month. When ready to enjoy, thaw in the refrigerator overnight and then, if desired, reheat in the oven for about 10 minutes to restore crispness.
When reheating any leftover cheeses or meats, consider using the oven or an air fryer, as these methods will maintain texture and prevent moisture loss. Thus, allowing them to taste freshly made upon serving again.
Frequently Asked Questions
Can I make a charcuterie board in advance?
Absolutely! A charcuterie board can be prepared a few hours prior to serving. Ideally, assemble the sandwiches and arrange the board, then cover it tightly with plastic wrap. Keep it in the refrigerator until guests arrive. Just add any fresh fruits and herbs right before serving for a pop of color.
What’s the best way to achieve variety in flavors?
To bring a good variety to your board, choose a selection of meats that feature different flavors, such as spicy salami, sweet ham, and smokey turkey or chicken. Incorporate cheeses with varying textures, such as creamy brie and crumbly blue cheese. Also, consider including a range of nuts and dried fruits for added complexity.
Are there any specific dietary concerns I should keep in mind?
Yes, it’s essential to check with your guests about any dietary restrictions such as gluten intolerance, lactose intolerance, or nut allergies. This will help ensure everyone can enjoy your charcuterie board. Have options available that cater to different needs, like gluten-free bread or dairy-free spreads.
How do I choose the right serving board?
A wooden cutting board works wonderfully as it adds a rustic charm and can provide enough space for all your components. Alternatively, a large platter or slate board can work well too. Just ensure it is large enough to accommodate all your ingredients without overcrowding.
Can I serve drinks with my charcuterie board?
Indeed! Pair your charcuterie board with refreshing drinks such as wine, sparkling water, or iced tea. Champagne and a fruity punch also go beautifully with a spring-themed board. For a non-alcoholic option, consider herbal teas or flavored lemonades.
Conclusion:
Creating a spring charcuterie board featuring mini sandwiches is not only a delightful way to impress your guests but also a fantastic opportunity for culinary creativity. This engaging and fresh dish allows for ample customization, ensuring it can cater to various tastes and dietary preferences. By following these steps and tips, your charcuterie board will become the talk of the table, making any gathering truly memorable.