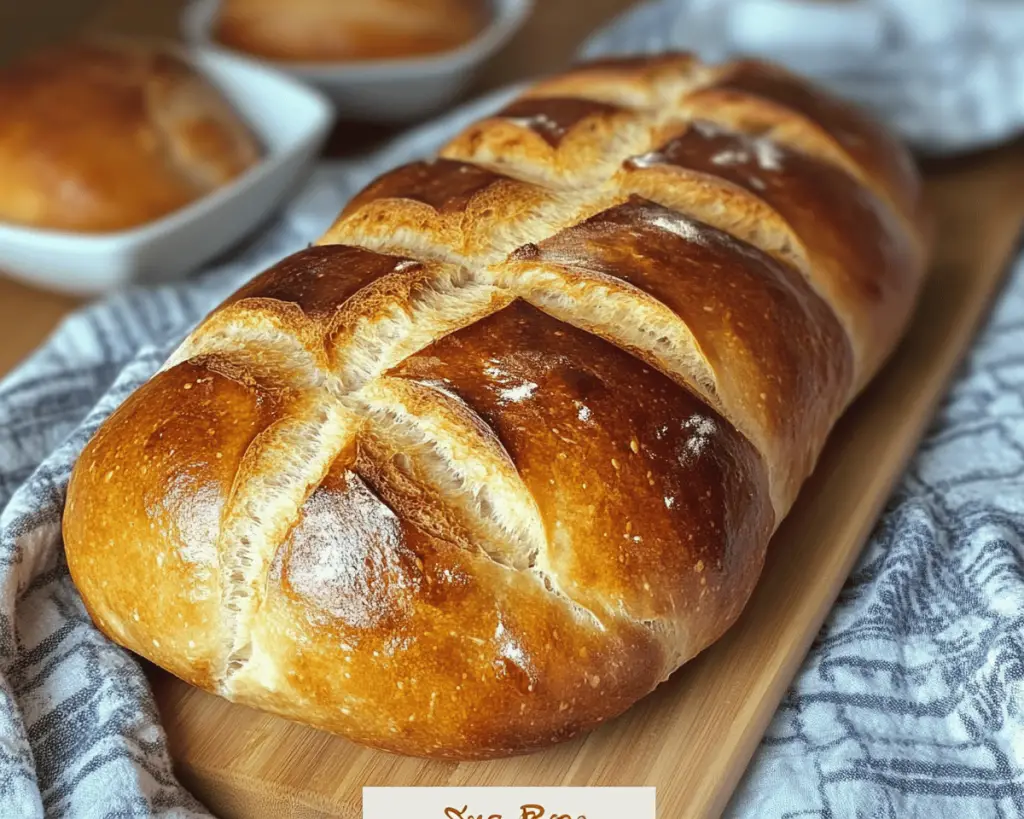
Ah, sourdough bread! There’s just something magical about the way it fills your kitchen with that warm, comforting aroma of freshly baked bread. I still remember the first time I pulled a loaf out of the oven—my family and I gathered around like moths to a flame. The crust was golden-brown and crusty, and when I sliced into it, the inside was soft and chewy, with those gorgeous air holes. It was a moment that made me realize that baking bread at home is not just about the end product; it’s about the entire experience—the love, patience, and a bit of science.
What I love most about sourdough is that each loaf is unique, completely shaped by your starter, the environment, and even the flour you use. Plus, there’s a certain pride that comes from nurturing your very own sourdough starter. It’s like having a pet, except it won’t chew your shoes! So, roll up your sleeves, let’s get our hands doughy, and dive into making this delightful bread!
What’s in Sourdough Bread?
Flour: The star of the show! I usually opt for bread flour because it has a higher protein content that helps create that wonderful chewy texture. Some people like to mix in whole wheat flour or even rye for added flavor and nutrition.
Water: Essential for hydrating the flour and bringing everything together. I use filtered water, as it’s free from chlorine and other chemicals that could affect the fermentation process.
Salt: This isn’t just for flavor; it also strengthens gluten and controls fermentation. I prefer using sea salt for its subtle taste, but kosher salt works well too.
Sourdough Starter: This little powerhouse is the wild yeast and bacteria culture that gives sourdough its characteristic tang and rise. If you don’t have one, don’t worry! You can either make your own or find some from a friend (which is what I did!).
Is Sourdough Bread Good for You?
Absolutely! Sourdough bread has some wonderful health benefits that set it apart from regular bread:
Digestibility: The long fermentation process helps break down gluten, making it easier for some people to digest than other breads.
Low Glycemic Index: Sourdough has a lower glycemic index compared to regular white bread, meaning it may help maintain steadier blood sugar levels.
Nutrients and Probiotics: The fermentation process not only enhances flavor but also boosts the bioavailability of vitamins and minerals. Plus, your gut flora might appreciate those probiotics!
That said, if you’re sensitive to gluten or have celiac disease, sourdough isn’t a great option unless made with gluten-free grains. Always listen to your body!
Ingredients List
– 500g bread flour (or a mix with whole wheat flour for added flavor)
– 350g water (room temperature)
– 100g active sourdough starter
– 10g sea salt
This recipe makes one large loaf of sourdough bread!
How to Make Sourdough Bread?
1. **Mix the Dough:** In a large mixing bowl, combine the flour and water. Stir until there are no dry bits left. Let it rest for about 30 minutes to an hour—this is called autolyse and helps with gluten development.
2. **Add the Starter and Salt:** After the autolyse, add the active sourdough starter and salt to the dough. Mix with your hands until it’s well incorporated.
3. **Bulk Fermentation:** Cover the bowl and let the dough rise at room temperature for around 4-8 hours, depending on the temperature of your kitchen. You’ll want to give it a stretch and fold every half hour for the first 2-3 hours.
4. **Shape the Dough:** Once the dough has doubled in size, turn it out onto a floured surface. Using a bench scraper, shape it into a round or oval loaf, tucking in the edges to create tension on the surface.
5. **Final Proof:** Transfer the shaped dough into a well-floured proofing basket (or a bowl lined with a floured kitchen towel). Cover it and let it rise for an additional 2-4 hours at room temperature, or in the fridge overnight for a more complex flavor.
6. **Preheat the Oven:** About 30 minutes before you’re ready to bake, preheat your oven to 450°F (232°C), and place a Dutch oven inside to heat up.
7. **Bake the Bread:** Carefully remove the hot Dutch oven, transfer your dough into it (don’t worry if it deflates a little, that’s normal!). Score the top with a sharp knife or razor, then cover and bake for 30 minutes. After that, remove the lid and bake for another 15-20 minutes until golden brown.
8. **Cool Down:** Let your beautiful loaf cool on a wire rack for at least 1 hour before slicing. I know it’s hard to wait, but trust me, it’ll taste so much better!
Tips for the Perfect Sourdough Loaf
– **Use a Kitchen Scale:** Baking is a science! Measuring by weight instead of volume can lead to more consistent results.
– **Play with Hydration:** If you like a more open crumb (larger holes), try increasing the water slightly.
– **Experiment with Flours:** Don’t be afraid to mix in other flours like whole wheat or rye. They add flavor and nutrition.
– **Keep a Log:** Document your process! Weather, flour type, and timing can all affect your results. Plus, it’s fun to see how your baking evolves over time.
You’ll find that baking sourdough becomes a wonderful ritual, one that connects you to the dough, the time spent waiting, and the joy of sharing with others. So, give this recipe a whirl and let me know how it turns out. I can’t wait to hear about your baking adventures!


