Prep time: 25 minutes
Cook time: 30 minutes
Total time: 55 minutes
Servings: 12
Indulging in a slice of pink velvet cake is like tasting a piece of heaven. This dessert is not only visually stunning with its soft pink hue, but the flavor, fluffiness, and sweetness make it truly irresistible. Whether you’re celebrating a special occasion, thinking of an eye-catching dessert for a loved one’s birthday, or simply wish to brighten your day, pink velvet cake is a delightful choice that steals hearts!
In this post, you’re going to learn everything about this enchanting cake—from its unique history and origins to how to make it from scratch. We’ll also talk about some amazing variations, common mistakes to avoid, and how to store any leftovers. So make sure you’re ready to create a cake that won’t just taste good, but will also become a memorable centerpiece at any gathering.
What Is Pink Velvet Cake?
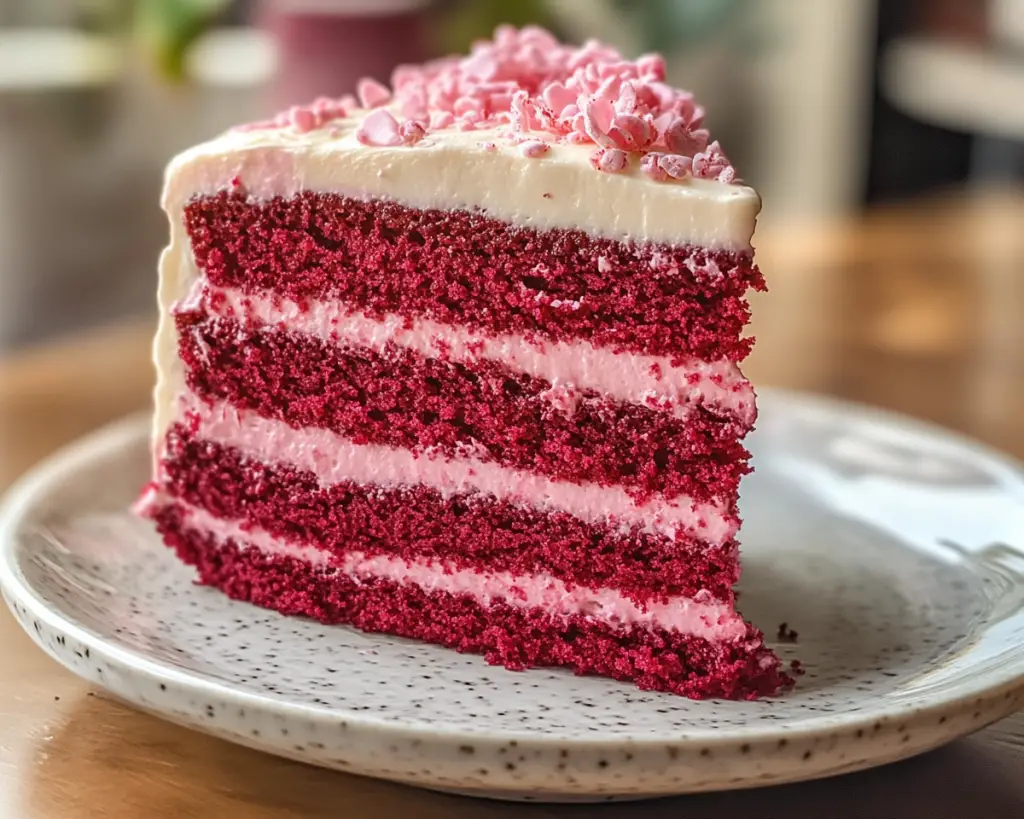
Pink velvet cake is a charming dessert that can be seen as a variation of the classic red velvet cake. While red velvet cake is typically made with cocoa powder, pink velvet cake is often made with subtle vanilla or almond flavors and a generous splash of pink food coloring, giving it its signature blush. The cake is wonderfully soft and fluffy, characterized by its moist texture and creamy frosting.
What sets pink velvet cake apart is not just its alluring color but also its unique taste. The gentle sweetness and buttery undertones pair perfectly with cream cheese frosting or a classic buttercream, which adds to the cake’s overall richness. This dessert is not merely a feast for the eyes; it’s deliciously indulgent with every bite.
While the exact origins of pink velvet cake are not well-documented, it is widely embraced in Southern baking traditions. The cake has become a trendy celebratory dessert that graces various occasions, from birthdays to Valentine’s Day, weddings, and baby showers. Whatever the event, its vibrant hue and delectable flavors certainly turn heads and entice hearts.
Why You’ll Love This Pink Velvet Cake
There are many compelling reasons to fall in love with this pink velvet cake. First and foremost, the taste is absolutely divine. The combination of butter, vanilla, and a hint of almond essence gives it a light, delectable flavor profile. Additionally, the creamy frosting that typically accompanies this cake, often made from cream cheese, complements it perfectly, further elevating the dessert experience.
Another reason you’ll adore this cake is its beautiful appearance. It’s not just food; it’s an art piece on the dining table! The vibrant pink color often creates a fun and festive atmosphere, making it ideal for celebrations.
Even for the novice baker, this cake is fairly straightforward to make and requires no special skills or equipment. Mixing up the ingredients is easy, and the baking process is quick. Plus, it’s quite cost-effective; with basic pantry ingredients, you can create a stunning cake that would impress even the most discerning guests.
Finally, the versatility of pink velvet cake cannot be overstated. You can dress it up or down depending on the occasion. Whether you want to keep it simple or create a lavish dessert masterpiece, this cake allows for endless creativity.
Ingredients You’ll Need
To create an unforgettable pink velvet cake, you’ll need the following ingredients:
- All-purpose flour: This serves as the foundation of your cake. It provides structure and helps achieve that soft, fluffy texture. You can substitute cake flour for a lighter consistency.
- Granulated sugar: Sugar not only sweetens the cake but helps with the moisture as well. It contributes to the lovely crumb and gives the cake its satisfying sweetness.
- Baking powder: This leavening agent is essential for creating a light and airy cake. Ensure that it’s fresh for the best results.
- Baking soda: Along with baking powder, it helps the cake rise and achieve a soft texture.
- Salt: A pinch of salt enhances the flavor profile of the sweetness in your cake.
- Unsalted butter: This is crucial for flavor and moisture. Make sure it’s at room temperature for easy mixing.
- Buttermilk: This ingredient not only adds tanginess but also keeps the cake moist. If you don’t have buttermilk, you can create a substitute using milk and vinegar.
- Eggs: They bind the ingredients together and contribute to the cake’s rise and richness.
- Vanilla extract: A must-have for adding depth of flavor to your cake. Consider using pure vanilla extract for the best flavor.
- Pink food coloring: This is what gives the cake its signature pink hue. Use a gel-based or liquid dye to achieve the best results.
- For frosting: You can use cream cheese or buttercream frosting, sweetened whipped cream, or any frosting of your choice to layer on top for an indulgent finish.
How to Make Pink Velvet Cake
Follow the steps below to create your own pink velvet cake that will surely impress:
- Preheat your oven: Set your oven to 350°F (175°C). Prepare your cake pans by greasing them with butter and then lightly dusting with flour. This will help the cake to easily release once baked.
- Mix your dry ingredients: In a medium bowl, whisk together all-purpose flour, baking powder, baking soda, and salt until thoroughly combined. This ensures an even distribution of the leavening agents throughout the batter.
- Beat butter and sugar: In a large mixing bowl, use a hand mixer or stand mixer fitted with a paddle attachment to cream together unsalted butter and granulated sugar until the mixture is light and fluffy, about 3-5 minutes.
- Add eggs and vanilla: Once your butter and sugar are well mixed, add in the eggs one at a time, mixing well after each addition. Then, pour in the vanilla extract and mix until fully incorporated.
- Combine with dry ingredients: Gradually add your dry ingredients into the butter-sugar mixture, alternating with the buttermilk, beginning and ending with the dry ingredients. Mix just until combined; avoid over-mixing to keep the cake tender.
- Add food coloring: Now, it’s time to make your cake pink! Add in a few drops of pink food coloring and gently fold until the desired color is achieved. Adjust as necessary to get that perfect hue.
- Pour batter into pans: Divide the batter evenly between the prepared cake pans, smoothing the top with a spatula if needed. Give pans a gentle tap to release any trapped air bubbles.
- Bake: Place the pans in the preheated oven and bake for about 25-30 minutes, or until a toothpick inserted into the center comes out clean. Keep an eye on the cake towards the end of the baking time to prevent over-baking.
- Cool the cakes: Once baked, remove the pans from the oven and allow them to sit for about 10 minutes before transferring them onto wire racks to cool completely. This step helps prevent the cake from becoming too dry.
- Frost and decorate: Once the cakes are completely cool, using your favorite frosting (cream cheese works wonderfully), spread a generous layer on top of the first layer, place the second layer on top, and frost the sides and top of the cake. Feel free to get creative with sprinkles or edible flowers for decoration!
- Slice and enjoy: Finally, it’s time to cut a slice of your heart-stealing pink velvet cake and enjoy the delectable flavors. Don’t forget to share with loved ones, as this cake certainly fills hearts and bellies!
10 Variations & Substitutions
There are several exciting ways to put a twist on your pink velvet cake to suit different tastes and dietary preferences:
Strawberry Pink Velvet Cake: Swap out buttermilk for pureed fresh strawberries to add a fruity flavor to your cake. This variation will enhance the sweetness with a delightful strawberry jam flavor while keeping the gorgeous pink hue. Top with whipped cream and fresh strawberries for a delightful finish!
Chocolate Pink Velvet Cake: If you’re a chocolate lover, consider adding some cocoa powder to the batter. This will maintain the pink coloring while infusing delicious chocolate notes. Combine this with cream cheese frosting for a delightful twist on a classic.
Gluten-Free Pink Velvet Cake: Use a gluten-free all-purpose flour blend, ensuring that it contains xanthan gum to mimic the texture of regular flour. This allows those with gluten sensitivities to enjoy this delicious treat without compromise.
Vegan Pink Velvet Cake: Replace eggs with flaxseed meal mixed with water or unsweetened applesauce, and use almond milk in place of buttermilk. Utilize coconut oil in place of butter, and don’t forget the food coloring for that stunning pink.
Lemon Pink Velvet Cake: Introduce some zesty flavor into your cake by incorporating lemon juice and lemon zest into the batter. This works wonderfully with a light whipped icing, making for a refreshing and vibrant dessert.
Layered Pink Velvet Cake: For a towering masterpiece, prepare multiple cake layers (3-4) instead of just two. Alternate layers of pink velvet with different-flavored cake layers, such as vanilla or chocolate, for an impressive multi-color cake.
Ombre Pink Velvet Cake: Create a beautiful ombre effect by making multiple batches of batter with varying amounts of pink food coloring. Layer them from dark to light as you stack them up, offering a stunning visual as well as a unique flavor experience.
Cream Cheese Swirl Pink Velvet Cake: Before baking, swirl some cream cheese batter into the pink cake batter. This will create a marbled effect and amplify the flavors, resulting in a delightful contrast of sweet and tangy notes.
Mini Pink Velvet Cakes: Instead of a full-sized cake, make mini cakes by using a muffin tin. Portion the batter into the tins and adjust the baking time accordingly. These delectable little treats are perfect for gatherings, and they’re incredibly cute!
Glazed Pink Velvet Cake: Instead of frosting, opt for a light glaze made of powdered sugar and milk for a simpler finish. This cake still shines with its pink color while being less heavy on sweets, making for an elegant dessert.
Common Mistakes to Avoid
While making pink velvet cake could be a straightforward process, certain common pitfalls can affect the results. Here are a few to watch out for:
Over-mixing the batter: Mixing too vigorously can lead to a dense cake rather than a light and airy texture. It’s important to mix just until combined to maintain that tenderness in your cake.
Using cold ingredients: Ensure your butter and eggs are at room temperature for a more homogenous batter. Cold ingredients can lead to problems with proper blending and aeration.
Not leveling the layers: If your cake layers dome in the middle while baking, they won’t stack well. To remedy this, you can use a serrated knife to level them out after they have cooled. This ensures a more visually appealing and easily stackable cake.
Incorrect oven temperature: Every oven reacts differently, and temperature calibration can vary. Investing in an oven thermometer can help prevent undercooked or overbaked cakes. Always preheat your oven for the best results.
Neglecting to grease your pans: This can lead to a frustrating experience when trying to remove your cake. Ensure proper greasing to avoid any sticking, or try using parchment paper on the bottom of the pans for added protection against sticking.
Storage, Freezing & Reheating Tips
Storing your pink velvet cake properly is essential for maintaining its delicious flavor and moisture. If you have leftovers, follow these tips:
To store your cake, keep it in an airtight container at room temperature for up to 3 days. If frosting is involved, refrigerating is highly recommended to keep it fresh, especially if using cream cheese frosting. It’s best to consume the leftover cake within a week.
If you want to freeze the cake, wrap individual slices or the whole cake tightly in plastic wrap and then place them in a freezer-safe container or bag. This helps prevent freezer burn and maintains flavor. The cake can be frozen for up to 3 months.
To thaw, place the wrapped cake in the refrigerator overnight before serving. If you prefer it warm, you can microwave a slice for 10-15 seconds to enjoy a freshly baked taste.
For cake that has been frosted, it helps to freeze the entire cake for about 30 minutes, allowing the frosting to harden slightly before wrapping it tightly to prevent smearing.
Frequently Asked Questions
Can I make pink velvet cake ahead of time?
Yes! You can bake your cake layers in advance. Once they have cooled completely, wrap them in plastic wrap and store in the fridge for 2-3 days or freeze for longer storage. This allows you to assemble and frost the cake just before serving.
What can I use if I don’t have buttermilk?
If buttermilk isn’t available, you can easily make your own by adding 1 tablespoon of vinegar or lemon juice to a measuring cup and then filling it up with regular milk until you reach the 1-cup line. Let it sit for about 5 minutes to curdle, and it will work perfectly as a substitute.
Can I make this cake without food coloring?
Absolutely! The pink color can, to some extent, be achieved by using ingredients like pureed strawberries or raspberries. However, if you want the classic deep pink hue, a small amount of gel-based food coloring is recommended.
How do I make my frosting sturdy enough to hold its shape?
If you’re using cream cheese frosting, consider adding in a bit of cornstarch or using high-fat cream cheese to stabilize it. This will help it hold up better, especially in warmer environments. Always chill your cake after frosting to allow it to set.
Can I substitute gluten-free flour in this recipe?
Yes! You can use a gluten-free all-purpose flour blend that is specifically designed for baking. Just be sure to check that the blend includes xanthan gum to help the cake maintain its structure and moisture.
Conclusion:
Creating a pink velvet cake that steals hearts is not just a baking project; it’s an experience filled with delight and creativity. This enchanting dessert brings happiness to both the eyes and the taste buds. Whether for a special occasion or just as a treat for yourself, this recipe is sure to impress. Don’t forget, feel free to explore the variations and make this delightful cake your own. So roll up your sleeves, and let’s spread some love, one slice at a time! Enjoy every moment of baking and, most importantly, savor the sweetness that comes from sharing a delicious homemade treat!


