There’s something almost magical about roast chicken, isn’t there? It’s one of those dishes that feels like a warm hug when it’s served, especially after a long day. Whenever I make Cider Brined Roast Chicken, the aroma wafting through my kitchen takes me back to cool autumn evenings spent with loved ones, gathering around the table for hearty meals and laughter. The entire process of brining and roasting feels ceremonial, and I can’t help but feel like I’m sharing a piece of home and warmth with every bite.
Honestly, I remember the first time I brined a chicken. It was a chilly October night, and I had invited a few friends over for dinner. I was a bit nervous because I wanted everything to be perfect. I stumbled upon a recipe for cider-brined chicken and thought, “What’s the worst that could happen?” But the minute I pulled that bird out of the oven and lifted it from the roasting pan, the skin glistening golden brown, I knew I had hit the jackpot. The sweet, tangy notes of the cider combined with the herbs filled my home and lifted everyone’s spirits. Gathering around the table that night, with the chicken at the center, felt like a scene from a movie—a moment I wanted to hold onto forever.
Cider-brined roast chicken has since become my go-to dish for gatherings, potlucks, and even quiet Sunday dinners. It’s become a family staple, an excuse to bond over food that’s not just nourishing but also brimming with memories. So, my friend, if you’re looking for that cozy, comfortable meal to prepare, look no further. I can’t wait to share this recipe with you!
What Goes Into Cider Brined Roast Chicken?
Let’s talk about the ingredients because, in my opinion, that’s where the adventure begins! Each component plays a role in making this dish truly special. So here’s a little background on what we’re working with.
– **Whole Chicken**: First up is the **whole chicken**. I usually buy a free-range bird, and I swear by the quality. There’s something about the flavor that comes through when the chickens are raised well. You’ll want it to be around 4 to 5 pounds; anything bigger and you’ll need to rework your roasting times.
– **Apple Cider**: Next, we have **apple cider**. This is really the star of the show, acting as the brining agent that infuses the chicken with a sweet and tangy flavor that’s just divine! If you can find fresh cider from a local orchard, do yourself a favor and go for it. The taste of farm-fresh cider is just so much brighter and more complex than the stuff that comes in plastic jugs.
– **Kosher Salt**: The **kosher salt** is another key player here. It’s crucial for the brining process, working its way into the chicken’s fibers to keep it juicy. I like to use kosher salt because it’s less salty than table salt and easier to control when measuring.
– **Brown Sugar**: A bit of **brown sugar** gives that caramelized sweetness when roasting. I use dark brown sugar for a deeper flavor, but light brown works, too.
– **Black Peppercorns**: Now, let’s not forget the **black peppercorns**! They add depth and a subtle kick. I usually crack them fresh because it makes a world of difference. Plus, it makes me feel fancy.
– **Herbs**: For herbs, I like to throw in some **thyme** and **rosemary**. There’s just something about these herbs that pairs perfectly with chicken. Fresh is best if you can get it, but dried works if that’s what you have on hand.
– **Garlic**: Let’s talk garlic—it’s always a good idea, right? A few cloves, smashed so they infuse their beautiful flavor into the brine, and later the chicken itself.
– **Water**: Lastly, a bit of **water** is needed to help dissolve the salt and sugar. I usually go half water and half cider for the brine—double apple-y goodness!
Oh! And you might want to drizzle some **olive oil** on the chicken before roasting. It helps achieve that crispy skin we all live for. Honestly, I have a favorite olive oil brand—my Italian aunt swears by it, and who am I to question her?
Is Cider Brined Roast Chicken Actually Good for You?
Let’s get real for a second. Yes, this is a roast chicken recipe, and it’s definitely not a superfood, but it’s a wholesome, comforting meal. The **chicken** itself is a great source of lean protein, and the **apple cider** brings in some vitamins and antioxidants.
Now, as for the **brown sugar** and **Kosher salt**, okay, we might want to be mindful of those. The sugar adds a little indulgence, and the salt helps the chicken retain moisture and flavor during cooking. You know what I mean? Balance, my friend. It’s all about balance.
Plus, there’s a lot of joy that comes from cooking and sharing a meal with your loved ones. And you can’t put a price on that! So while this might not be kale salad worthy, sometimes you just need a little comfort food.
Here’s What You’ll Need
– 1 (4-5 pound) whole chicken
– 4 cups **apple cider**
– ¼ cup **Kosher salt**
– ¼ cup **brown sugar**
– 1 tablespoon **whole black peppercorns**
– 3-4 sprigs of **fresh thyme**
– 2-3 sprigs of **fresh rosemary**
– 4-6 cloves of **garlic**, smashed
– 4 cups **water** (or more as needed)
– Olive oil for drizzling
Hmmm, this will serve about 4-6 people, especially when you pair it with some roasted veggies or a fresh salad!
How to Make Cider Brined Roast Chicken Step-by-Step
Okay, let’s dive into the cooking part! I’m going to break it down nice and easy, so it feels like you’re just hanging out in my kitchen, and I’m guiding you every step of the way.
1. **Prepare the Brine**: In a large pot, combine the **apple cider**, **Kosher salt**, **brown sugar**, **black peppercorns**, and smashed **garlic**. Heat it over medium heat while stirring until the salt and sugar dissolve. This might take a couple of minutes—don’t rush it! Once dissolved, remove it from heat and let it cool a bit.
2. **Mix it Up**: Once the brine has cooled (important! we don’t want to cook the chicken), add in the **water**, **thyme**, and **rosemary**. Give it a good stir and make sure it all blends nicely.
3. **Brining Time**: Now here’s where patience comes into play. Place your whole chicken in a large, resealable plastic bag or a container. Pour the brine over the chicken so it’s fully submerged. Seal the bag or cover the container and place it in the fridge. Let it brine for at least 4 hours—overnight is even better!
4. **Bring Back to Room Temp**: When you’re ready to roast, remove the chicken from the brine and pat it dry with paper towels. This is where all that goodness rests in the skin, but for crispy skin, we need to get rid of excess moisture. Let it sit out for about 30 minutes to come to room temperature—this helps it cook evenly.
5. **Preheat the Oven**: Preheat your oven to 425°F (220°C). While that’s heating, you can drizzle a little **olive oil** over the chicken, and don’t be shy! Rub it in, and season it generously with fresh black pepper and a bit more salt if you’d like.
6. **Roast Away**: Place the chicken breast-side up in a roasting pan. Toss it in the oven and let it roast for about 1 hour and 15 minutes, or until the internal temperature reaches 165°F (75°C) in the thickest part of the breast. You’ll want to baste it with the drippings once or twice for that lustrous skin.
7. **Rest a Bit**: Once it’s out of the oven, let the chicken rest for about 15-20 minutes. This is crucial! Resting allows the juices to redistribute, ensuring a moist and flavorful experience.
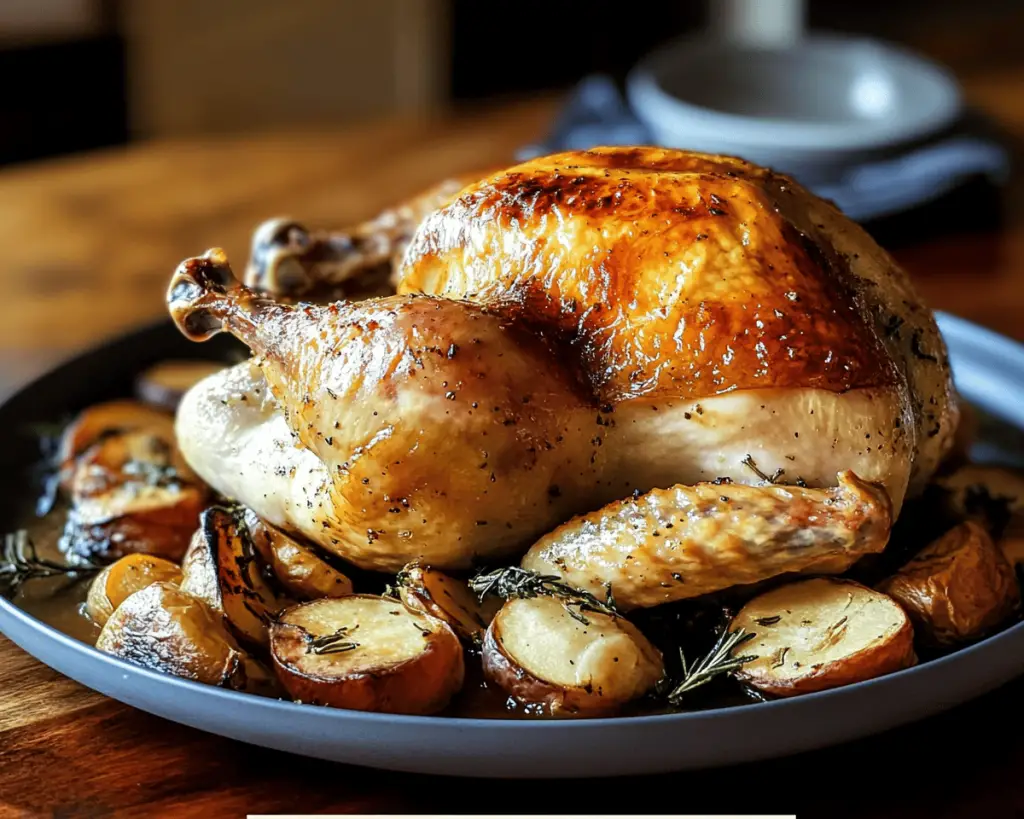
8. **Serve and Enjoy**: Carve up your wonderful chicken and serve it with whatever makes your heart happy—some roasted vegetables, maybe a warm bread? You really can’t go wrong! And don’t forget to drizzle on those drippings from the roasting pan—pure magic!
Little Extras I’ve Learned Along the Way
Now that you’ve got the basics down, let me share a few tips and variations I’ve picked up along my cooking escapades.
– **Brining Time**: We talked about 4 hours, but if you have the time, go for 12 hours or even overnight. Seriously, if you plan ahead, it’s a game changer!
– **Flavors Galore**: Don’t hesitate to experiment with the spices in your brine. I once added a few star anise pods just to give it a different twist and was in love with the results.
– **Herb Swap**: If you can’t find fresh herbs, dried ones work in a pinch! Remember, dried herbs are more concentrated, so adjust the amounts if you’re going that route.
– **Crispy Skin**: For an extra crunchy skin, you can let the chicken air dry in the fridge for a few hours after patting it dry. This dries out the skin more, resulting in an even better roast!
– **Storage**: Leftovers—if you have any!—can be stored in the fridge for up to 3 days, and they’re amazing in soups or salads the next day. Just don’t skimp on the drippings for added flavor!
– **Gravy**: If you’re feeling ambitious, turn the drippings into a simple gravy. Just add a bit of flour to the pan drippings, whisk it together, and slowly add chicken broth. You’ll thank yourself!
Honestly, every time I make Cider Brined Roast Chicken, it feels like I’m creating something that nourishes the body and soul. This recipe is a canvas for your creativity, filled with you-known-who moments and laughter that mingles with the aroma of spices and herbs.
This one means a lot to me. Let me know if you try it—I’d love to hear your twist! And remember, there’s no perfect way to do this; it’s all about gathering around the table and making memories. Happy cooking!


