Prep time: 15 minutes
Cook time: 10 minutes
Total time: 25 minutes
Servings: 24 cookies
There’s something undeniably special about the scent of freshly baked cookies wafting through your kitchen. It brings warmth, comfort, and a sprinkle of nostalgia that can instantly lift anyone’s spirits. Imagine biting into a soft milk cookie that quite literally melts in your mouth — the kind that makes you want to bake again and again. This is exactly why I’m excited to share this delightful recipe for Soft Milk Cookies. Not only do they boast a tender, cake-like texture, but they also whisper a sweet reminder of childhood and family gatherings. This recipe is so easy and adaptable that it’s perfect for busy parents, novice bakers, or those looking for an engaging weekend project with family. You’ll learn how to make these cookies, variations to try, and tips to ensure they turn out perfectly every time.
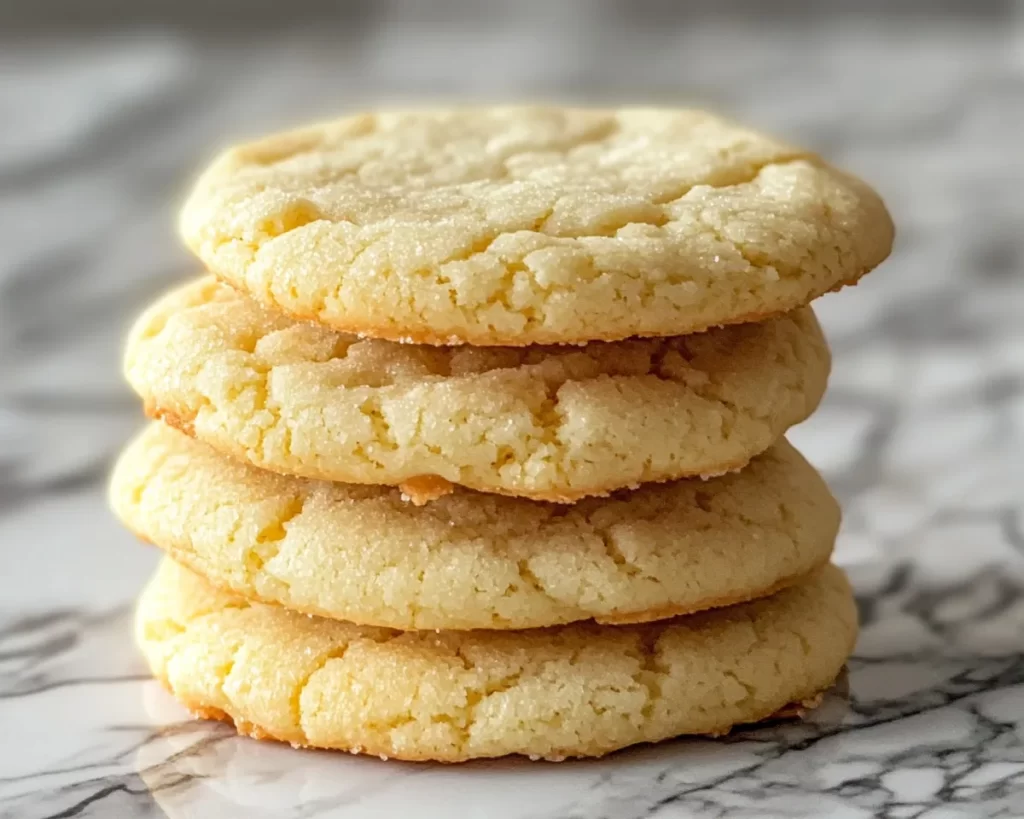
What Is Soft Milk Cookies (Melt in Your Mouth)?
Soft Milk Cookies, known for their incredibly tender texture, are a classic comfort food often enjoyed during holidays or special occasions. Originating in various forms across cultures, these cookies feature a base of soft flour, sugar, and milk. As the name suggests, the milk in the recipe not only adds moisture but also contributes to the light, airy texture that makes them melt in your mouth. You might find these cookies resembling traditional sugar cookies, but their unique blend of softness is what truly sets them apart. The flavor is subtly sweet, making them incredibly versatile.
You can pair these cookies with a cup of tea or coffee, serve them at a birthday party, or even pack them in lunchboxes as a sweet treat. As they bake, the aroma that fills your kitchen is heavenly, inviting family members to peek in and ask when they’ll be ready. The best part? They are so easy to make that you’ll find yourself in the kitchen more often than not, whipping up batch after batch to share with loved ones.
Why You’ll Love This
There are countless reasons why Soft Milk Cookies have become a favorite in many homes. First and foremost, the taste is simply irresistible. The warm, buttery notes combined with a hint of sweetness provide the perfect treat. You will find that the mild flavor allows for various adaptations, so you’ll never tire of them.
Ease is another major benefit. With just a few simple ingredients, you’ll find that making these cookies doesn’t require special skills. A beginner in the kitchen can successfully whip up a batch without stress. They also don’t require a lengthy list of ingredients, making them budget-friendly. Plus, you can customize the cookies with your favorite add-ins, such as chocolate chips or nuts, ensuring there’s something for everyone.
Common misconceptions may lead some to think that soft cookies lack substance or durability. However, these cookies hold their shape well, making them great for sharing and storing. They can last for several days, and their flavor only seems to improve as they sit, making them a fantastic option for meal prep or surprise guests.
Ingredients You’ll Need
- 2 cups all-purpose flour: This is the base of the cookies. It provides structure and helps achieve that perfect soft texture.
- 1 cup granulated sugar: Sweetness is essential. You can substitute with brown sugar for a richer flavor.
- 1/2 cup unsalted butter, softened: The fat is needed for moisture and flavor. Always make sure it’s at room temperature for easy mixing.
- 1/2 cup milk: This keeps the cookies moist and adds to their melt-in-your-mouth quality. Whole milk works best, but you can use any milk of your choice.
- 1 large egg: Acts as a binding ingredient, providing structure while allowing the cookies to rise.
- 1 teaspoon baking powder: This creates the lightness in the cookies, allowing them to rise beautifully as they bake.
- 1 teaspoon vanilla extract: Adds a lovely flavor that complements the sweetness of the cookies.
- Pinch of salt: Balances the sweetness and enhances the overall flavor of the cookies.
Each ingredient plays a specific role, ensuring that the final result is nothing short of perfection. If you need substitutions, many options exist — for instance, you can use almond milk in place of regular milk, or coconut oil instead of butter for a dairy-free alternative.
How to Make
- Preheat your oven: Begin by preheating your oven to 350°F (175°C). This ensures that your cookies will bake evenly and come out perfectly golden.
- Combine dry ingredients: In a large bowl, whisk together the all-purpose flour, baking powder, and salt. This step is crucial for ensuring that the baking powder is evenly distributed, leading to uniform cookie growth.
- Cream butter and sugar: In a separate bowl, use an electric mixer to cream the softened butter and granulated sugar together. Beat until the mixture is light and fluffy, which should take about 4-5 minutes. This process incorporates air, contributing to the soft texture that makes this recipe stand out.
- Add the egg and vanilla: Next, add the egg and vanilla extract to the creamy mixture. Mix until well combined. The egg should be fully integrated, making the batter smooth and cohesive.
- Incorporate milk: Gradually add the milk to the mixture, mixing until it’s completely combined. The batter will be somewhat thinner than cookie dough, but that’s completely normal for this recipe.
- Combine wet and dry ingredients: Slowly add the dry ingredient mixture to the wet mixture. Stir gently with a spatula or wooden spoon until there are no visible flour streaks. Avoid overmixing, which could lead to tougher cookies.
- Portion out the dough: Using a cookie scoop or spoon, drop rounded tablespoons of dough onto a parchment-lined baking sheet, leaving ample space between each cookie, as they will spread a bit as they bake.
- Bake: Place the baking sheet in the preheated oven and let the cookies bake for 8 to 10 minutes, or until the edges are lightly golden. The center may look underbaked, but they’ll continue to set as they cool.
- Cool: Remove the baking sheet from the oven and let the cookies cool on the sheet for about 5 minutes before transferring them to a wire rack to cool completely.
As you follow these steps, take a moment to enjoy the aromas that fill your kitchen. This is one of the joys of baking — the anticipation that builds as the cookies transform in the oven. Remember that patience is key; while it may be tempting to start eating them right away, allowing them to cool completely achieves the ideal texture.
Variations & Substitutions
Chocolate Chip Variation: If you’re a fan of chocolate, adding 1 cup of semi-sweet chocolate chips to the dough transforms your soft milk cookies into a delightful dessert. The chocolate melts slightly as the cookies bake, creating creamy pockets of sweetness that perfectly complement the cookie’s softness. This version is especially popular with children and adults alike, making them a hit for parties and gatherings.
Citrus Zest Variation: Another delightful variation you can try involves adding zest from a lemon or orange. Simply incorporate 1 tablespoon of lemon or orange zest into the wet ingredients. The citrus will brighten the flavor of the cookies, giving them a refreshing twist that’s perfect for spring or summer events. This variation is ideal for anyone looking to add a burst of flavor without compromising the cookie’s soft texture.
Nuts or Dried Fruit Variation: For those who prefer a chewy texture, consider incorporating 1 cup of chopped nuts or dried fruits, such as cranberries or raisins. This provides additional texture and is a wonderful way to add natural sweetness to the cookies. When mixing, ensure that your nuts or fruits are distributed evenly to maintain a balanced flavor throughout the cookie.
Gluten-Free Variation: If you’re looking to make this recipe gluten-free, substitute regular all-purpose flour with a gluten-free baking blend. Be sure to check the package instructions, as some blends may require additional moist ingredients or adjustments to the baking time. This option allows individuals with gluten sensitivities to enjoy soft milk cookies without compromising on taste or texture.
Taking the time to explore these variations can lead to delightful discoveries and can help you adapt the recipe to suit your preferences and dietary needs.
Common Mistakes to Avoid
When making Soft Milk Cookies, a few common pitfalls can lead to less-than-stellar results. One of the most frequent mistakes is overmixing the dough after adding the flour. This can activate the gluten, resulting in tougher cookies. To achieve that melt-in-your-mouth quality, mix just until you see no more flour.
Another critical warning is baking the cookies too long; they should remain soft in the center and lightly golden around the edges. If you remove them from the oven and they appear underbaked, that’s perfectly fine — they’ll firm up as they cool.
Lastly, a common mistake is not letting the cookies cool on the baking sheet for a few minutes before transferring them to a wire rack. This extended cooling time is important, as it allows the cookies to set properly and minimizes the risk of them breaking apart while being moved.
Storage, Freezing & Reheating Tips
To store your Soft Milk Cookies, place them in an airtight container at room temperature. They can typically last for up to a week, but these tasty treats usually don’t stay around for that long! If you want to enjoy your cookies over a longer period, freezing them is an excellent option.
To freeze, place the cooled cookies in a single layer on a baking sheet lined with parchment paper. Freeze them until solid, then transfer them to a resealable plastic bag or airtight container, separating layers with parchment paper. Properly stored, they can last for up to three months.
When you’re ready to enjoy them, simply remove the desired amount from the freezer and let them thaw at room temperature for about 15-20 minutes. If you prefer a warm cookie, pop them in the microwave for about 10-15 seconds to bring back that soft consistency.
Frequently Asked Questions
Can I use whole wheat flour instead of all-purpose flour?
Yes, you can substitute whole wheat flour, but keep in mind that it may result in a denser texture. For the best results, consider using half whole wheat and half all-purpose flour to maintain some softness.
What if I don’t have unsalted butter?
If you only have salted butter, you can use it in place of unsalted. Just reduce the amount of salt you add to the recipe, ensuring you maintain the balance of flavors.
How can I tell when the cookies are done?
The cookies should be lightly golden around the edges and look slightly underbaked in the center. They will continue to firm up as they cool, achieving the perfect melt-in-your-mouth texture you crave.
Can I make these cookies vegan?
Absolutely! You can replace the egg with a flaxseed egg (1 tablespoon ground flaxseed mixed with 2.5 tablespoons water) and swap the butter with a plant-based alternative like coconut oil or vegan butter.
What’s the best way to enhance the flavor of these cookies?
For additional flavor, consider adding spices such as cinnamon or nutmeg, or experimenting with different extracts, like almond or coconut. These will give your cookies a unique flair while maintaining that classic soft texture.
Conclusion:
Soft Milk Cookies are an easy, delightful treat that can be made in no time at all. Whether you enjoy them straight from the oven or customize them with different flavors and ingredients, you’re sure to find joy in every bite. I encourage you to give this recipe a try, experiment with your own variations, and share this joyful experience with family and friends. The warmth and comfort of these cookies can create happy memories in the kitchen, reminding you why baking is such a cherished pastime. So gather your ingredients, let your creativity flow, and enjoy creating these delicious Soft Milk Cookies!