Prep time: 15 minutes
Cook time: 10 minutes
Total time: 25 minutes
Servings: 12
When you think of classic holiday gatherings, there’s likely a platter of delectable deviled eggs making its appearance. These vibrant little bites, often garnished with the classic sprinkle of paprika, symbolize comfort and nostalgia for many. Isn’t it wonderful how such a simple dish can evoke memories of festive celebrations and family gatherings? With Easter right around the corner, these Easter Deviled Eggs Classic Style are not only incredibly delicious but also easy to whip up, making them a perfect addition to your holiday menu.
In this guide, you’ll learn everything from the history of deviled eggs to the essential tips and techniques that will elevate your cooking. You’ll discover how the creamy yolk filling, laced with mustard and mayonnaise, blends harmoniously with the tender egg white, resulting in a flavor explosion in every bite. Plus, we’ll provide you with some exciting variations so that you can make this dish your own. Let’s get started on this culinary adventure that promises to impress your family and guests!
What Is Easter Deviled Eggs Classic Style?
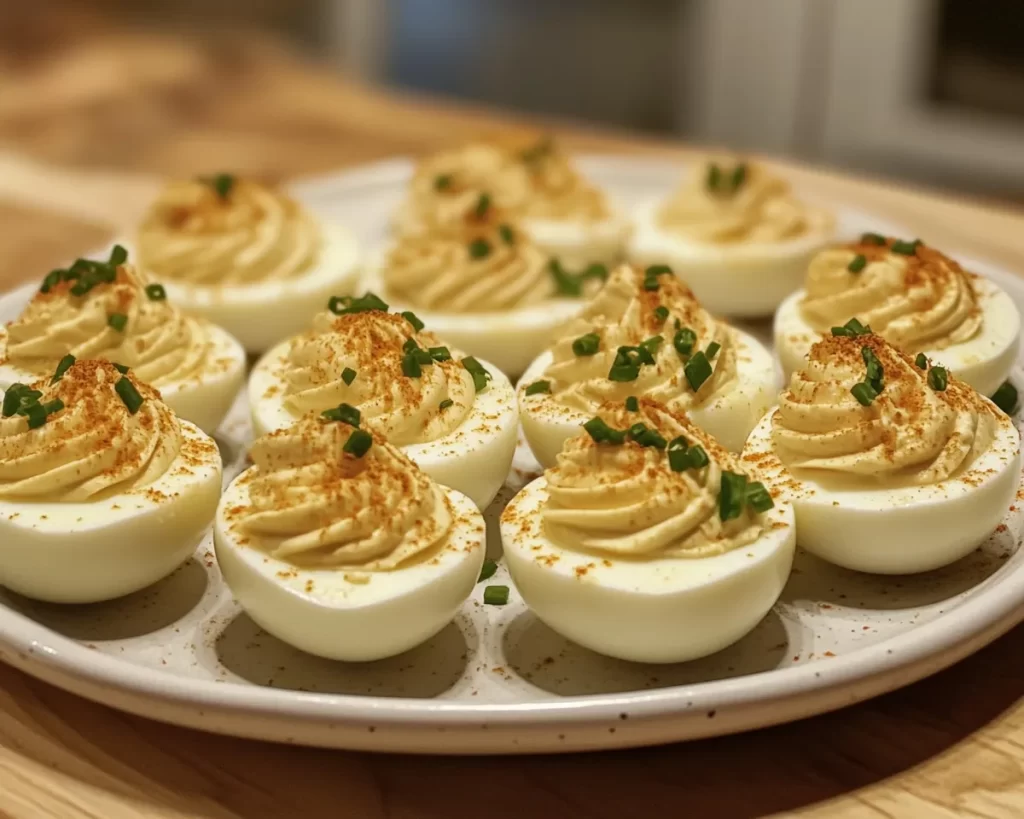
Easter Deviled Eggs Classic Style are a festive twist on the traditional deviled egg, often served during celebrations and gatherings, particularly around Easter. The origins of deviled eggs date back to ancient Roman times, but they gained popularity in the United States in the early 1900s. The essential components include hard-boiled eggs that are sliced in half, with the yolks mashed and mixed with ingredients like mayonnaise, mustard, and vinegar to create a creamy filling.
The texture of these deviled eggs is a delightful combination of creamy and smooth, perfectly complementing the firm and tender whites. Flavor-wise, they offer a tangy and savory profile that is elevated with the addition of different seasonings and garnishes. What’s special about the classic style is its simplicity. The focus is on the rich flavor of the yolks, enhanced by just a few other ingredients. You can expect not just a tasty appetizer, but also one that sparkles with vibrant colors, especially if you have a little fun with natural colored eggs.
Why You’ll Love This
You will absolutely love these Easter Deviled Eggs Classic Style because they strike an excellent balance between taste and simplicity. They are not only delicious but also incredibly easy to prepare, making them suitable for busy parents and beginner cooks alike. When compared to other appetizers, deviled eggs are also budget-friendly. Eggs are relatively inexpensive, yet they yield impressive results, allowing you to serve a delightful dish without breaking the bank.
Another reason to choose this recipe is its versatility. You can customize the filling according to your preferences or dietary restrictions. Additionally, these eggs pack in some nutritional benefits! Eggs are high in protein and essential vitamins, making them a satisfying snack or appetizer that won’t weigh you down.
Despite their simplicity, some might mistakenly think that making deviled eggs requires a culinary degree. Fear not! This recipe demystifies the process, ensuring that your eggs come out perfectly every time. Let’s dive into the ingredient list to set you up for success.
Ingredients You’ll Need
- Eggs: The star of the dish! Use large eggs for the best yield. You can substitute with organic or free-range eggs for better quality.
- Mayonnaise: Adds creaminess to the yolk filling. For a lighter version, consider using Greek yogurt as a substitute.
- Mustard: Typically, yellow mustard is used for its tangy flavor. You could also experiment with Dijon mustard or spicy brown mustard for a unique twist.
- White vinegar: This enhances the tanginess and overall flavor. Apple cider vinegar can be used if you prefer a milder taste.
- Salt: Essential for bringing out the flavors. Use kosher salt for better texture.
- Paprika: A common garnish that adds both color and a mild smoky flavor. Smoked paprika can elevate the taste even more.
- Chives or parsley: Optional garnishes for freshness and added color.
Each of these ingredients plays a pivotal role in the final product, offering layer upon layer of flavor and texture. Understanding their contributions will help you make informed substitutions if necessary.
How to Make
- Hard-boil the eggs: Start by placing your eggs in a saucepan and covering them with cold water. Bring the water to a boil over medium heat. Once boiling, cover the pot and remove it from heat. Allow the eggs to sit for about 9 to 12 minutes, depending on how well-cooked you prefer the yolks. Remove them from the pot and immerse them in cold water to stop the cooking process. This step is crucial for achieving the perfect texture.
- Peel the eggs: After the eggs have cooled, gently tap them on the counter to crack the shell and peel under running water to ease the removal. This little trick can help prevent any unsightly shell fragments from sticking to the egg whites.
- Prepare the yolk filling: Slice each egg in half lengthwise and gently pop out the yolks into a bowl. Add in the mayonnaise, mustard, white vinegar, and salt. Using a fork, mash the yolks until smooth. For a silkier consistency, you can also use a hand mixer at low speed.
- Pipe or spoon the filling: After you’ve achieved the desired texture, you can either spoon the filling back into the egg whites or transfer it into a piping bag for an elegant presentation. If using a piping bag, a star tip will create beautiful swirls. Aim to fill each cavity generously, showcasing the luscious filling.
- Garnish: Sprinkling a touch of paprika over the filled eggs not only adds flavor but also a vibrant touch of color. You can also add freshly chopped chives or parsley for an added layer of flavor. This step brings life to the dish and makes it visually appealing.
- Chill and serve: Allow the deviled eggs to chill in the refrigerator for at least 15-30 minutes to let the flavors meld together. This waiting time makes a difference in taste, so don’t skip it!
With these straightforward steps, making Easter Deviled Eggs Classic Style becomes a task even novice cooks can tackle. Remember to taste as you go for adjustments, ensuring each bite is just right!
Variations & Substitutions
Classic Bacon Deviled Eggs: If you’re looking to add a savory crunch, consider mixing crispy, crumbled bacon into the yolk filling. The rich, smoky flavor of the bacon complements the creamy yolks perfectly, creating a satisfying bite. This variation is especially beloved by meat lovers and will surely make your deviled eggs stand out on the table.
Avocado Deviled Eggs: For a creamy and nutritious twist, mash ripe avocado into the yolk filling. This variation adds healthy fats and a vibrant green color, making the dish visually appealing and nutritious. Season with lime juice for extra zest and a sprinkle of chili powder for a kick. This option is particularly great for anyone following a plant-based or keto diet.
Spicy Sriracha Deviled Eggs: If you enjoy a fiery kick, consider adding Sriracha or another hot sauce to the yolk mixture. This will not only add heat but also an exciting flavor profile that contrasts beautifully with the creaminess of the filling. Topping the eggs with sliced jalapeños or a drizzle of Sriracha adds an extra visual element to the dish.
Herbed Deviled Eggs: Instead of sticking to just salt and pepper, incorporate a mix of fresh herbs like dill, basil, and thyme into the filling. This variation not only brightens the flavor but also gives a fresh and aromatic experience. It’s a fantastic way to use up leftover herbs from your fridge!
Each of these variations shows just how adaptable this dish can be, making it easy to match your personal preferences or dietary needs.
Common Mistakes to Avoid
One common mistake in making deviled eggs is overcooking the eggs. This can lead to a dry and chalky texture in the yolks, which no one wants. To prevent this, make sure to follow the set timing and use an ice bath immediately after cooking. This helps lock in a perfectly tender texture.
Another mistake is not seasoning the yolk filling adequately. Failing to add enough salt can make your filling taste bland. Always taste as you go, and don’t hesitate to experiment with spices and flavors until you achieve the desired taste.
Also, be cautious when peeling the eggs. If the shell cracking is extensive, it can make for a messy presentation. Using slightly older eggs can often result in easier peeling. Fresh eggs tend to stick to the shell more tightly.
Lastly, don’t skip the chilling step! This allows the flavors to meld beautifully and gives your deviled eggs the chance to firm up. If served immediately after assembly, the filling can be too soft, making them less enjoyable to eat.
Storage, Freezing & Reheating Tips
Storage is crucial when it comes to keeping your deviled eggs safe and tasty. If you have leftovers, make sure to store them in an airtight container and refrigerate them. They can last for up to 2 days but are best enjoyed fresh. It’s important to note that the longer they sit, the more the flavors will develop but may also lead to a slightly drier filling.
Freezing deviled eggs is not recommended due to the texture changes in the eggs upon thawing. The consistency tends to become grainy and unappetizing. To maintain the integrity of this delightful dish, it’s best to prepare them fresh.
When it comes to reheating, these eggs should ideally be served cold. If you find that they need a bit more creaminess after refrigeration, consider adding a small dollop of mayonnaise right before serving to revive their original texture.
Frequently Asked Questions
Can I make deviled eggs ahead of time?
Yes, you can definitely make deviled eggs ahead of time. Prepare the filling and keep it stored separately from the egg whites until just before serving. This helps to maintain freshness and texture, ensuring that the egg whites don’t become soggy or the filling dry.
What’s the best way to boil the eggs?
The best way to boil eggs for deviled eggs is to place them in a single layer in a saucepan and cover them with cold water. Bring the water to a boil, cover the pot, and then remove it from the heat. Let the eggs sit for 9-12 minutes depending on your preferred doneness for the yolk. This method helps achieve perfect hard-boiled eggs every time.
Can I use flavored mayonnaise?
Absolutely! Using flavored mayonnaise can add an extra punch to your deviled eggs. Options like garlic aioli or spicy mayo can enhance the flavor profile and give your dish a unique twist. Experiment and see which flavor combinations work best for you!
What can I use instead of mayo?
If you’re looking for alternatives to traditional mayonnaise, consider using Greek yogurt for a tangy and creamy filling. Alternatively, mashed avocado offers a creamy texture and works well for a healthier twist. These substitutes are great for anyone watching their calorie intake.
How do I prevent green rings around the yolk?
The green ring that sometimes forms around the yolk is caused by overcooking the eggs or a reaction between the iron in the yolk and sulfur in the egg white. To prevent this, make sure to properly time the cooking process and cool the eggs rapidly in an ice bath after boiling. This helps in achieving a beautiful yolk without discoloration.
Conclusion:
In summary, this recipe for Easter Deviled Eggs Classic Style not only tantalizes the taste buds with its creamy texture and tangy flavors, but it also comes with the convenience of being easy to prepare. Perfect for festive gatherings, meal prep, or family get-togethers, these eggs are versatile enough to incorporate into various occasions. Now that you have the knowledge and expertise, it’s time to try making this dish at home. Customize it to your liking and share it with your loved ones, allowing them to experience the magic of these delightful bites. Happy cooking, and may your deviled eggs always be delicious!